85% of buyers say photos are the most important factor when browsing homes online. Proper room layouts make spaces look bigger, brighter, and more inviting, helping buyers visualize themselves in the home. Here’s how to prepare your rooms for standout real estate photos:
- Position Furniture Smartly: Create clear pathways and avoid blocking key features.
- Declutter: Remove personal items, excess furniture, and countertop clutter.
- Maximize Natural Light: Open blinds and curtains for bright, airy photos.
- Layer Lighting: Use lamps and overhead lights to add warmth and depth.
- Highlight Features: Arrange furniture to draw attention to fireplaces, windows, or built-ins.
- Use the Right Angles: Capture room size with corner shots and doorway perspectives.
- Tailor Layouts by Room: Match furniture arrangements to each room’s purpose.
Homes with well-staged photos sell 32% faster and for up to 5% more. Whether you DIY or hire a pro, these tips can make your photos – and your home – stand out.
10 Must-Know Tips to Nail Real Estate Photography
1. Position Furniture to Create Clear Pathways
How you arrange furniture can make or break a room’s sense of space and flow. Thoughtful placement not only helps a room feel more open but also allows potential buyers to imagine themselves moving comfortably through the space.
Start by identifying the natural traffic patterns in the room. These are the routes people naturally take – from doorways to windows, between seating areas, or around key features like fireplaces or built-ins. Arrange furniture to complement these pathways instead of blocking them. For instance, pulling sofas and chairs slightly away from the walls can add depth and prevent the room from feeling boxed in.
It’s also essential to match furniture size to the room’s proportions. Oversized pieces, like a large sectional sofa, may be cozy but can overwhelm a smaller space, making it feel cramped. Swapping out bulky furniture for smaller, more proportional options can make a room feel more balanced and open – especially important for photos.
In smaller or oddly shaped spaces, try experimenting with different layouts. Placing furniture in corners can free up pathways, while angling chairs toward each other creates a cozy conversation area without interrupting the flow.
Simple adjustments, like leaving doors open between rooms, can also create a sense of continuity, helping the property feel more connected and inviting in photos. The ultimate goal is to create a layout that’s easy to navigate and visually appealing, helping buyers picture themselves living comfortably in the space.
2. Remove Personal Items and Excess Furniture
Decluttering is key to helping potential buyers picture themselves living in your home. When browsing real estate photos, buyers want to see a blank slate – a space where they can imagine their own lifestyle fitting seamlessly.
Start by removing personal items. Family photos, trophies, graduation certificates, religious or political keepsakes, and kids’ artwork should all be tucked away. Pet-related items like beds, toys, and food bowls should also be hidden, as well as anything that might contribute to unpleasant odors. In bathrooms, clear out toothbrushes, makeup, and medications to create a fresh, inviting appearance. These small adjustments can make a big difference, instantly improving a room’s appeal.
Data backs this up: the National Association of Realtors notes that decluttered homes tend to sell faster and for higher prices than cluttered ones. Similarly, the Real Estate Staging Association reports that staged homes – where decluttering is a major component – spend 78% less time on the market compared to non-staged properties.
Next, take a critical look at your furniture. Remove extra chairs, side tables, or any pieces that don’t enhance the room’s function. That oversized ottoman or spare bookshelf might work for your daily life, but they can make spaces look cramped, especially in photos. Keep rugs and bath mats to a minimum unless they clearly define a space, as they can make rooms feel busier and smaller.
Pay special attention to kitchen and bathroom countertops. Clear away small appliances, toiletries, and other everyday items – store them neatly in cabinets or drawers. Closets should also get a refresh. Remove off-season clothing and extra shoes to highlight the available storage space. Keep in mind that 36% of millennials prioritize spacious homes, so showcasing storage is crucial.
The goal is to create a neutral, welcoming backdrop that allows buyers to envision their own furniture and personal style in the space. A clean, uncluttered home not only looks better in photos but also helps buyers mentally move in before they even set foot inside.
3. Open Blinds and Curtains for Natural Light
Natural light has a way of transforming a room – it highlights colors and details, makes spaces feel larger, and adds an inviting warmth. This is especially important when creating appealing property listings. To make the most of daylight, a few simple adjustments can go a long way.
Start by fully opening blinds and curtains to let in as much light as possible. Photographer and educator Jillian Goulding emphasizes this point:
"Speaking of natural light, we want to let as much of it into the room as possible before starting to shoot. That means lifting blinds all the way up so that there aren’t any funky lines cast on your clients’ faces, and pushing curtains and blinds all the way open."
Timing is also crucial. Avoid shooting during the harsh midday hours when sunlight can be too intense. Instead, aim for times when the light is strong but diffused. If the light coming through windows feels overpowering, translucent or partially closed curtains can help soften it.
Another tip? Pay attention to furniture placement. Move any items blocking windows to let more light flow into the room. Strategically placing key furniture near windows can enhance the brightness and draw attention to architectural features.
As a lighting expert from Kanlux explains:
"It is not only a source of energy for our bodies but also a factor that makes rooms appear larger."
4. Add Lamps and Overhead Lighting for Warmth
Artificial lighting does more than just brighten a room – it showcases key features and creates a welcoming vibe. Lighting expert Albert Mora emphasizes its importance:
"Lighting is the single most critical element that can make or break a real estate photograph."
In fact, listings with well-lit photos sell 32% faster and can bring in up to $11,000 more on average. To take it a step further, layering your lighting can elevate the overall ambiance.
Incorporate a mix of table lamps, floor lamps, and sconces to reduce harsh shadows and open up the space. For the best results, combine warm bulbs (2,700–3,000K) with daylight bulbs (5,500–6,500K) to achieve a natural, balanced look.
Here’s a quick guide to choosing the right light sources:
| Light Source | Best Use Case | Key Features |
|---|---|---|
| Speedlights | Small to medium rooms | Portable and easy to set up |
| Studio Strobes | Large spaces, high ceilings | High output with consistent color |
| LED Panels | Video tours, continuous lighting | Adjustable brightness, low heat |
| Softboxes | Diffused lighting for interiors | Even light, minimizes harsh shadows |
To avoid unwanted reflections, position lights at a 45° angle and maintain some distance from naturally bright areas. This ensures smooth light fall-off and a more natural appearance.
If you’re looking for additional tools, softbox light kits are a great option. They mimic natural light beautifully and soften shadows, while continuous LED lighting allows for real-time adjustments to match the room’s needs.
sbb-itb-82c5f45
5. Arrange Furniture to Show Key Room Features
Once you’ve tackled lighting and general furniture placement, it’s time to focus on showcasing a room’s standout features. Think about the elements that naturally grab attention – like a fireplace, expansive windows, or built-in shelving. The way you arrange furniture can emphasize these details and make them shine. Start by identifying the room’s focal point and let it guide your layout.
For instance, if the room boasts large windows or a scenic view, arrange seating – like a sofa or a pair of accent chairs – so they face the windows. Choose low-profile or open-frame furniture that won’t obstruct the natural light or view. If wall space is tight, consider a floating arrangement where furniture is clustered in the center of the room, leaving the walls open.
If a fireplace is the focal point, create a cozy seating area around it. A conversational grouping of chairs or a sofa nearby can make the space feel inviting. To enhance the fireplace’s charm, add a decorative mirror above it to reflect light and add dimension. In open-concept spaces, balance the layout by setting up a dining area on one side and a seating cluster around the fireplace on the other.
For built-in shelving or intricate architectural details like crown molding, use decorative accents and a bold area rug to draw attention to these features. Keep these elements well-lit and unobstructed, especially for listing photos. Thoughtfully placed accents – like vases or books – can frame these details and add visual interest. By arranging furniture with intention, you help potential buyers imagine how they’d use and enjoy the space.
6. Choose Camera Angles That Show Room Size
The right camera angle can make a small room feel larger and more welcoming. By carefully positioning your camera, you can highlight the room’s depth and help potential buyers see its true dimensions. Different angles can emphasize various aspects of a room’s layout and size.
Corner shots are a go-to method for making a space look bigger. Placing the camera in a corner allows you to capture three walls in one frame, giving viewers a broader perspective of the room. When using this angle, try to position windows at a 45-degree angle or to the side of the camera. This reduces harsh backlighting and still lets you show off the natural light in the space.
Camera height is another key factor. Setting the camera at chest level – around 4 to 5 feet high – can make ceilings appear taller while keeping the focus on the furniture and flooring rather than wall decorations. Adjust the angle until vertical lines in the photo are straight, ensuring a clean and professional look.
Doorway shots add a sense of depth by framing the room from the entrance. This perspective mimics how someone would naturally view the space when walking in. Stand just outside or at the doorway threshold to capture the room’s layout while maintaining a sense of discovery.
For rooms with standout architectural features, straight-on shots work well. Spaces like kitchens, bathrooms, or stairways often have natural symmetry that can be highlighted with this angle. While it may not showcase the room’s depth as effectively as a corner shot, it’s perfect for drawing attention to specific design elements. Use these angles thoughtfully to complement your staging and highlight the room’s best features.
7. Adjust Layouts for Different Room Types
Building on earlier tips, it’s essential to customize the layout of each room to match its purpose. Every room in a home has a unique role, and the way you arrange furniture and decor should reflect that. What works in the living room won’t necessarily suit a bedroom, kitchen, or bathroom. By designing layouts that align with each space’s function, you can create real estate photos that connect with potential buyers.
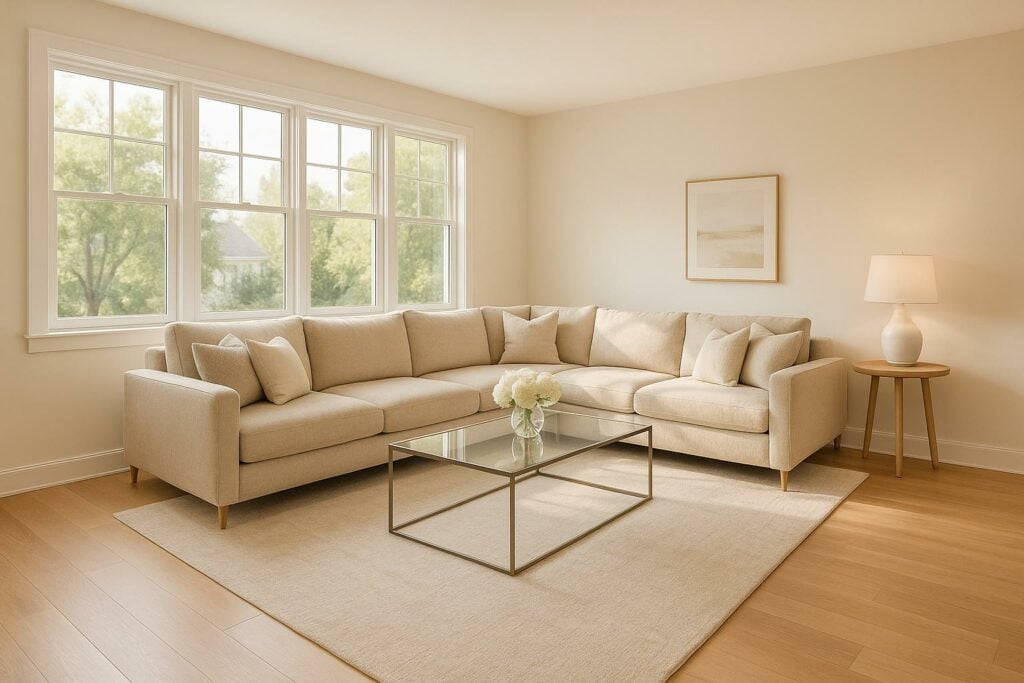
Living Rooms
In living rooms, focus on creating a layout that balances style with functionality. Arrange furniture to encourage conversation, with clear pathways for movement. Draw attention to standout features – like a fireplace or a large picture window with a view – to help buyers imagine themselves relaxing or entertaining in the space. While living rooms thrive on a social vibe, bedrooms require a more calming setup.
Bedrooms
For bedrooms, the goal is to create a peaceful and inviting atmosphere. Position the bed in the center of the room to enhance balance and make the space feel larger. Keep bedside tables free of clutter to maintain a clean look. Add neutral bedding with a single accent pillow or throw for a cozy yet polished touch.
Kitchens
Kitchens are all about showcasing functionality and cleanliness. Clear off countertops, leaving just one or two carefully chosen items, such as a bowl of fruit or a coffee maker, to highlight the workspace. If the kitchen has an island or breakfast bar, place a couple of stools to suggest seating without overcrowding the space. Open a few cabinets to display organized storage, giving buyers a sense of the kitchen’s practicality.
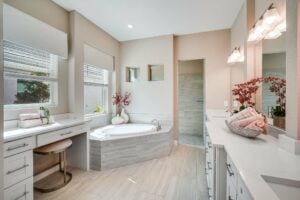
Bathrooms
Simplicity is key in bathrooms. Keep the space looking fresh and open by adding just a few thoughtful touches. Neatly fold fresh towels on a shelf or towel bar. To create a spa-like feel, place a small plant or candle near the bathtub. These subtle details help buyers imagine a space that’s both functional and relaxing.
Traditional vs. Virtual Staging Comparison
Finding the right staging method for your real estate photos depends on your budget and the specific needs of the property.
Cost and Timeline Differences
Traditional staging typically costs between $1,500 and $5,000, with larger projects exceeding $10,000. In contrast, virtual staging is far more affordable, ranging from $29 to $75 per photo. According to 82% of buyers’ agents, staging helps clients better visualize a property as their future home, making either option a smart investment.
The time required for setup is another key difference. Traditional staging can take 7 to 14 days to coordinate furniture delivery, arrange the space, and style it. Virtual staging, on the other hand, offers a much quicker turnaround, delivering results in just 12 to 48 hours – perfect for properties that need to hit the market fast.
| Feature | Traditional Staging | Virtual Staging |
|---|---|---|
| Cost Range | $1,500–$5,000 per home | $29–$75 per photo |
| Setup Time | 7–14 days | 12–48 hours |
| Buyer Experience | In-person tactile experience | Digital preview only |
| Design Flexibility | Limited by inventory | Unlimited style options |
| Market Performance | Up to 87% faster sales | Up to 73% faster sales |
These differences in cost and timing can help you decide which option aligns best with your goals.
When to Choose Each Method
Traditional staging is often the go-to for high-end properties, especially those priced over $1 million, as it provides an in-person experience that resonates with luxury buyers. Virtual staging, however, works well for mid-range homes and vacant properties where affordability and speed are priorities.
Virtual Staging with HomeJab
For virtual staging, HomeJab offers a streamlined service with competitive pricing and quick delivery. Their virtual staging starts at $50 per image, and they can remove existing furniture for $115 per photo. This service enhances a property’s appeal by showcasing its best features and transforming less attractive spaces into inviting ones.
For a balanced approach, consider combining both methods. Physically stage key areas like the living room or master bedroom to create an emotional connection, while using virtual staging for secondary spaces. This hybrid strategy keeps costs manageable while ensuring your photos highlight the property’s full potential. By tailoring your staging approach to each space, you’ll create real estate photos that leave a lasting impression.
Conclusion
These seven room layout tips can make a significant difference in real estate photography, ultimately driving more views and faster sales. For instance, decluttered photos can attract up to 61% more views, help homes sell 32% faster, and even result in a 3–5% price premium. Considering that 99% of home buyers begin their search online, optimizing room layouts for photos is a critical step in standing out in today’s competitive market.
The statistics speak for themselves: professionally edited photos increase asking prices by 47% per square foot, and listings with at least 20 images sell within a month, compared to 70 days for those with just one photo. These numbers clearly show how thoughtful room preparation and high-quality photography can maximize returns.
Key strategies like arranging furniture strategically, enhancing natural light, and creating open pathways lay the groundwork for captivating property photos. When paired with professional photography, these efforts become even more impactful. For example, staged homes sell 73% faster than non-staged ones, and 83% of buyers’ agents agree that staging helps clients envision the property as their future home.
To amplify your results, consider working with HomeJab for professional photography services. Their HDR photography packages, priced between $229 and $379, use advanced lighting techniques to complement your layout efforts. They also offer virtual staging starting at $50 per photo, with a quick 24-hour turnaround time, making it easier than ever to transform any space into a buyer’s dream.
Even experts emphasize the importance of professional photography in real estate:
"Professional real estate photography can significantly help real estate agents sell listings faster and for more money." – Michael Yates
FAQs
What’s the best way to declutter my home for real estate photos?
To make your home stand out in real estate photos, start by decluttering all visible spaces. Clear off countertops, tables, and floors to create a clean, open look. In the kitchen, stash away small appliances and any random items. Remove personal photos and decorations to keep the space neutral and welcoming – this helps buyers envision it as their home.
Don’t overlook closets and storage areas – buyers love to peek inside. Keep these spaces neat and avoid cramming them full, as it’s important to highlight the available storage. A tidy, well-organized home not only photographs better but also gives the impression that the property has been well maintained.
What is the best time of day to photograph rooms for natural light?
The ideal time to photograph rooms with natural light is during the golden hour – the hour right after sunrise or just before sunset. This period offers soft, warm lighting that gives your photos a cozy and inviting feel.
When it comes to room orientation, here are some tips to get the best lighting:
- East-facing rooms: Morning light is your go-to for a bright and fresh look.
- West-facing rooms: Afternoon light brings out the warmth and depth of the space.
- North-facing rooms: Aim for midday, between 10:00 AM and 2:00 PM, to take advantage of steady, even lighting.
- South-facing rooms: Early morning or late afternoon light works best to avoid overly harsh shadows.
By planning your photoshoot around these times, you’ll capture bright, welcoming images that highlight the property’s charm.
What are the cost and effectiveness differences between virtual staging and traditional staging?
Virtual staging offers a budget-friendly alternative to traditional home staging. While virtual staging usually costs between $29 and $75 per image, staging an entire home the traditional way can set you back $1,500 to $5,000. This makes virtual staging a smart choice for vacant properties or situations where you need to get a listing up quickly.
When it comes to impact, virtual staging can significantly enhance the appeal of online listings. It allows for endless design options and delivers results fast – often within 24 to 48 hours. On the other hand, traditional staging has the edge when it comes to creating a tangible, in-person experience for buyers, which can be a key factor for certain homes.