
If you’ve only ever shot during the day, stepping into night photography can feel a bit like being handed a puzzle with no clear solution. During the day, light is constant and predictable. At night, everything changes.
Light sources become your creative tools, whether it’s the glow of a streetlamp casting warm shadows on the pavement or car headlights turning into streaks of light with a slow shutter speed. The once ordinary becomes extraordinary.
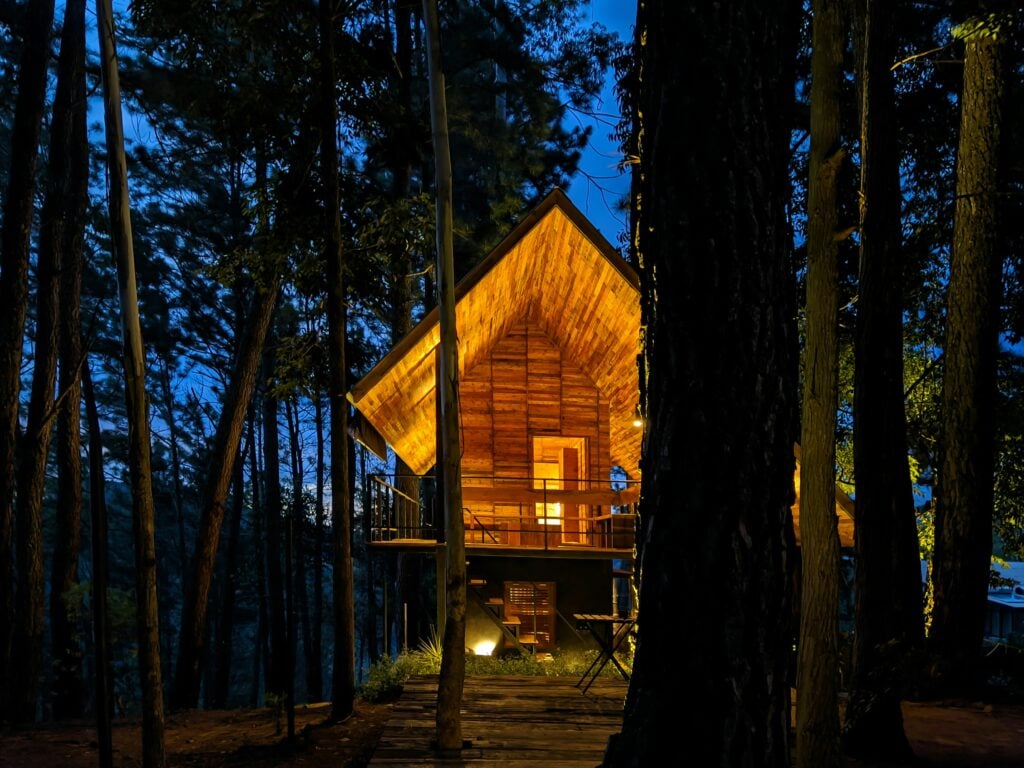
And then there’s the night sky. By day, it’s just a backdrop. But at night, it transforms into a canvas of stars, with the moon casting a magical glow that can elevate even the simplest real estate property.
Night photography is about more than capturing what you see—it’s about revealing what’s hidden to the naked eye. You don’t need advanced technical skills to get started. There’s a learning curve, of course, but that’s what makes the process fun. In this beginner’s guide, we’ll explore the techniques and tools you need to confidently step into the world of night photography and start capturing those nighttime images yourself.
Basic Must-Haves for Night Photography
Before we dive into settings and techniques, let’s talk gear. While you don’t need to splurge on the latest and greatest, having a few essential pieces will make your night photography journey a lot smoother.
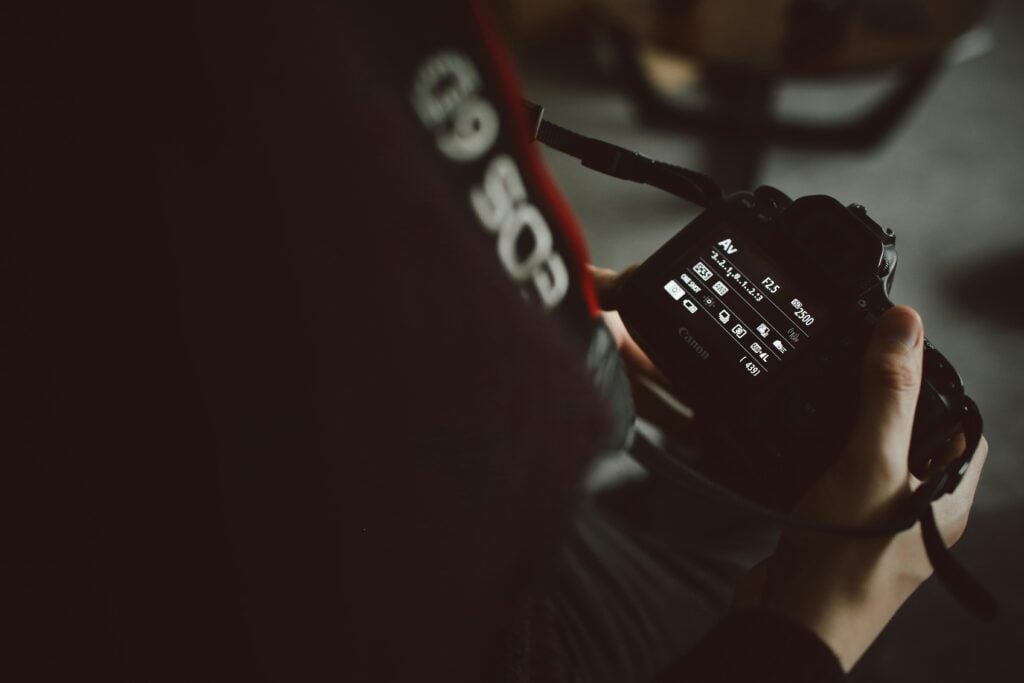
- Camera with Manual Mode: This is a must. You’ll need full control over your settings to get the best results.
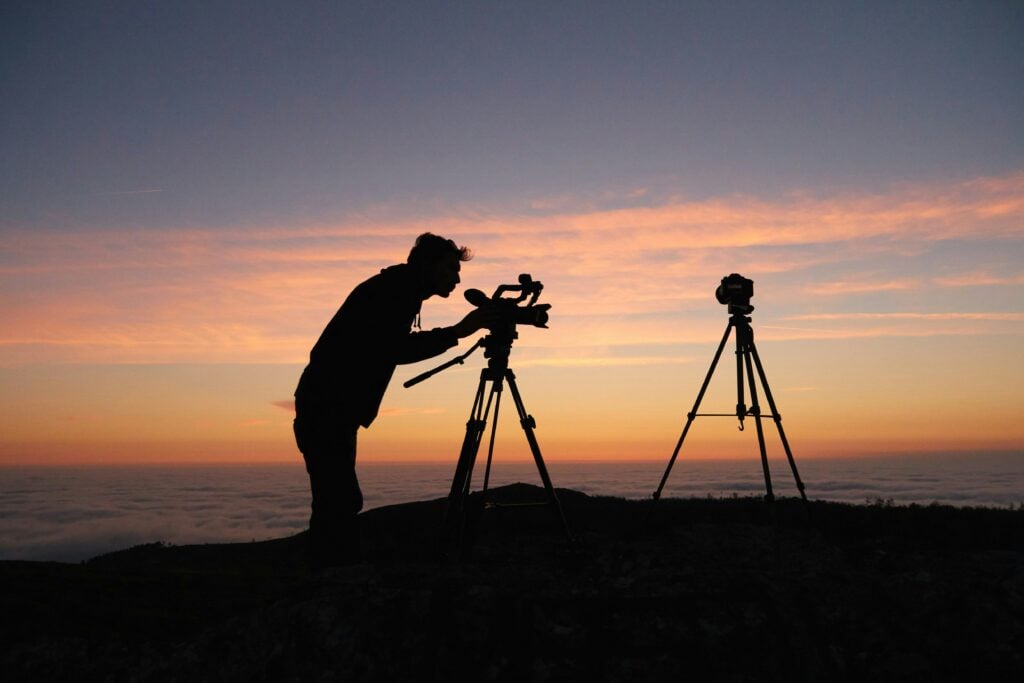
- Sturdy Tripod: Since you’ll be working with longer exposures, keeping your camera steady is key. Even the tiniest movement can result in blurry photos.
- Wide-Angle Lens (Optional, but Recommended): A wide-angle lens can help you capture more of those sweeping night skies or expansive cityscapes. While not required, it’s a fantastic tool to have in your kit.
- Remote Shutter Release or Camera App (Optional): This eliminates the risk of camera shake when you press the shutter button. If you don’t have one, don’t worry—most cameras have a built-in timer feature that works just as well.
Camera Settings
Once you’re out in the field, your camera settings will make or break your shot. The good news? You don’t need to memorize a ton of technical jargon. Just keep these basic settings in mind, and adjust as needed based on your scene.
ISO
- Start with ISO 800 and adjust as needed: This setting controls how sensitive your camera is to light. While higher ISO lets you capture images faster in low light, it can also introduce noise (that grainy look).
- Higher ISO allows for faster shutter speeds but introduces more noise: If you’re shooting in an especially dark setting, you might need to push it higher, but be mindful of noise creeping in.
Aperture
- Use a wide aperture (low f-number) like f/2.8 or f/4: This allows more light into your camera, which is especially important at night.
- A wider aperture means a shallower depth of field, which can create beautiful bokeh effects with lights in the background.
Shutter Speed
- Use slower shutter speeds (1/15 second to several seconds): The slower your shutter speed, the longer your camera’s sensor is exposed to light. This is key for capturing stunning light trails or silky-smooth water.
- Experiment with different speeds to achieve various effects. Want sharp stars? Keep the exposure shorter. Going for star trails or light streaks? Extend the exposure.
White Balance
- Set to “Tungsten” or “Incandescent” for urban scenes: This helps neutralize the orange glow of streetlights.
- Use “Auto” for natural landscapes: Your camera will adjust the white balance based on the available light, which is handy if you’re unsure.
Techniques for Sharp Night Photos
Blurry photos are the bane of night photography. But with a few simple tricks, you can keep your shots tack-sharp, even in the darkest conditions.
- Use a tripod to eliminate camera shake. This is non-negotiable when working with long exposures.
- Enable your camera’s 2-second timer or use a remote shutter release to avoid jostling your camera when taking the shot.
- Turn off image stabilization when using a tripod. It may seem counterintuitive, but image stabilization can actually cause blur when your camera is perfectly still.
- Use manual focus or single-point autofocus on a bright area to ensure your subject is sharp. In low light, your camera might struggle to focus automatically, so take control.
Composition Tips for Night Photography
Night photography is not just about capturing light; it’s also about creating a sense of atmosphere. Your composition can elevate a shot from ordinary to extraordinary. One of the simplest ways to add depth and dimension is by including interesting foreground elements, which draw the viewer deeper into the image.
Leading lines, like roads, light trails, or a row of streetlights, naturally guide the eye through the frame, adding flow and direction to your shot. Light sources, such as street lamps, neon signs, or car headlights, can also serve as powerful compositional elements, creating visual interest and adding a dramatic flair.
For a striking effect, try experimenting with silhouettes—positioning a subject against a brighter background can result in bold, high-contrast images that capture attention.

Post-Processing
No night photography session is complete without a little post-processing magic. Don’t worry, you don’t need to be a Photoshop wizard—just a few tweaks can bring out the best in your shots. Here are some tips for beginners:
- Adjust exposure and contrast to brighten up shadows and make those highlights pop.
- Reduce noise using your editing software’s noise reduction tool. A little goes a long way here.
- Enhance colors, particularly in the sky. Night skies can have beautiful hues that are easy to miss in-camera but can be brought out in post.
Practice Makes Perfect
To really get comfortable with night photography, practice is key. Here are a few fun exercises to get you started:
- Capture light trails from cars on a busy street. It’s one of the easiest and most dramatic ways to see the magic of long exposures.
- Photograph the moon and stars (if they’re visible in your area). Experiment with exposure times to see how the stars shift in your frame.
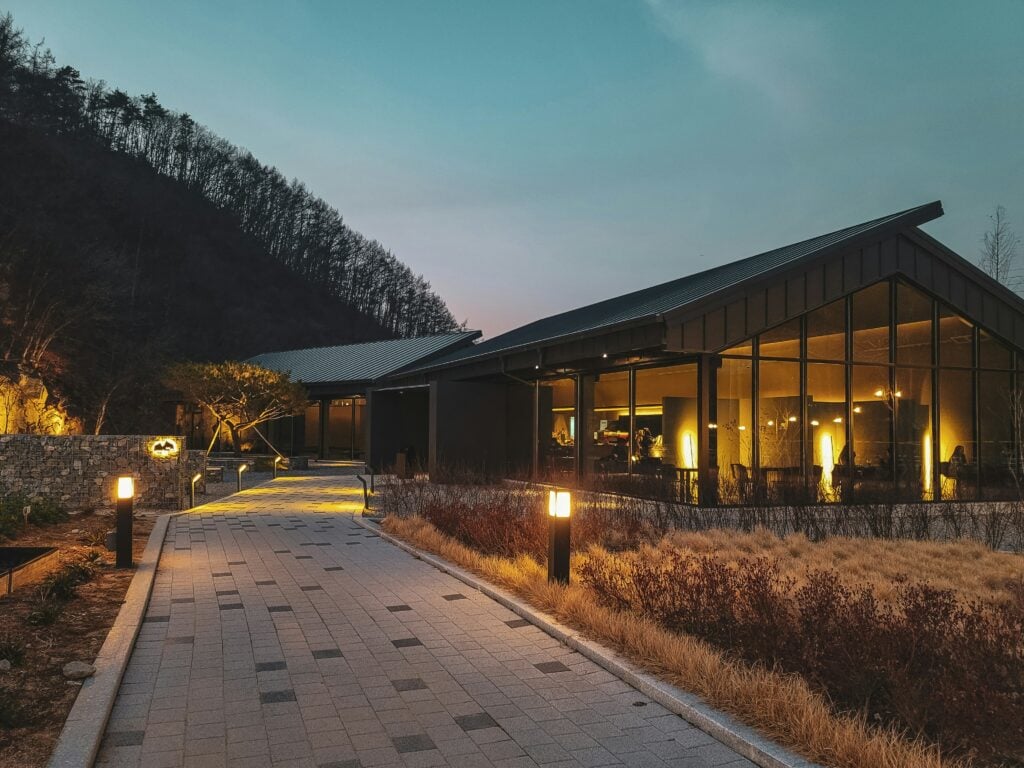
- Shoot a well-lit building or monument at night. This will help you get used to balancing artificial and natural light.
- Try long-exposure shots of moving water at night. You’ll be amazed at how smooth and dreamlike the water looks in a long exposure.
By the time you’re ready to book a real estate session that involves night photography, you’ll feel confident and well-prepared to tackle its challenges, capturing stunning images that showcase the property’s beauty after dark.
Takeaways for Shooting After Dark
Night photography may seem daunting at first, but with the right approach and a bit of patience, it can become one of the most rewarding styles of real estate photography. Don’t be discouraged if your first few attempts don’t turn out perfect—every shot is an opportunity to improve. So, take your time, and don’t be afraid to get creative—night photography is as much about experimenting as it is about following the rules.
Want to keep improving your night photography skills? Read another HomeJab feature on 5 Keys to Effective Virtual Twilight Photos.


