When customers walk past a storefront, they’re looking for a reason to step inside. And when they’re scrolling through Instagram, they want to stumble upon a store’s account and feel instantly hooked. While merchandisers set the stage, it’s the photography that truly brings a retail space to life—transforming casual onlookers into eager buyers.
In this expert guide, we’ll show you how to elevate your retail store photography with simple yet powerful techniques. From creative lighting and styling tips to timeless composition tricks, you’ll learn how to capture visuals that not only showcase a space but also drive foot traffic and boost engagement.
What Are the Key Elements of Retail Store Photography?
When you step into a retail space, it’s the atmosphere, the products, and the experience that make an impression. But how do you translate that energy into a compelling photograph? What truly makes a retail store photo stand out and grab attention?
Let’s break it down. The key elements of retail store photography combine creativity, technique, and understanding the space you’re capturing. You have to ensure that your photos do justice to the energy of the store. Luckily, these key elements will take your retail photography to the next level:
Lighting: Balancing the Mood
Lighting is the foundation of any great photograph, and in retail store photography, it’s crucial to get it right. While natural light often works wonders, it’s not always available, especially when you’re shooting indoors or at certain times of day. When that’s the case, soft artificial lighting becomes your main resource for defining a space.
However, artificial lighting can sometimes lead to harsh shadows or overexposed areas, making your job as a photographer a bit more challenging. So, how do you find that sweet spot? Begin by experimenting with different light sources.
Consider the store’s existing lighting—are there overhead lights, pendant lamps, or accent lights? Leverage these to their fullest, but don’t hesitate to supplement with additional lighting to fill in any gaps and create a more balanced, even effect.
Tip: If you’re using soft artificial lighting, position your lights at a 45-degree angle to your subject to avoid flat images. This creates depth and dimension, drawing attention to key features in the space without overpowering them.
Understanding color temperature
Another important consideration is color temperature. If the store uses warm-toned lights, like incandescent bulbs, be mindful of the color shift they create in your photos. You might need to adjust the white balance on your camera or edit your photos afterward to ensure the colors appear natural. For a cooler, more modern store vibe, LED lights may be your go-to.
Tip: Always bring a portable light diffuser to soften the light and avoid overly harsh spots. This helps create a more natural and balanced look that’s flattering for the entire space, especially for product displays.
Shedding light on the right angles
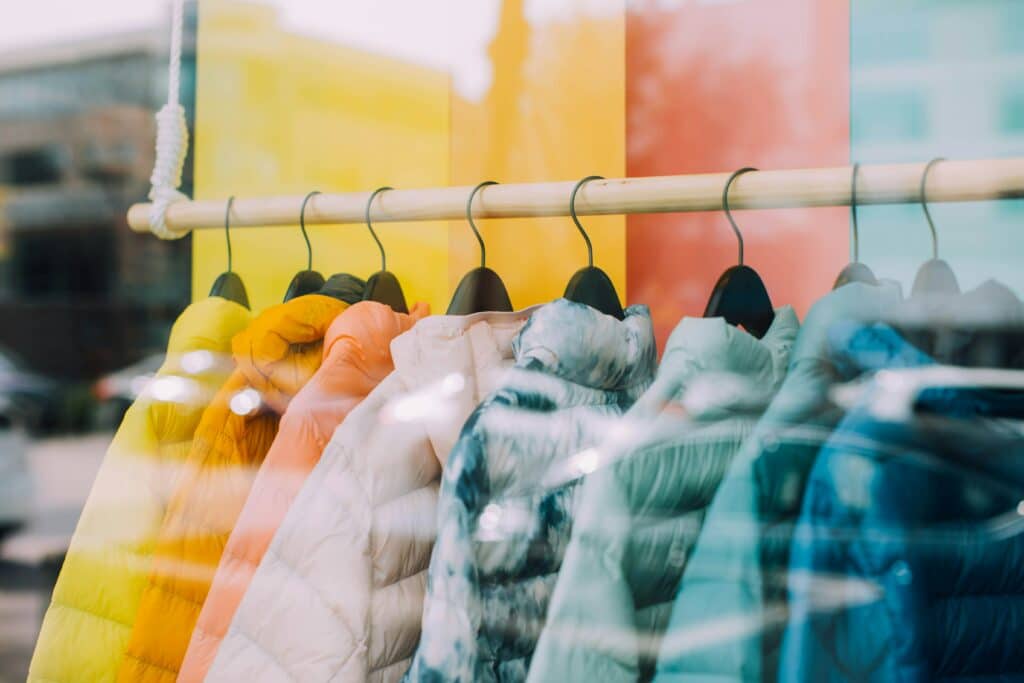
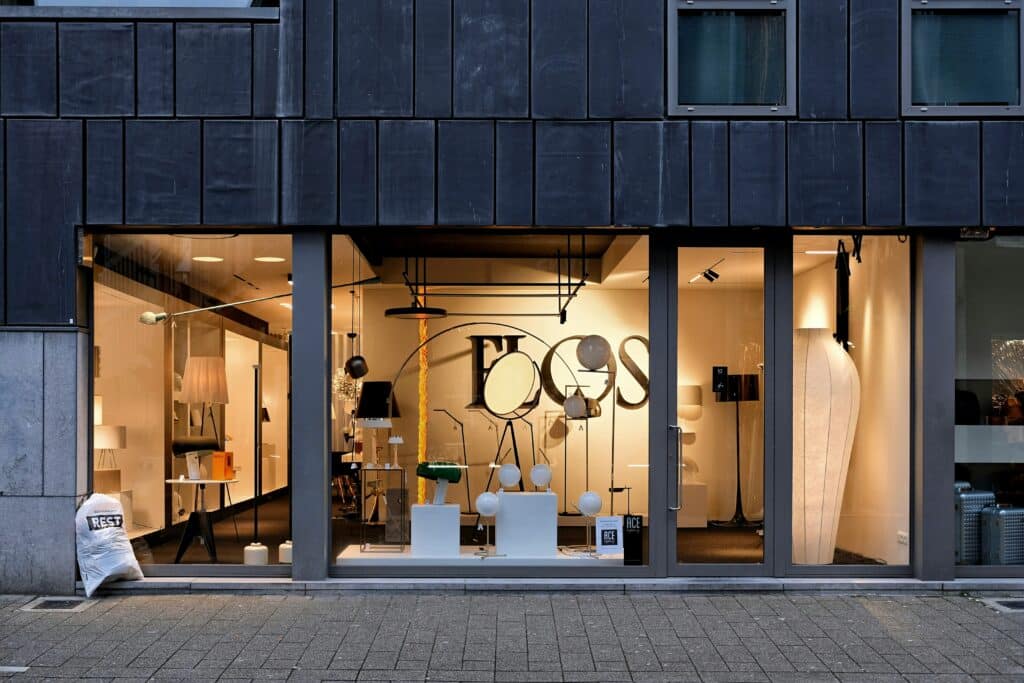
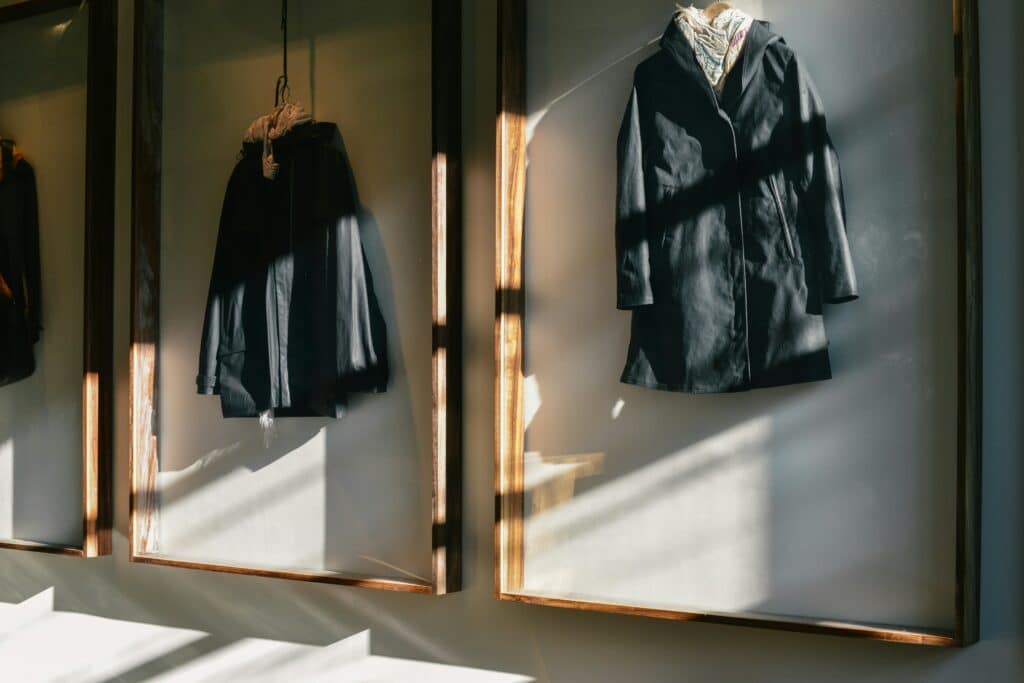
Finally, consider light direction and angles. You’ll want to highlight the store’s best features—whether that’s a carefully designed window display, a product arrangement, or architectural details. Position your lights so they illuminate these features without creating awkward shadows. You might even experiment with backlighting to create a striking silhouette effect, particularly when photographing glass shelves, clothing displays, or intricate product designs.
Pro Tip: Use reflectors to bounce light into darker corners of the space. This not only ensures even lighting throughout but also allows you to highlight specific areas that might otherwise get lost in shadows.
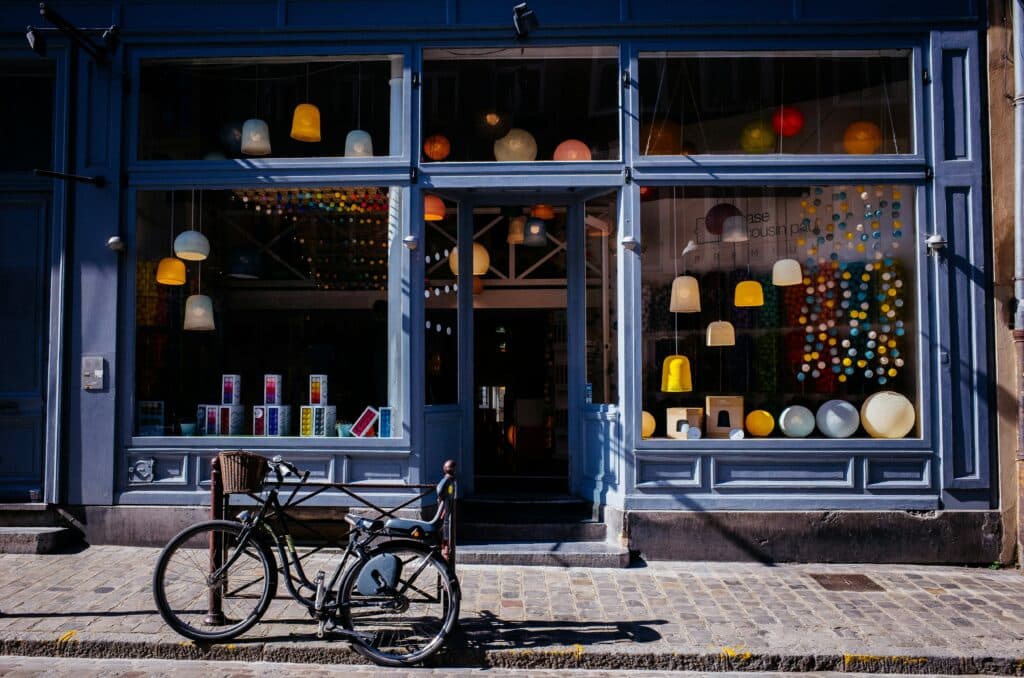
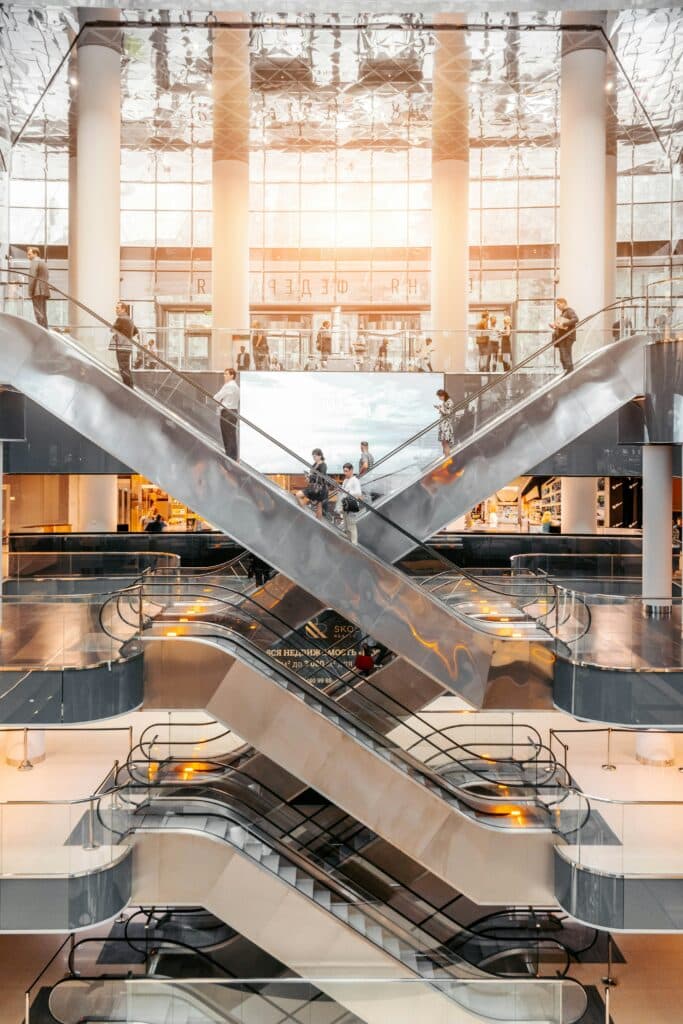
Composition: Framing the Story
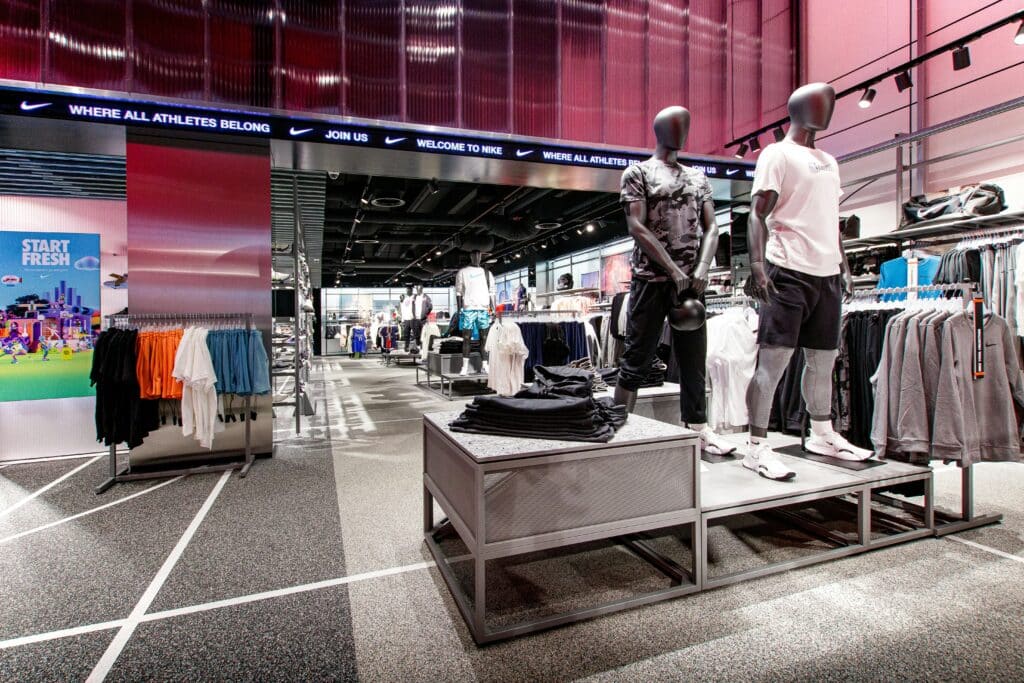
The storefront is just the beginning of a retail’s space. Every shot you take should serve a purpose—whether it’s inviting customers in, highlighting a key product, or conveying the overall atmosphere of the store. The way you frame a shot, whether it’s a wide-angle showcasing the entire store layout or a close-up emphasizing texture and detail, plays a crucial role in shaping the viewer’s perception.
That means when photographing the space, you need to capture the message the store owner or retail brand wants to convey. Pay attention to the products on display — what story are they telling, and how can your composition enhance the narrative through visuals?
Tip: Want to dive deeper into composition? Watch this video on composition techniques and discover 20 new ways to improve your framing in retail shots.
Leveraging rules of third
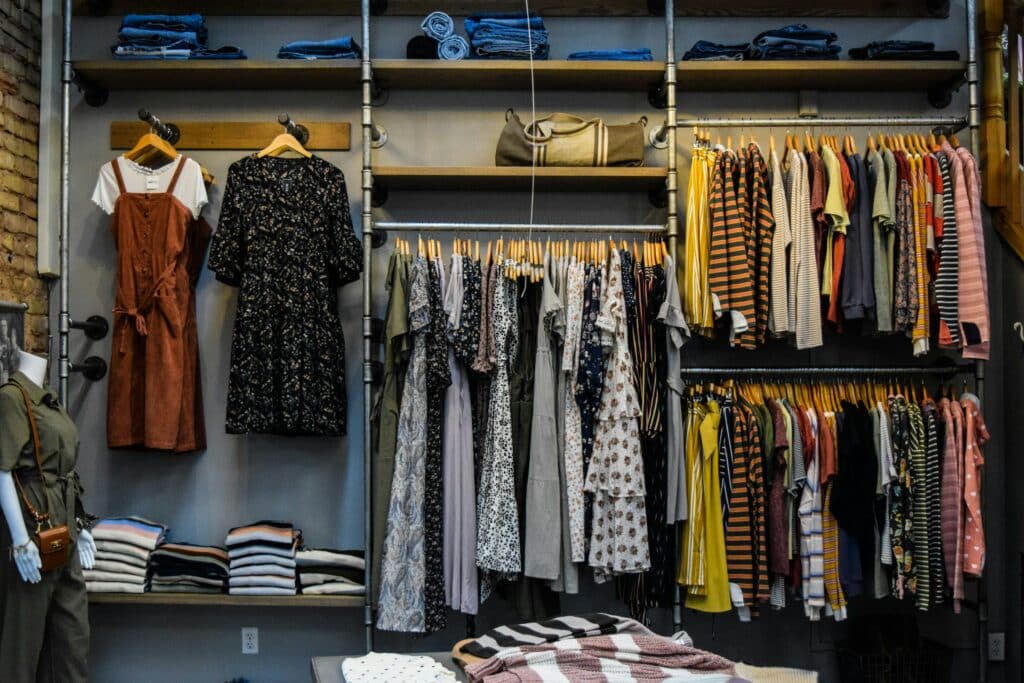
With photography basics, you know the rule of thirds comes into action when composing a balanced and visually engaging shot. By positioning key elements or products along the intersecting lines or focal points within the grid, you create a natural flow that draws the viewer’s eye.
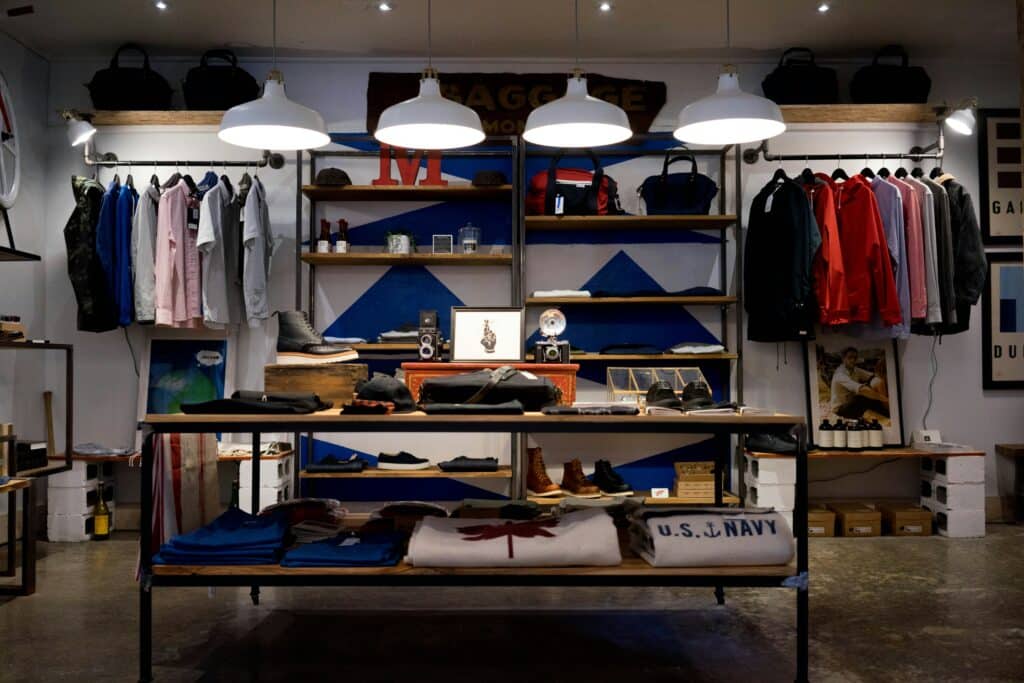
You can use leading lines—such as shelves, pathways, or even lighting fixtures—to bring attention toward focal points. Even reflections in glass surfaces, doorways, or mirrors can add layers to your composition, making the space feel more dynamic.
Tip: Leave some negative space around featured products or design elements to prevent visual clutter and potentially overwhelming the customer. The idea is to let the image breathe, creating an inviting composition—not one that feels crowded or chaotic.
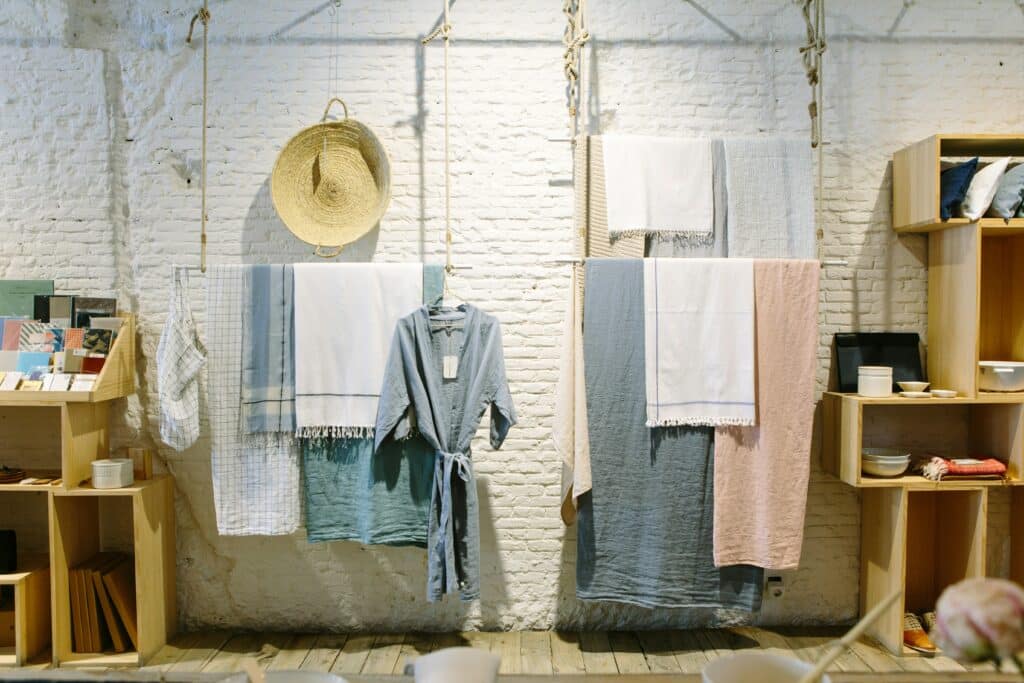
Depth and layering
Another key element of composition is creating depth in retail spaces. While clothing hanging on walls naturally provides the leading lines needed to perfect a shot, adding depth and layers can elevate a simple image into an immersive experience.
For instance, adding a subtle plant, a piece of furniture, or even a decorative element in the foreground can work wonders to frame the scene. These elements act as leading lines, guiding the viewer’s eyes into the composition. When done correctly, this technique can turn a flat, lifeless image into one that feels dynamic and full of life, inviting potential shoppers in the store.
Layering can also be used to differentiate between the different areas of a room, enhancing the perception of space. Instead of simply photographing an empty room, consider using furniture, decor, or even light and shadows in the background and midground to create a sense of distance and depth.
Pro Tip: To truly maximize the effect of depth and layering, experiment with different focal lengths. A wide-angle lens can help exaggerate the layers in your shot, making the foreground elements pop while still keeping the background in focus. This creates a rich, three-dimensional feel that adds both texture and intrigue to your retail space photography.
Retail Photography Takeaways
Lighting and composition are the two essential components that form the foundation of impactful retail photography. Whether you’re a novice photographer expanding your niche or a seasoned professional looking for a few extra reminders, we hope this guide helps steer you in the right direction to enhance your photography skills in 2025!
For more tips and expert services, visit the Homejab site to learn more about retail photography and the services we offer.