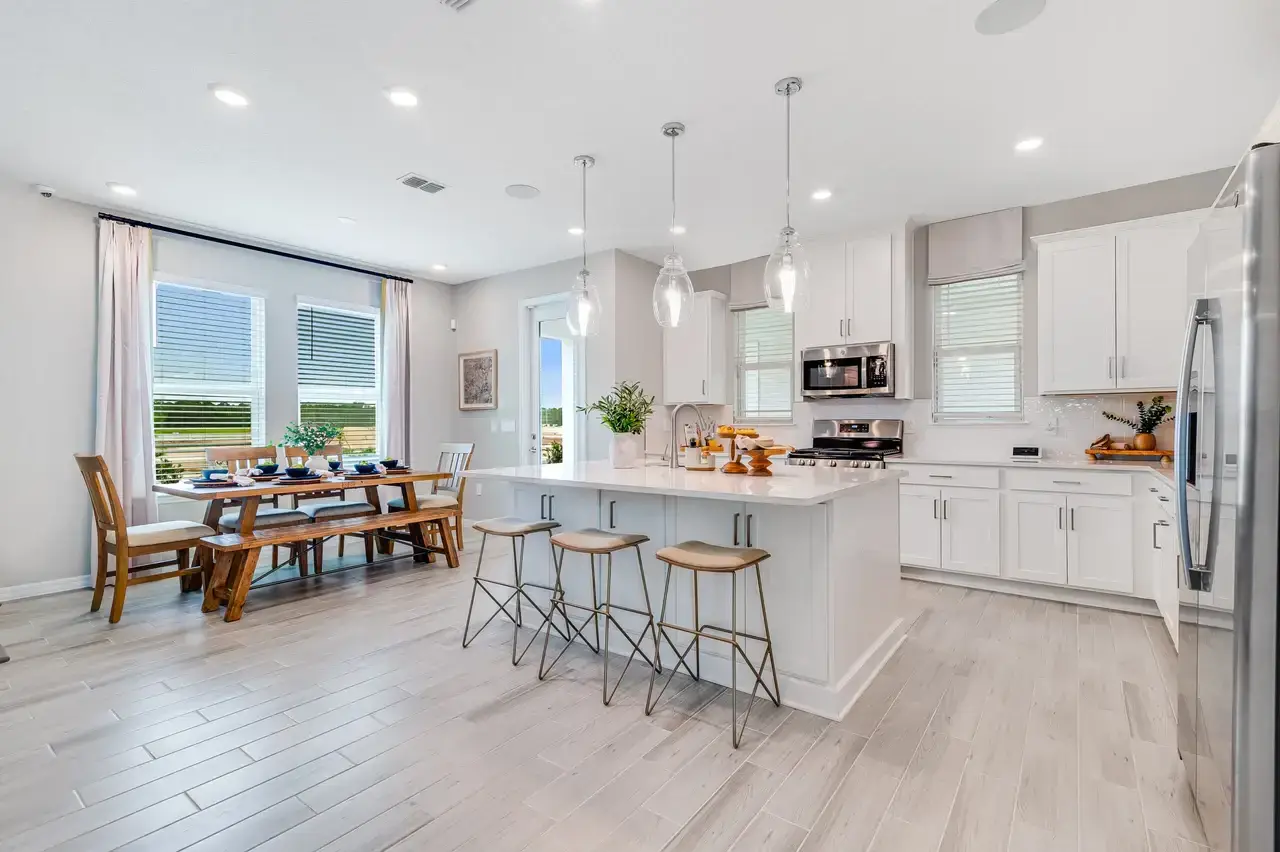
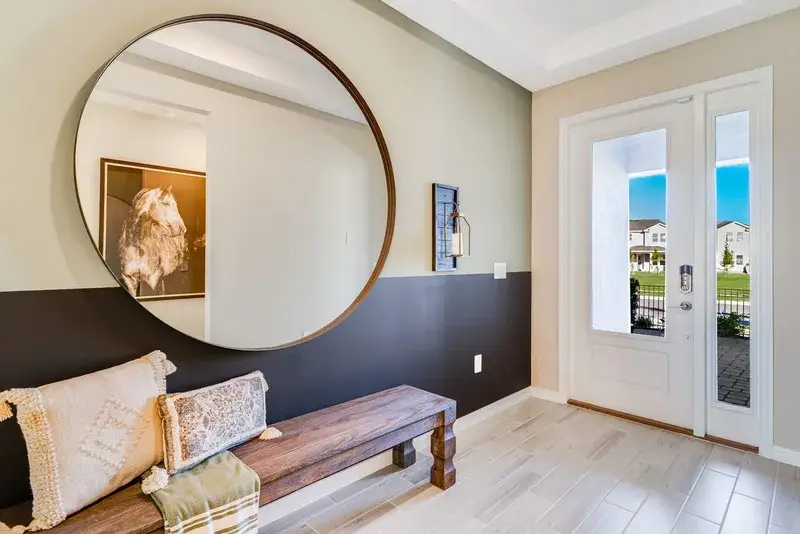
HDR photography is ideal for properties with tricky lighting, like bright windows and shadowy interiors, offering balanced lighting and enhanced detail. Standard photography works best for evenly lit spaces and is faster and more affordable.
Key Differences:
- HDR Photography:
- Combines multiple exposures for balanced light and detail.
- Great for high-contrast lighting (e.g., bright windows, dark corners).
- Requires more time and equipment (tripod, software).
- Produces larger files and needs post-processing.
- Standard Photography:
- Uses a single exposure.
- Suitable for evenly lit spaces.
- Faster, simpler, and cost-effective.
- Struggles with high-contrast scenes.
Quick Comparison Table:
| Feature | HDR Photography | Standard Photography |
|---|---|---|
| Light Handling | Balanced exposure in tricky lighting | Limited in high-contrast scenes |
| Detail Retention | Retains details in shadows and highlights | Loses detail in extreme lighting |
| Processing Time | Longer (requires merging exposures) | Shorter (minimal editing) |
| Cost | Higher | Lower |
| Best For | Luxury homes, mixed lighting | Budget-friendly, evenly lit properties |
HDR VS FLASH: Which is BETTER For Real Estate ...
Technical Differences Explained
HDR and standard photography handle light differently, which plays a big role in real estate photography.
How HDR Photography Works
HDR photography involves capturing three exposures: one underexposed for highlights, one normal for mid-tones, and one overexposed for shadows. These exposures are combined using software, which applies tone mapping to compress the dynamic range for standard displays while keeping details intact. This method is especially useful when the scene's dynamic range exceeds 50,000:1 . On the other hand, standard photography relies on a single exposure.
How Standard Photography Works
In standard photography, a single exposure captures the scene, limited to the camera sensor's dynamic range of about 14-15 stops. This often results in lost details in either highlights or shadows, particularly in interiors with bright windows, sunny open houses, or high-contrast lighting conditions .
Main Technical Differences
Here’s a quick comparison of the two approaches:
| Aspect | HDR Photography | Standard Photography |
|---|---|---|
| Exposure Method | Multiple exposures (usually 3) | Single exposure |
| Dynamic Range | Over 50,000:1 | Limited to 14-15 stops |
| Processing | Merging and tone mapping | Basic processing |
| File Size | Larger, up to 4x standard | Standard size |
| Equipment Needs | Tripod and specialized software | Basic camera gear |
| Shooting Time | Longer due to multiple exposures | Faster, single shot |
| Color Accuracy | Better in varied lighting | May struggle with mixed lighting |
"I would recommend Aurora HDR (now HDR Merge) to anybody starting out, based on ease of use, particularly for batch editing... It's amazingly fast, and once you've found your general edit/preset/settings, incredibly efficient and accurate." - Matias Galeano, Pro real estate photographer from HCE Visuals
For the best HDR real estate shots:
- Use a sturdy tripod to align exposures properly.
- Set the white balance manually and keep the ISO as low as possible.
- Shoot in RAW format to retain all image data.
- Avoid scenes with moving objects to prevent blending issues.
These technical differences make HDR photography a great choice for real estate listings, offering better detail and a more accurate depiction of properties in tricky lighting situations.
Visual Results in Property Listings
HDR Photo Results
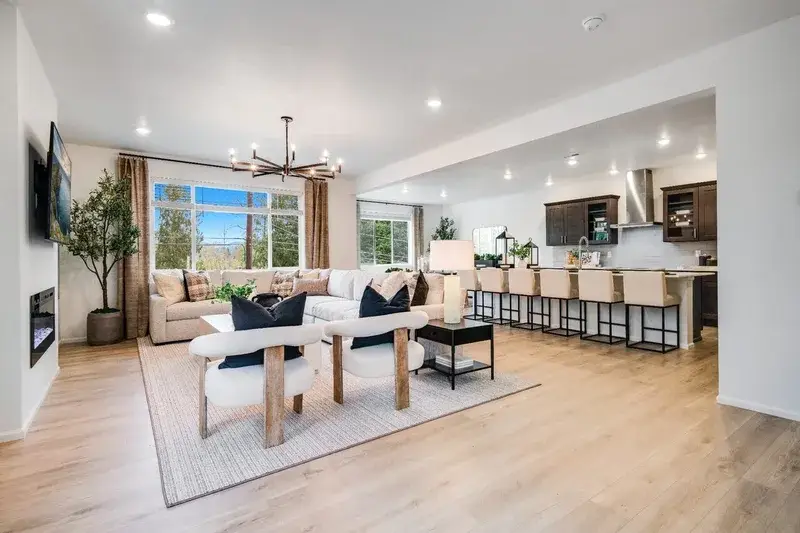
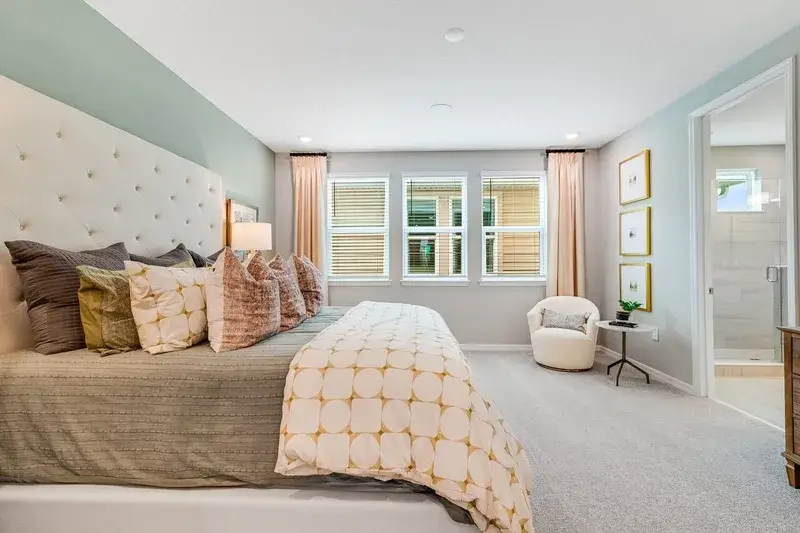
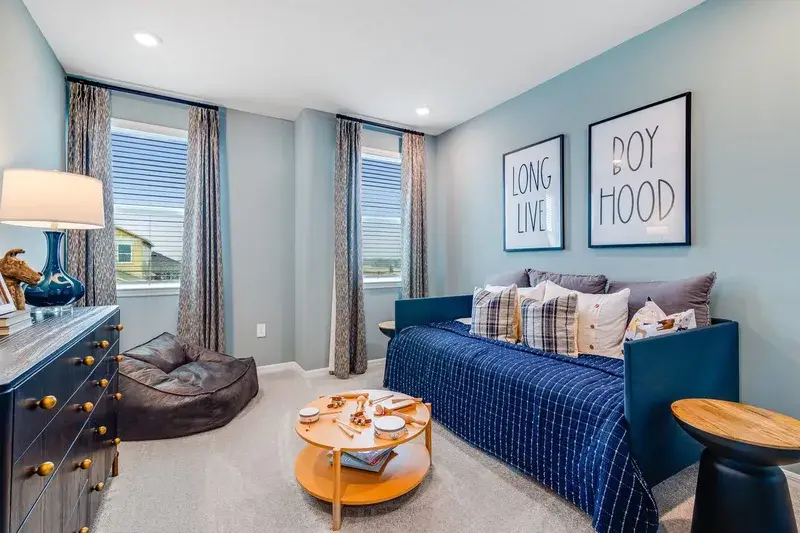
HDR photography creates balanced lighting, ensuring both bright windows and shadowed corners are clearly visible. This approach makes spaces feel welcoming and realistic.
Listings with HDR photos sell 50% faster and attract 118% more online views. The well-lit, natural look of HDR images plays a big role in capturing buyer interest.
"HDR photography is transforming real estate listings, making them more appealing and engaging to potential buyers. When agents master HDR photos, their listings are more likely to get the attention they deserve." - Giraffe360
Standard Photo Results
Standard photography often struggles in high-contrast scenarios. It forces a compromise: either overexposed windows or dim interiors.
These challenges are especially noticeable in:
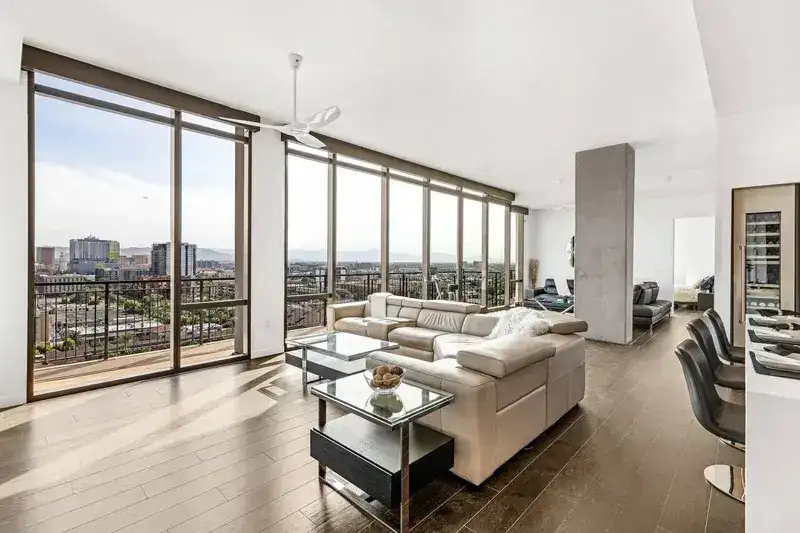
- Rooms with large windows
- Open-concept layouts with uneven lighting
- Outdoor shots taken in bright sunlight
- Spaces with multiple light sources
Direct Photo Comparisons
A side-by-side comparison reveals the key differences between HDR and standard photography:
| Feature | HDR Results | Standard Results |
|---|---|---|
| Window Views | Balanced exposure of interior and exterior | Overexposed windows or dark interiors |
| Room Details | Textures and materials remain clear | Shadows or highlights obscure details |
| Color Accuracy | Accurate colors in any lighting condition | Colors often distorted in mixed lighting |
| Architectural Elements | Depth and dimension are preserved | High-contrast areas appear flat |
| Natural Light | Evenly distributed throughout the space | Harsh light-dark transitions |
These differences greatly affect how buyers perceive a property. Homes with professional real estate photos typically command 47% higher asking prices per square foot. This premium reflects the emotional connection buyers feel when viewing high-quality images. In fact, 84% of online buyers say photos are a critical factor in their decision-making process.
HDR photography stands out by balancing light and shadow while retaining natural details. It highlights craftsmanship, showcases textures, and draws attention to standout features that standard photos might miss. This improved visual appeal helps buyers picture themselves in the space, making them more likely to schedule a visit.
Advantages and Disadvantages
After reviewing the visual results, let's break down the strengths and limitations of each method. Knowing these trade-offs helps you choose the right photography style based on a property's lighting conditions and marketing needs.
HDR Photography Pros and Cons
HDR photography shines in tricky lighting situations. By blending multiple exposures, it creates images that closely resemble how our eyes see light.
Here are some key advantages:
| Advantage | Impact on Real Estate Listings |
|---|---|
| Enhanced Detail | Brings out textures in wood grain, tile work, and architectural features |
| Balanced Exposure & Color | Captures window views, interior details, and realistic colors effectively |
However, HDR does have its downsides:
- Requires more time due to capturing and merging multiple exposures.
- Can produce ghosting effects with moving objects.
- Risk of unnatural, oversaturated colors.
- Not suitable for low-contrast scenes or when silhouettes are desired.
Standard Photography Pros and Cons
Standard photography remains a reliable option for real estate marketing, thanks to its simplicity.
Some benefits include:
| Advantage | Description |
|---|---|
| Cost-Effective | Typically more affordable than HDR processing. |
| Quick Turnaround | Requires less post-production time. |
| Natural Look | Delivers realistic results in well-balanced lighting. |
| Simpler Workflow | Easier for both photographers and editors to handle. |
That said, standard photography struggles in high-contrast settings:
- Limited ability to capture the full range of brightness indoors.
- Details in shadows or highlights may be lost.
Choosing between HDR and standard photography ultimately comes down to the property's features, lighting conditions, and marketing goals. HDR works well for challenging lighting, while standard photography is ideal for simpler scenes with balanced contrast.
Choosing Between HDR and Standard
When to Use HDR
HDR photography shines in tricky lighting situations, capturing a wide range of light and shadow - up to 17.6 stops compared to just 6 stops in standard photography. It works best for:
- Rooms with large windows where both the interior and exterior need to look clear
- Spaces with mixed lighting sources
- Areas with strong light contrasts
- Luxury homes featuring detailed architecture
When to Use Standard Photos
Standard photography is great for:
- Properties with evenly distributed lighting
- Listings that need quick and affordable photos
- Interiors without heavy lighting contrasts
- Exterior shots taken in ideal daylight
- Mid-range properties requiring simple representation
Decision Factors
To decide which method works best, weigh these considerations:
| Factor | Use HDR When | Use Standard When |
|---|---|---|
| Property Type | High-end or luxury homes | Entry-level or mid-range homes |
| Lighting Conditions | Challenging, with mixed or high-contrast lighting | Consistent, even lighting throughout |
| Budget | Fits a marketing budget of $229–$379 | Works within a budget of $175–$259 |
| Features | Detailed, complex architecture | Simple, straightforward layouts |
"Master multiple techniques! Become an expert at rapidly recognizing the light in a scene, and identifying which method of shooting is best." – Alice Houstons, Photographer
For the best results:
- Evaluate the property: Look at natural light, architectural style, and interior details.
- Match the market: Use HDR for high-end listings and standard for budget-friendly ones.
- Consider technical needs: HDR demands more advanced tools and skills, while standard is quicker and simpler.
Choosing the right method ensures properties are presented in the best light while staying within budget and meeting deadlines. Sometimes, blending both techniques creates the most appealing results.
Tips for Better Property Photos
To elevate your property photography, focus on refining your techniques and equipment setup. Here’s how you can achieve better results.
HDR Photography Tips
HDR photography requires precision and the right tools. Start by using a DSLR camera with these settings:
- ISO 100: Keeps image noise low.
- Aperture priority mode: Set between F7.1–11 for sharp focus.
- Lens choice: Use a 12mm lens for cropped sensors or a 17mm lens for full-frame cameras.
- RAW format: Allows greater flexibility during editing.
- Mount your camera on a sturdy tripod.
- Use a remote trigger or timer to avoid camera shake.
- Add a polarizing filter to cut down on glare.
- Take 3–5 bracketed exposures (normal, overexposed, and underexposed).
- Keep the camera perfectly still between shots.
- Consider focus stacking to ensure sharpness throughout the scene.
Standard Photography Tips
Standard photography works well under consistent lighting conditions. Follow these steps for better results:
Pre-shoot Preparation:- Create a detailed shot list and declutter the space.
- Clean everything, including windows, for a polished look.
- Open curtains and blinds to let in natural light.
- Turn on all interior lights to brighten the space.
- Shoot during the best daylight hours, like early morning or late afternoon.
- Use softboxes or reflectors to fill in shadows.
- Balance interior and exterior lighting for a cohesive look.
- Avoid harsh midday sunlight, which can create strong shadows.
- Capture shots from doorways or corners to maximize depth.
- Take multiple angles of each room.
- Highlight key architectural features.
- Add lifestyle elements, such as decor, to provide context.
Using Both Methods Together
For the best results, combine HDR and standard photography techniques. This approach allows you to address their individual weaknesses and achieve a polished final image.
- Use HDR for tricky lighting situations.
- Incorporate flash to maintain accurate colors.
- Carefully blend exposures during editing.
- Aim for natural, realistic edits.
- Capture bracketed HDR shots.
- Take additional photos with flash lighting.
- Blend the images during post-processing.
- Adjust color and contrast to ensure everything looks cohesive.
Making the Final Choice
Decide between HDR and standard photography by considering the unique traits of the property and your marketing objectives.
Property Type Considerations
According to William & Fields Media, "HDR photography elevates your listings, showing homes as bright, spacious, and full of potential" . HDR works particularly well for properties with challenging lighting, large windows, mixed light sources, or high-end finishes that demand accurate color representation. These factors often influence the budget and time required for each approach.
Budget and Timeline Factors
While HDR photography offers enhanced visuals, it comes with added costs and time commitments. Standard photography is a practical option for properties with consistent lighting conditions. HDR, on the other hand, involves:
- Greater time and monetary investment
- More intricate post-processing
- Specialized equipment
- Longer delivery schedules
Despite the higher price tag, the improved presentation can make it a worthwhile investment for certain listings.
Quick Decision Guide
Here’s a simple guide to help you choose:
| Property Characteristic | Suggested Photography |
|---|---|
| Luxury Homes | HDR Photography |
| Consistent Lighting | Standard Photography |
| Varied Lighting Conditions | HDR Photography |
| Budget-Friendly Listings | Standard Photography |
| Virtual Dusk Images | HDR Photography |
| Quick Turnaround Needed | Standard Photography |
Luxury HDR packages often include virtual dusk images, which can boost online click-through rates . Combining both methods strategically can help balance costs, timelines, and the overall appeal of your listings.


