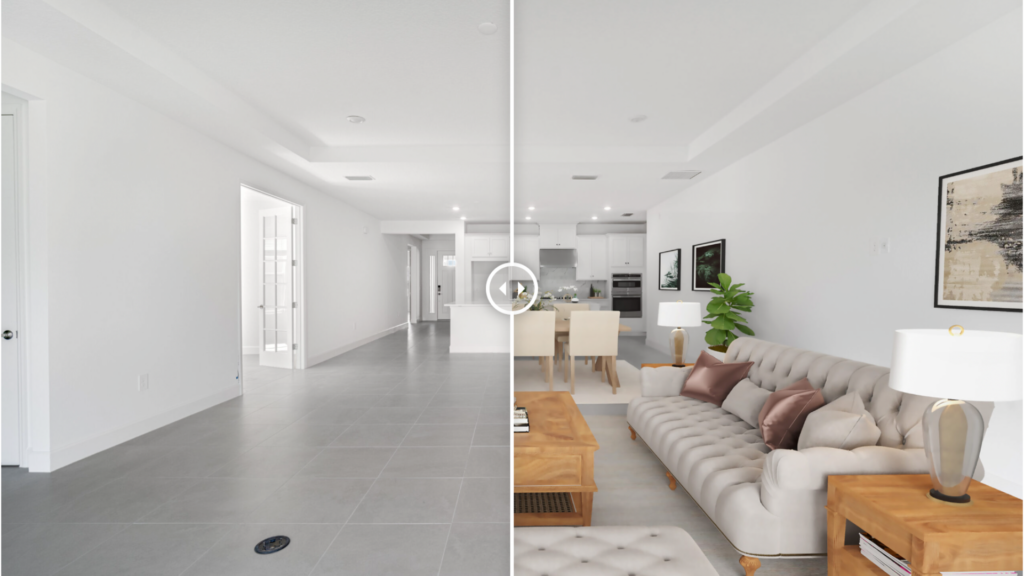
Virtual staging relies heavily on good lighting to produce photos that truly stand out. Here’s why lighting matters and how to get it right:
- Natural Light: Use soft, steady daylight during “golden hours” or late morning for realistic, inviting photos.
- Artificial Light: LED panels and diffusers help balance exposure, reduce shadows, and match natural light tones.
- Editing Tools: Adjust exposure, shadows, and highlights to fix uneven lighting and enhance details.
- Key Equipment: Use LED lights, light meters, softboxes, and tripods for professional results.
Quick Tip: Combine natural and artificial light effectively while avoiding common mistakes like mismatched color temperatures or uneven exposure.
Lighting can make or break virtual staging photos – prioritize it for better property listings.
Enhance Your Real Estate Photography with Natural Light
Working with Natural Light
Using natural light can make virtual staging photos look more appealing and realistic.
Best Times for Natural Light Photography
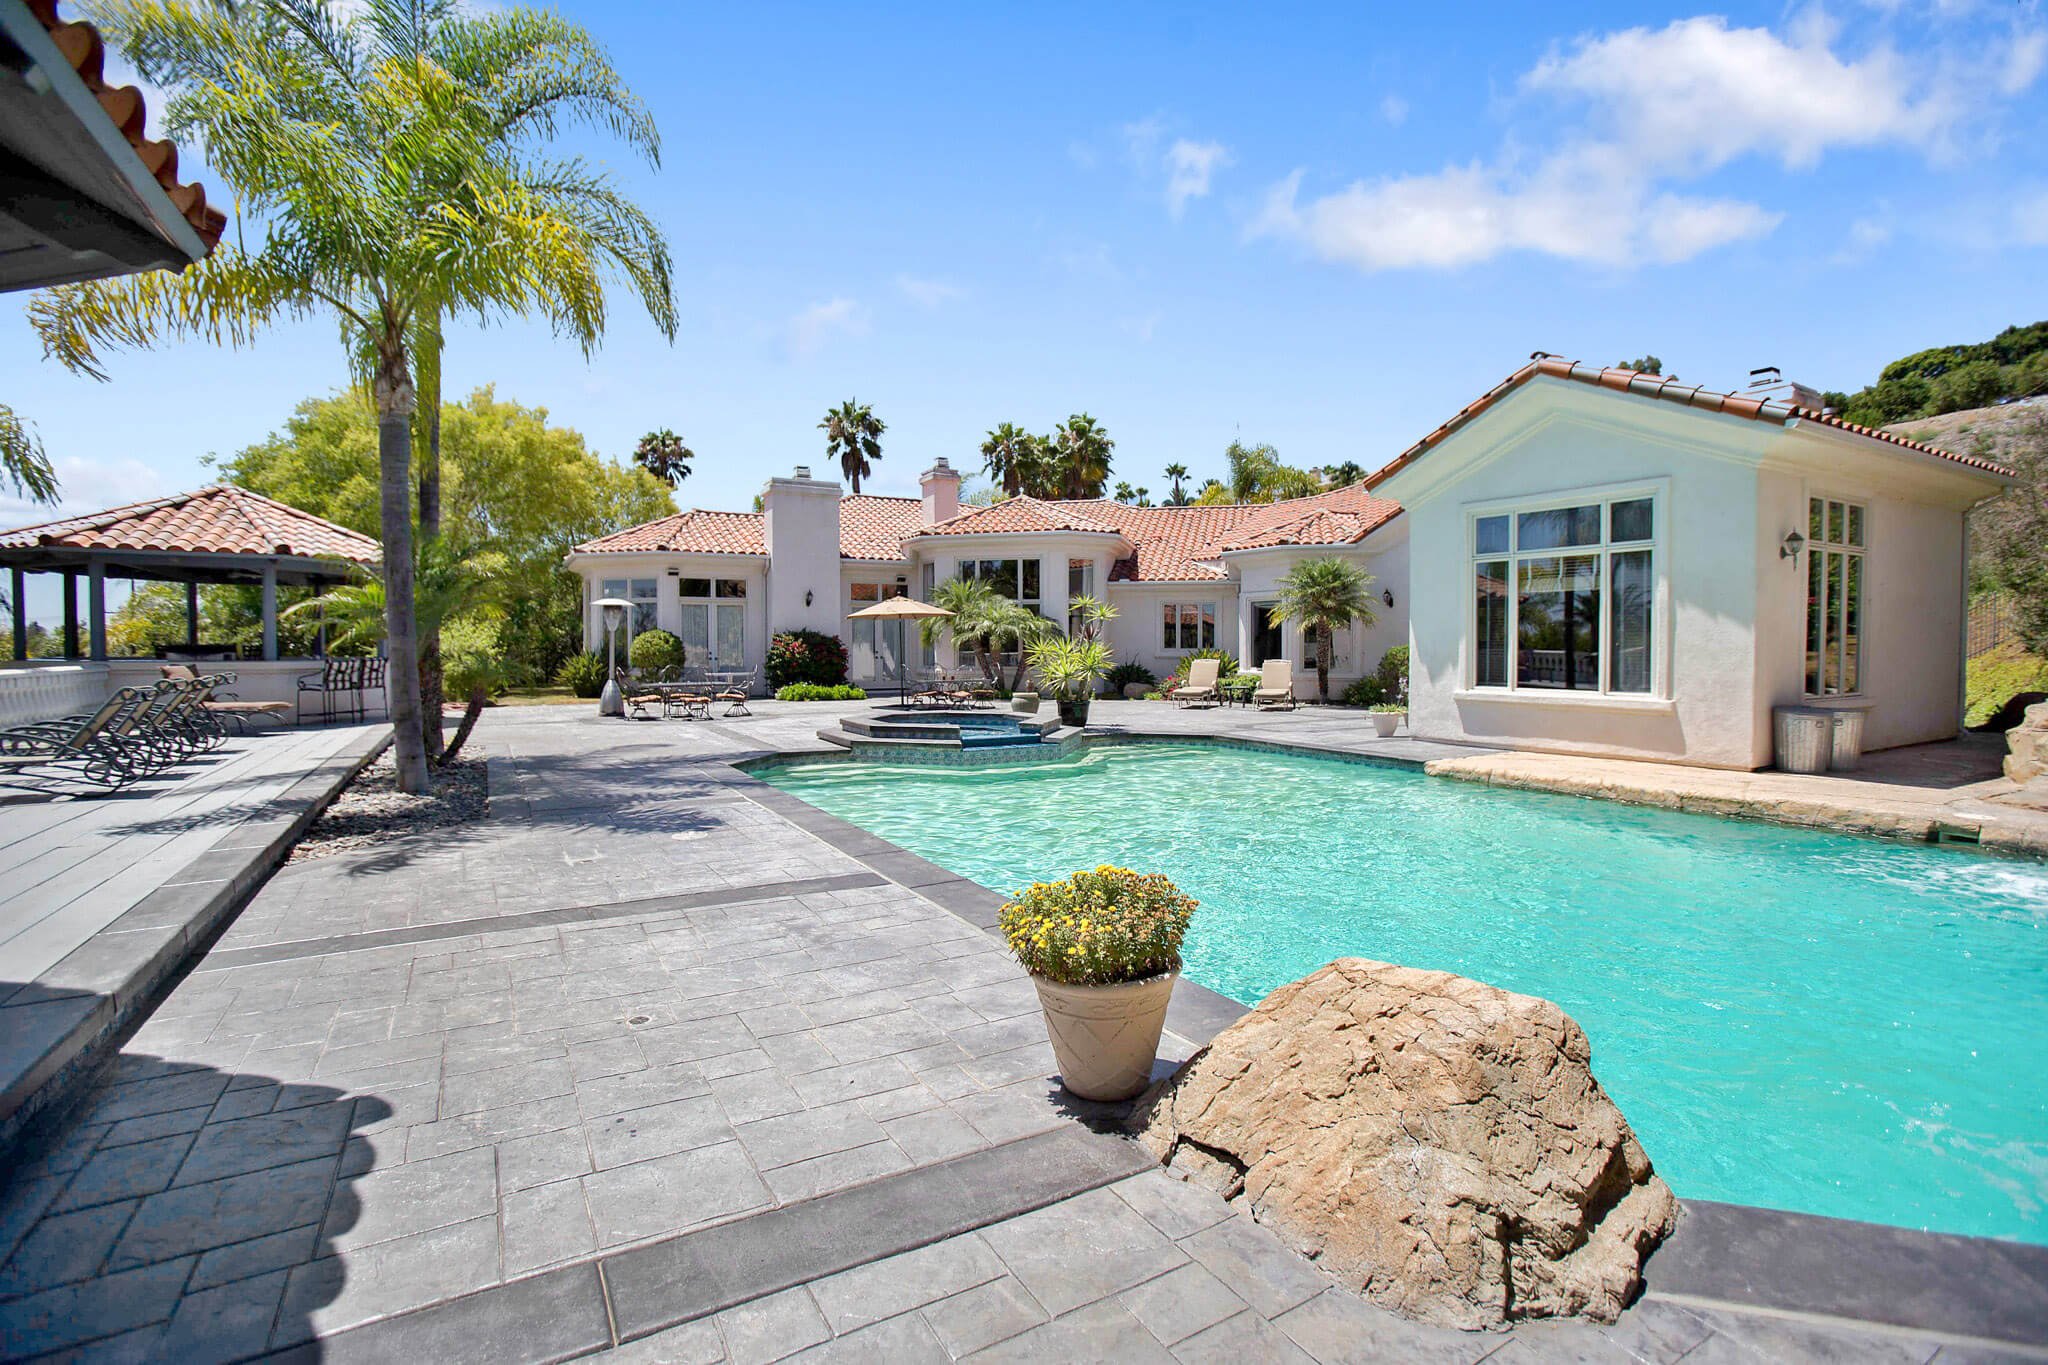
For outdoor shots, aim for the “golden hours” – the hour after sunrise or before sunset. These times provide soft, warm light that enhances property features. For indoor photos, late morning or early afternoon works best, offering steady, bright light that’s perfect for capturing interiors.
Making the Most of Indoor Natural Light
Once you’ve chosen the right time, adjust the indoor setup to let in as much light as possible. Clear away anything blocking the windows, and make sure the glass is clean to allow maximum light through. Position the camera to avoid lens flare while still capturing the natural light. To brighten darker areas, use white or light-colored reflectors to bounce light around the room for a more even look.
Solving Natural Light Challenges
If the light is patchy or inconsistent, shooting on a day with favorable weather can help. For properties with ongoing lighting issues, virtual staging services can step in to enhance the photos. Techniques like sky replacement can fix dull or overcast skies, making the images look more balanced and visually appealing. This ensures a consistent and professional appearance across all property photos.
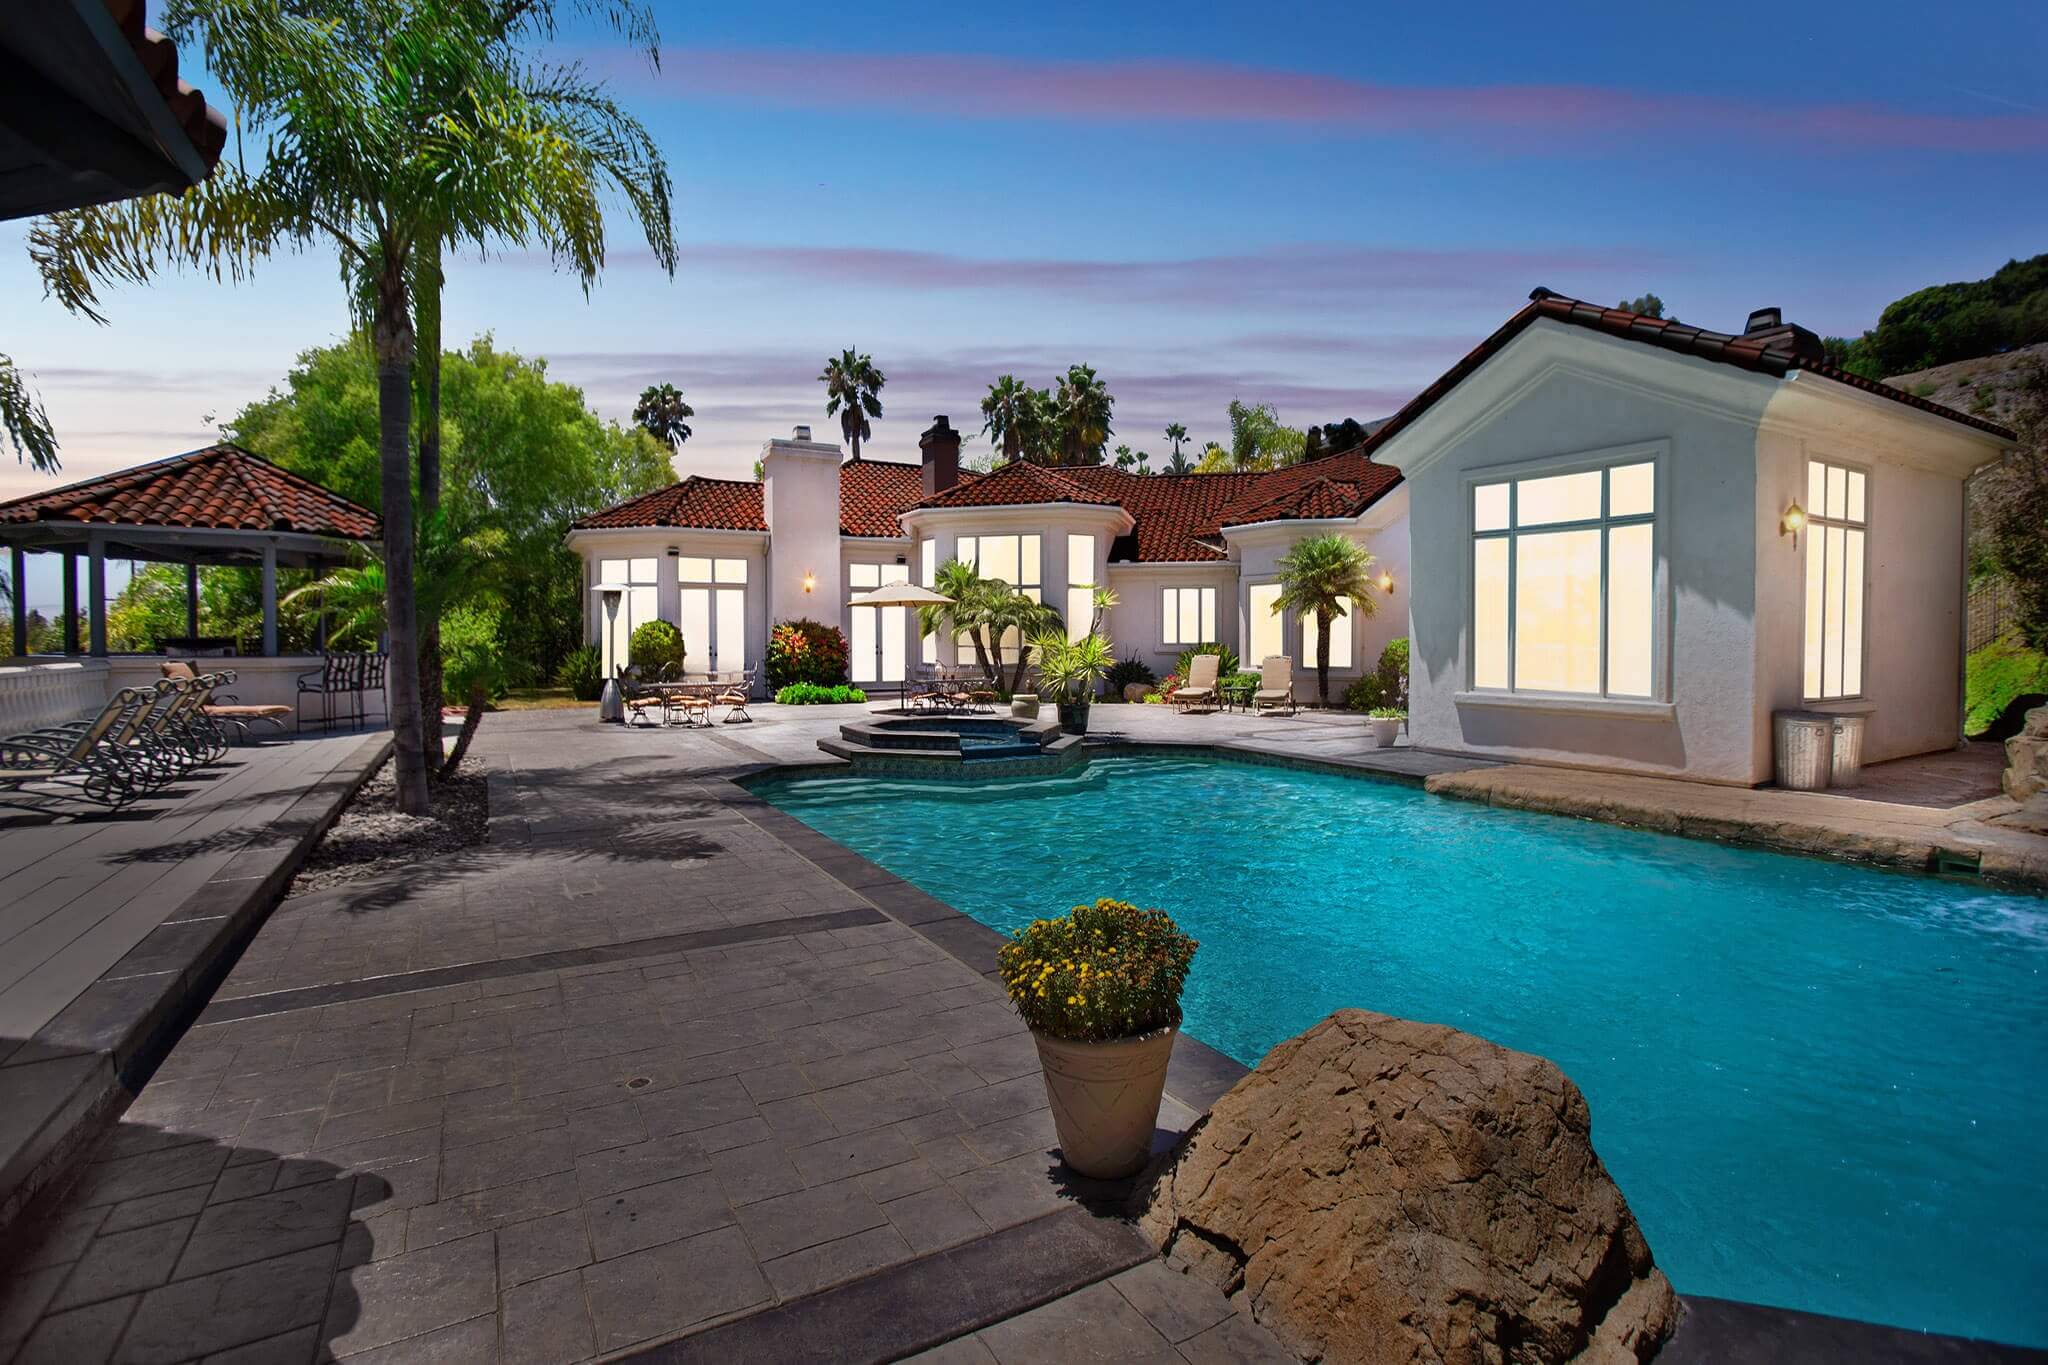
Artificial Light for Better Virtual Staging
Natural light adds a soft and inviting feel, but artificial lighting helps refine and balance exposure for polished, professional results.
Choosing the Right Lighting Equipment
Artificial lighting can transform virtual staging photos. LED panels are a great option as they provide consistent, accurate light that’s perfect for interior spaces. Position the main light at a 45-degree angle to minimize harsh shadows and add depth to the room.
For smaller spaces, portable LED panels with 600–1,000 lumens work well. Larger areas may require more powerful lights (up to 2,000 lumens) or multiple units. Consider lights with adjustable color temperatures (typically between 3,200K and 5,600K) to match the room’s ambient lighting.
Mixing Natural and Artificial Light
To create a balanced look, align the color temperature of artificial lights with that of natural daylight. For example, midday sunlight is usually around 5,500K. Use diffusers or softboxes to blend artificial light with natural light, ensuring smooth transitions without harsh contrasts.
Artificial lights are especially useful for filling in shadows while allowing natural light to remain the dominant source. Position fill lights opposite windows to even out the exposure, resulting in a natural appearance that enhances the space without looking overly lit.
Common Lighting Setup Errors
Here are some mistakes to avoid when using artificial lighting for virtual staging:
- Mismatched Color Temperatures: Combining warm artificial lights (3,200K) with cooler natural daylight (5,500K) can result in an unnatural color imbalance.
- Visible Lighting Equipment: Prevent lights from reflecting in surfaces like windows or mirrors, as this can distract from the overall look.
- Uneven Light Distribution: Avoid over-lighting one area while leaving others underexposed, which can make the space feel unbalanced.
Take test shots to identify any issues, such as hotspots, unwanted shadows, or uneven exposure. Adjust the light placement and intensity as needed to ensure your staged images are consistent and visually appealing.
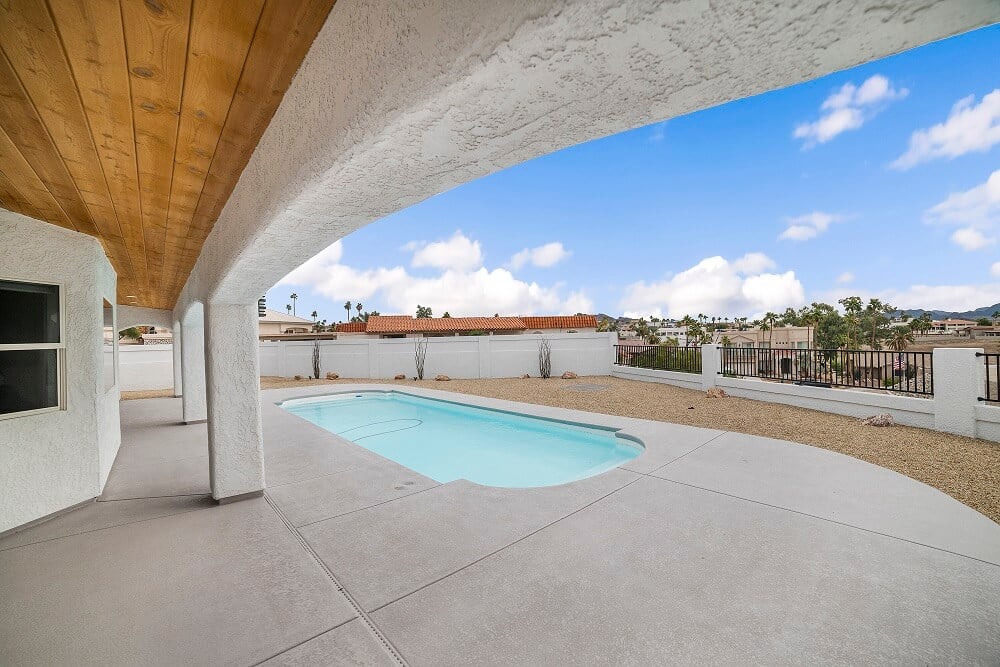
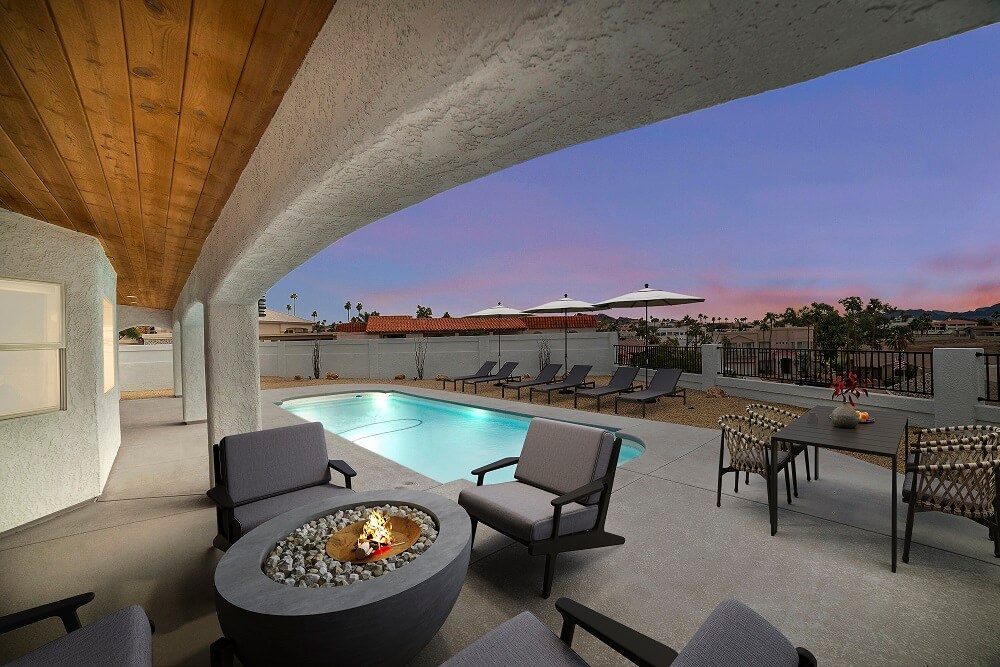
Photo Editing for Better Lighting
Adjusting Light Basics
Editing tools let you fine-tune exposure, highlights, shadows, and contrast for a balanced, natural appearance. Gradually adjust the white balance to align with daylight tones, and make slight tweaks to contrast and clarity to bring out texture and depth without making the image look overdone.
Dealing with Uneven Lighting
Photographing large spaces with multiple light sources often results in uneven lighting. Gradient or selective filters can help even out the exposure across the room. For example, you can brighten shadowy corners or tone down overly bright windows to create a balanced and realistic look.
Adding Virtual Light Effects
You can enhance photos by adding virtual light effects that blend seamlessly with the existing ambient light. Use adjustment brushes or soft fill tools to brighten shadows or mimic natural light. These techniques help create a consistent and polished appearance in your staged photos, setting the stage for more advanced lighting enhancements later on.
Steps to Better Lighting for Virtual Staging
Required Photography Equipment
For virtual staging, having the right gear is crucial to achieve optimal lighting. Here’s what you’ll need:
- Primary lighting: Two LED panel lights with 5,000 lumens and adjustable color temperature (3,000K-5,500K)
- Fill lights: Portable LED strips to brighten dark corners and reduce shadows
- Light modifiers: Softboxes or diffusers to soften and spread light evenly
- Light meter: To measure exposure accurately across the space
- Tripod: A sturdy model capable of holding at least 15 pounds of equipment
Once you have the equipment ready, focus on setting up the room to make the most of your lighting tools.
Room Setup for Better Light
Preparing the space is key to improving lighting for virtual staging. Arrange the room to balance natural and artificial light effectively. For example, move furniture away from windows to avoid harsh shadows. If the room has large windows, consider using sheer curtains to diffuse intense sunlight.
To create depth and dimension, divide the room into three lighting zones:
- Primary zone: The main living or focal area
- Secondary zone: Supporting spaces like dining areas
- Background zone: Hallways or adjoining rooms
Adjust the intensity of artificial lighting in each zone to ensure smooth transitions. Remove or reposition items that cast unwanted shadows or cause distracting reflections.
After arranging the room, use a checklist to confirm the lighting quality.
Lighting Quality Checklist
Use this checklist to ensure both natural and artificial lighting are working seamlessly:
1. Pre-shoot
- Check the weather, time of day, and available light sources.
- Identify problem areas such as reflective surfaces or dark corners.
- Test all equipment to confirm it’s functioning properly.
2. Setup Verification
- Adjust camera settings (ISO between 100-400, aperture at f/8-f/11).
- Position the main lights at 45-degree angles to the subject.
- Use the histogram to verify proper exposure and white balance.
3. Final Quality Control
- Review photos to ensure consistent exposure throughout.
- Check for well-detailed shadows and preserved highlights.
- Confirm accurate colors across all zones.
- Ensure natural light blends seamlessly with artificial light.
This systematic approach will help you achieve professional-quality lighting for your virtual staging projects.

Conclusion: Getting the Best Results
Key Points About Lighting
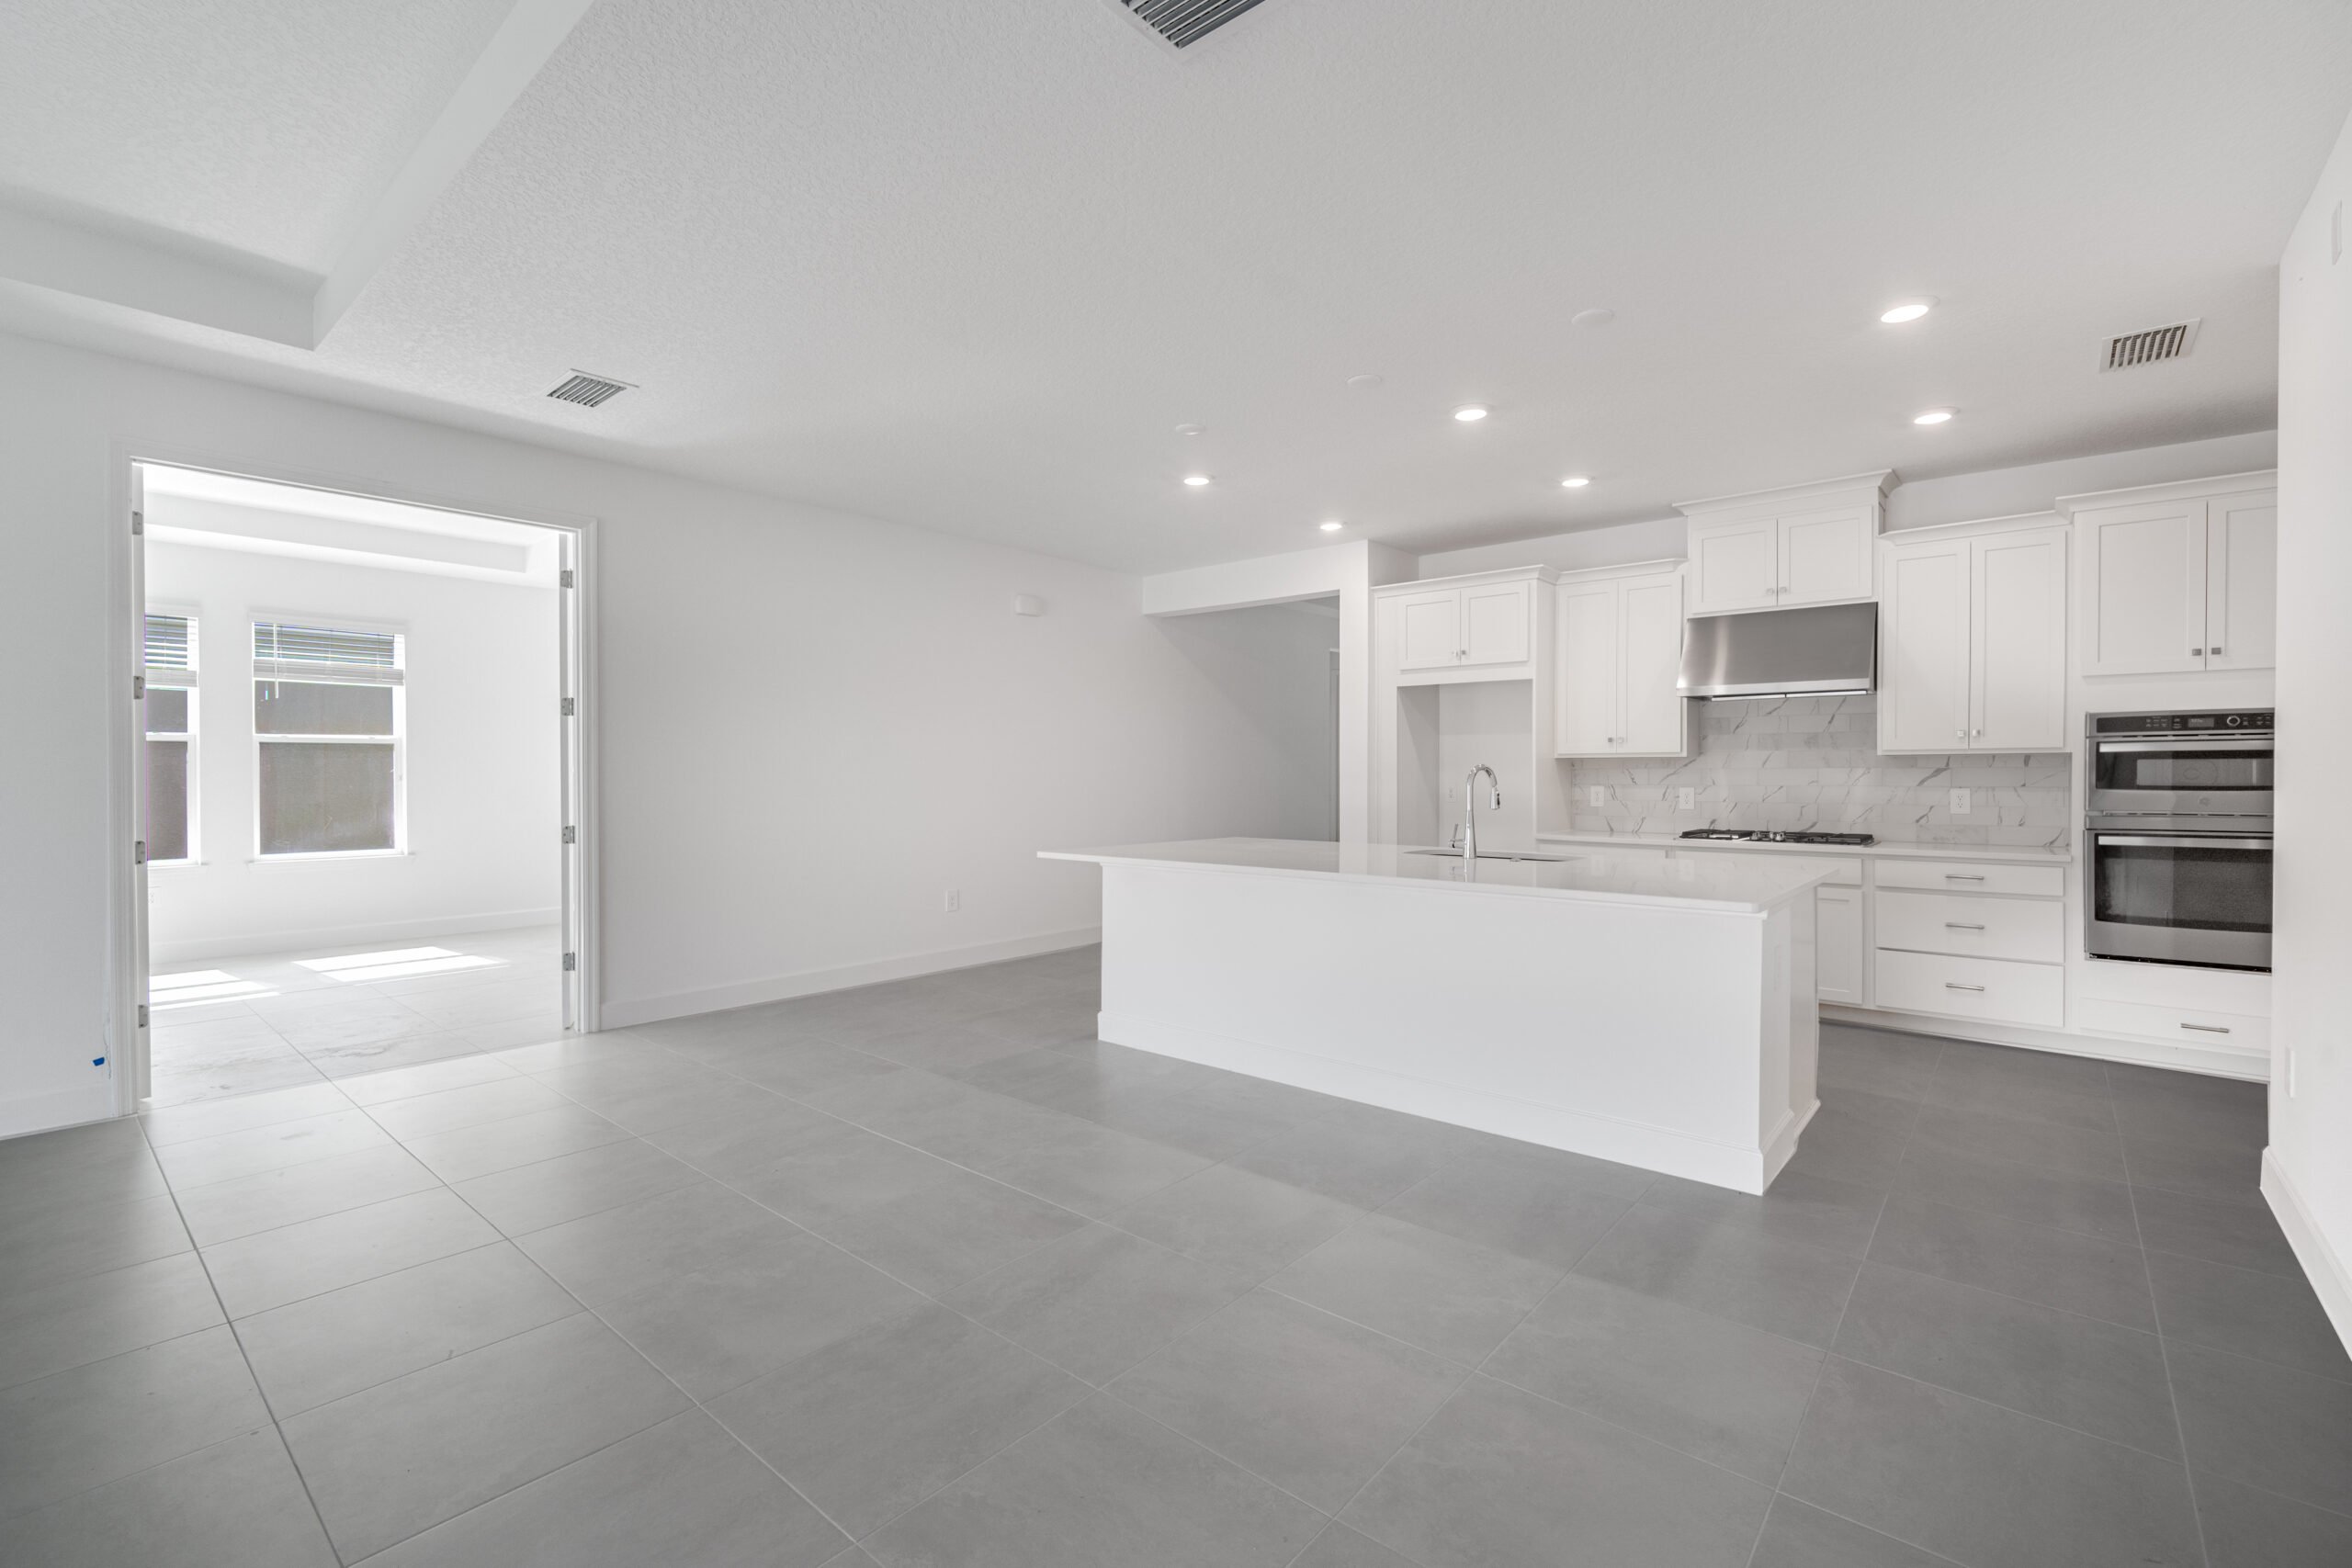
Lighting is at the heart of creating impressive virtual staging photos. Combining natural and artificial light effectively can elevate your images to a professional level. Achieving the right balance and exposure takes careful planning, while consistent quality checks ensure every photo meets high standards.
These basics set the stage for noticeable improvements.
Steps Toward Better Photos
While mastering lighting takes time and practice, professional services can provide instant results. HomeJab‘s virtual staging services, with a stellar 4.8 out of 5 rating from 865 reviews, demonstrate the impact of expert lighting techniques.
“The photos turned out absolutely fantastic – crisp, professional, and beautifully lit. The quality exceeded expectations, and the attention to detail was evident in every shot. The company was incredibly responsive and easy to work with, making scheduling and rescheduling a breeze. I highly recommend their services and would gladly book with them again!” – Liz Zeng [1]
For real estate professionals, partnering with skilled photographers who understand lighting principles is essential. Professional services offer quick turnaround times, transforming standard property photos into eye-catching, well-lit images that stand out to potential buyers.
Whether you handle photos in-house or rely on experts, maintaining high lighting standards can make a big difference in how your property listings are perceived.

