
Professional photos can sell homes faster and for more money. Here’s how to prepare your property for a photo shoot:
- Clean and Declutter: Tidy every room, clear countertops, polish surfaces, and hide personal items. Focus on kitchens, bathrooms, and living areas.
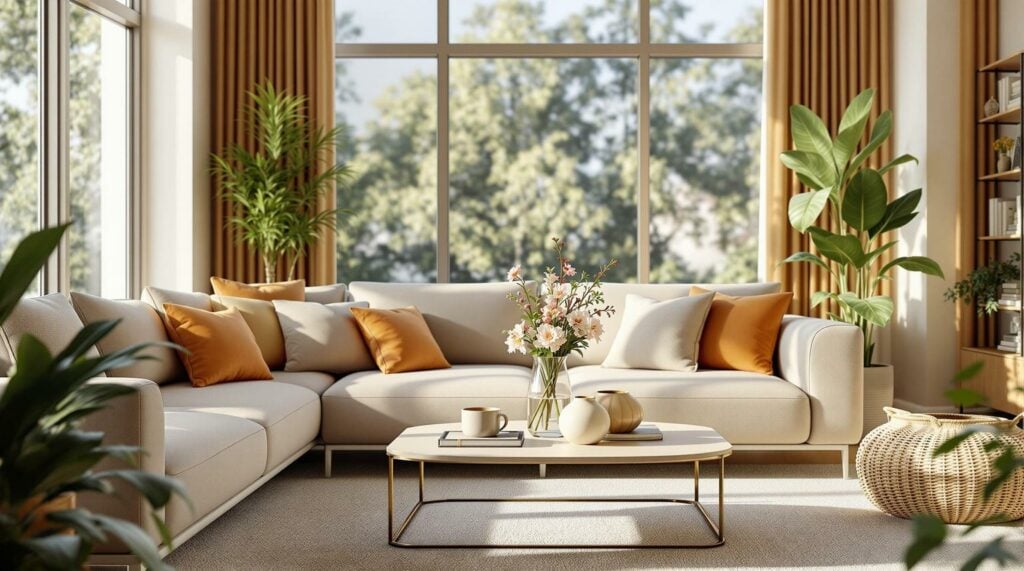
- Lighting: Maximize natural light by cleaning windows and using sheer curtains. Add layered indoor lighting with dimmers for balance.
- Staging: Arrange furniture thoughtfully, use neutral décor, and create an inviting atmosphere in main rooms like the living room and kitchen.
- Exterior: Trim the lawn, pressure wash surfaces, and remove clutter like bins or tools.
- Photo Day Checklist: Open curtains, turn on all lights, polish mirrors and glass, and add simple touches like plants or fruit bowls.
Tip: Work with your photographer by providing a shot list and highlighting key features. A well-prepped property paired with professional photos can increase listing views by 61% and help homes sell 32% faster.
Last-Minute Prep Tips for Real Estate Photo Perfection
Clean and Remove Clutter
A tidy, clutter-free property can make a big difference in how quickly and for how much a home sells. Industry data shows that professionally cleaned and decluttered homes tend to sell faster and often at higher prices.
Step-by-Step Room Cleaning Guide
Start with the rooms that make the biggest impression. For a 2,000-square-foot home, professional cleaning typically costs between $240 and $500.
In the Kitchen:
- Clear countertops, leaving only one simple centerpiece.
- Clean the sink thoroughly.
- Remove magnets, notes, and papers from the refrigerator.
- Polish appliances to eliminate fingerprints.
- Organize shelves by removing excess items.
In Bathrooms:
- Put away personal care products and toiletries.
- Hide waste bins from view.
- Polish mirrors and chrome fixtures for a spotless look.
- Remove bath mats and toilet covers.
- Clean shower doors and curtains.
In Living Spaces:
- Ensure walkways are open and uncluttered.
- Stow away remote controls and electronics.
- Keep decorative items to a minimum.
- Clean all windows and mirrors.
- Tuck away visible cables and cords.
Deep Cleaning Methods
Here are some handy cleaning tools and their costs:
| Item | Purpose | Price |
|---|---|---|
| Henry "Turbo" vacuum | Deep carpet cleaning | $179.99 |
| Spinning mop | Quick and effective floor cleaning | $39.99 |
| Magic erasers (10-pack) | Remove marks and scuffs from walls | $6.98 |
| Microfiber cloths (10-pack) | Versatile for various surfaces | $9.20 |
| All-purpose spray | General surface cleaning | $2.75 |
Commonly overlooked areas:
- Baseboards and crown molding
- Light fixtures and ceiling fans
- Window tracks and sills
- Air vents and returns
- Door frames and handles
Fresh Air and Scent Control
Once the property is thoroughly cleaned, tackle any lingering odors to make the space more appealing:
- Open windows for at least 30 minutes to let in fresh air.
- Use a mix of vinegar and baking soda to neutralize strong smells.
- Replace or clean HVAC filters.
- Deep clean carpets and upholstery.
- Remove trash and any food items.
With the property clean and smelling fresh, the next step is to focus on perfecting the lighting.
Set Up Property Lighting
Good lighting makes a huge difference when it comes to capturing high-quality property photos.
Natural Light Tips
The best time to photograph properties is during the "golden hour", which is about 1–2 hours after sunrise or before sunset. Professional photographer Bella Wang explains:
"Every photographer will tell you that the best time of day to do photos is starting/ending within 1–2 hours of sunset or sunrise".
To make the most of natural light:
- Clean windows thoroughly to let in as much light as possible.
- Replace heavy curtains with sheer ones to diffuse daylight beautifully.
Kaiko Design Interiors highlights the importance of window placement and design:
"Maximising daylight involves carefully considering the size, shape, and location of your windows. Large windows or a series of smaller ones can allow more light in, while strategic placement can make the most of the sun’s path. Using reflective surfaces inside can also enhance natural light".
Once natural light is optimized, it’s time to focus on indoor lighting.
Indoor Light Setup
To complement natural light, use a mix of ambient, task, and accent lighting for a well-balanced look. Designer Randall Whitehead offers this perspective:
"People are drawn to lights like moths to flames".
However, he also cautions:
"Lighting is often the last thing considered in a design and the first thing cut from a budget".
Room Atmosphere Setup
Creating the right atmosphere in each room involves layering different types of lighting. Expert David Warfel emphasizes that a living room benefits from multiple lighting layers to boost both functionality and style.
Here are some tips:
- Install dimmers on main light fixtures for adjustable brightness.
- Coordinate fixture finishes in open floor plans for a cohesive look.
Jeff Dross, director of education at Kichler Lighting, advises:
"You want that opulent layer of light – an even pool of light that gives you a base layer".
Joe Rey-Barreau from the American Lighting Association adds:
"Dimmers and switches are the most economical way to coordinate lighting levels".
sbb-itb-82c5f45
Prepare Main Rooms
With the property cleaned and properly lit, it’s time to focus on staging the main rooms to draw in potential buyers.
Living Room Setup
The living room often serves as the home’s centerpiece. Here’s how to make it shine:
- Arrange furniture away from walls to create an open, welcoming vibe.
- Cover patterned couches with neutral slipcovers for a polished look.
- Group an odd number of decorative items on tables or mantels for a visually appealing balance.
- Place rugs so that furniture legs are either entirely on or off them to avoid awkward layouts.
Kitchen and Bath Prep
Clear countertops of any personal items or appliances to highlight the kitchen’s workspace. As one expert puts it:
"A cluttered kitchen will not photograph well. It will look busy. Small. Not at all like the pictures that decorate magazine covers and appeal to the imaginations of your potential buyers."
In the bathroom, aim for a spa-like feel by:
- Swapping out old towels for fresh, neutral-colored ones.
- Removing personal care products from view.
- Cleaning mirrors and glass surfaces thoroughly for a streak-free shine.
- Using soft white 100-watt bulbs to create flattering lighting.
Exterior Preparation
The outside of your property is the first thing buyers see in listing photos, so it needs to impress. Start with these steps:
- Pressure wash the siding and walkways to remove dirt and grime.
- Trim bushes and mow the lawn to keep the outdoor space neat.
- Remove seasonal decorations to maintain a timeless look.
- Clear driveways and yards of vehicles, bins, and garden tools for a tidy appearance.
Photo Day Preparation
Final Checklist
Before the photographer arrives, double-check each room for the following:
- Make sure all interior lights are working.
- Open curtains and blinds to let in as much natural light as possible.
- Remove any last-minute distractions like family photos or toiletries.
- Clean and polish mirrors, windows, and glass surfaces to remove smudges or dust.
- Ensure bathrooms are spotless, with toilet lids closed and fixtures shining.
- Hide waste bins and cleaning supplies out of sight.
- Add simple, tasteful touches like a fruit bowl or potted plant to make the space more inviting.
Once everything is set, go over these details with your photographer.
Photographer Instructions
Send your photographer a detailed shot list ahead of time. Highlight key features, unique design elements, recent updates, and any specific angles you want to avoid. Sharing this information in advance prevents last-minute stress and keeps the shoot running smoothly.
Shoot Day Schedule
Start early to make sure the property is in perfect condition. Walk through each room to confirm it’s tidy, well-lit, and free of distractions. Stick to the standards you’ve already set. Once you’re satisfied, meet with your photographer to review the shot list and discuss any special requests. Stay available for any last-minute tweaks to ensure the shoot goes off without a hitch.
Conclusion
Professional real estate photography has a powerful impact on how listings perform in today’s digital marketplace. Homes that are well-prepared and feature professional photos can achieve asking prices up to 47% higher per square foot.
Preparation plays a key role in this process. Properties with 20 or more professional photos often sell within a month, compared to 70 days for listings with just one photo. As Chris Cunningham from Click Media Group explains:
"At Click, our high-quality visuals are enhanced when the property is clean, decluttered, and styled to highlight its best features. Together, preparation and professional photography create the perfect partnership."
The steps outlined earlier – cleaning, decluttering, staging, and ensuring proper lighting – are essential for showcasing a property’s best features. The numbers back this up: 85% of buyers say photos are the most important factor when deciding which homes to view.


