
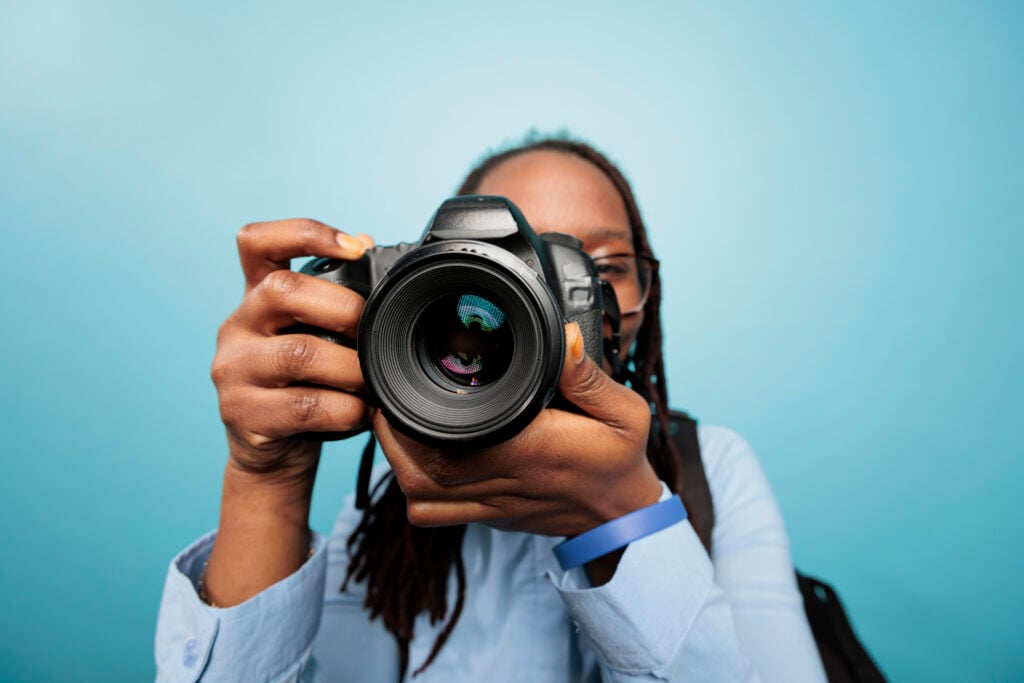
Good photography markets properties. Great photography sells them.
Just look at the stats. According to Ruby Home, homes with high-quality photos sell 32% faster than those with lower quality images. As a real estate photographer, having the right camera settings can make all the difference in your real estate photography.
In this guide, we’ll walk you through the essential equipment and the best camera settings to help you capture stunning property images. From equipment basics to mastering lighting, you’ll learn how to showcase properties in their best light. x
Let’s get started on your journey to becoming a top-tier real estate photographer.
Essential Equipment for Real Estate Photography
Before getting into camera settings, you must have the right equipment. The tools you use can make the difference between a good photo and a great one. And that difference can be why a potential buyer doesn’t make the move on a piece of property.
Investing in the best camera for real estate photography and other quality tools will not only improve your work but also set you apart in a competitive market. Here, we break down the essential equipment every real estate photographer should have in their toolkit.
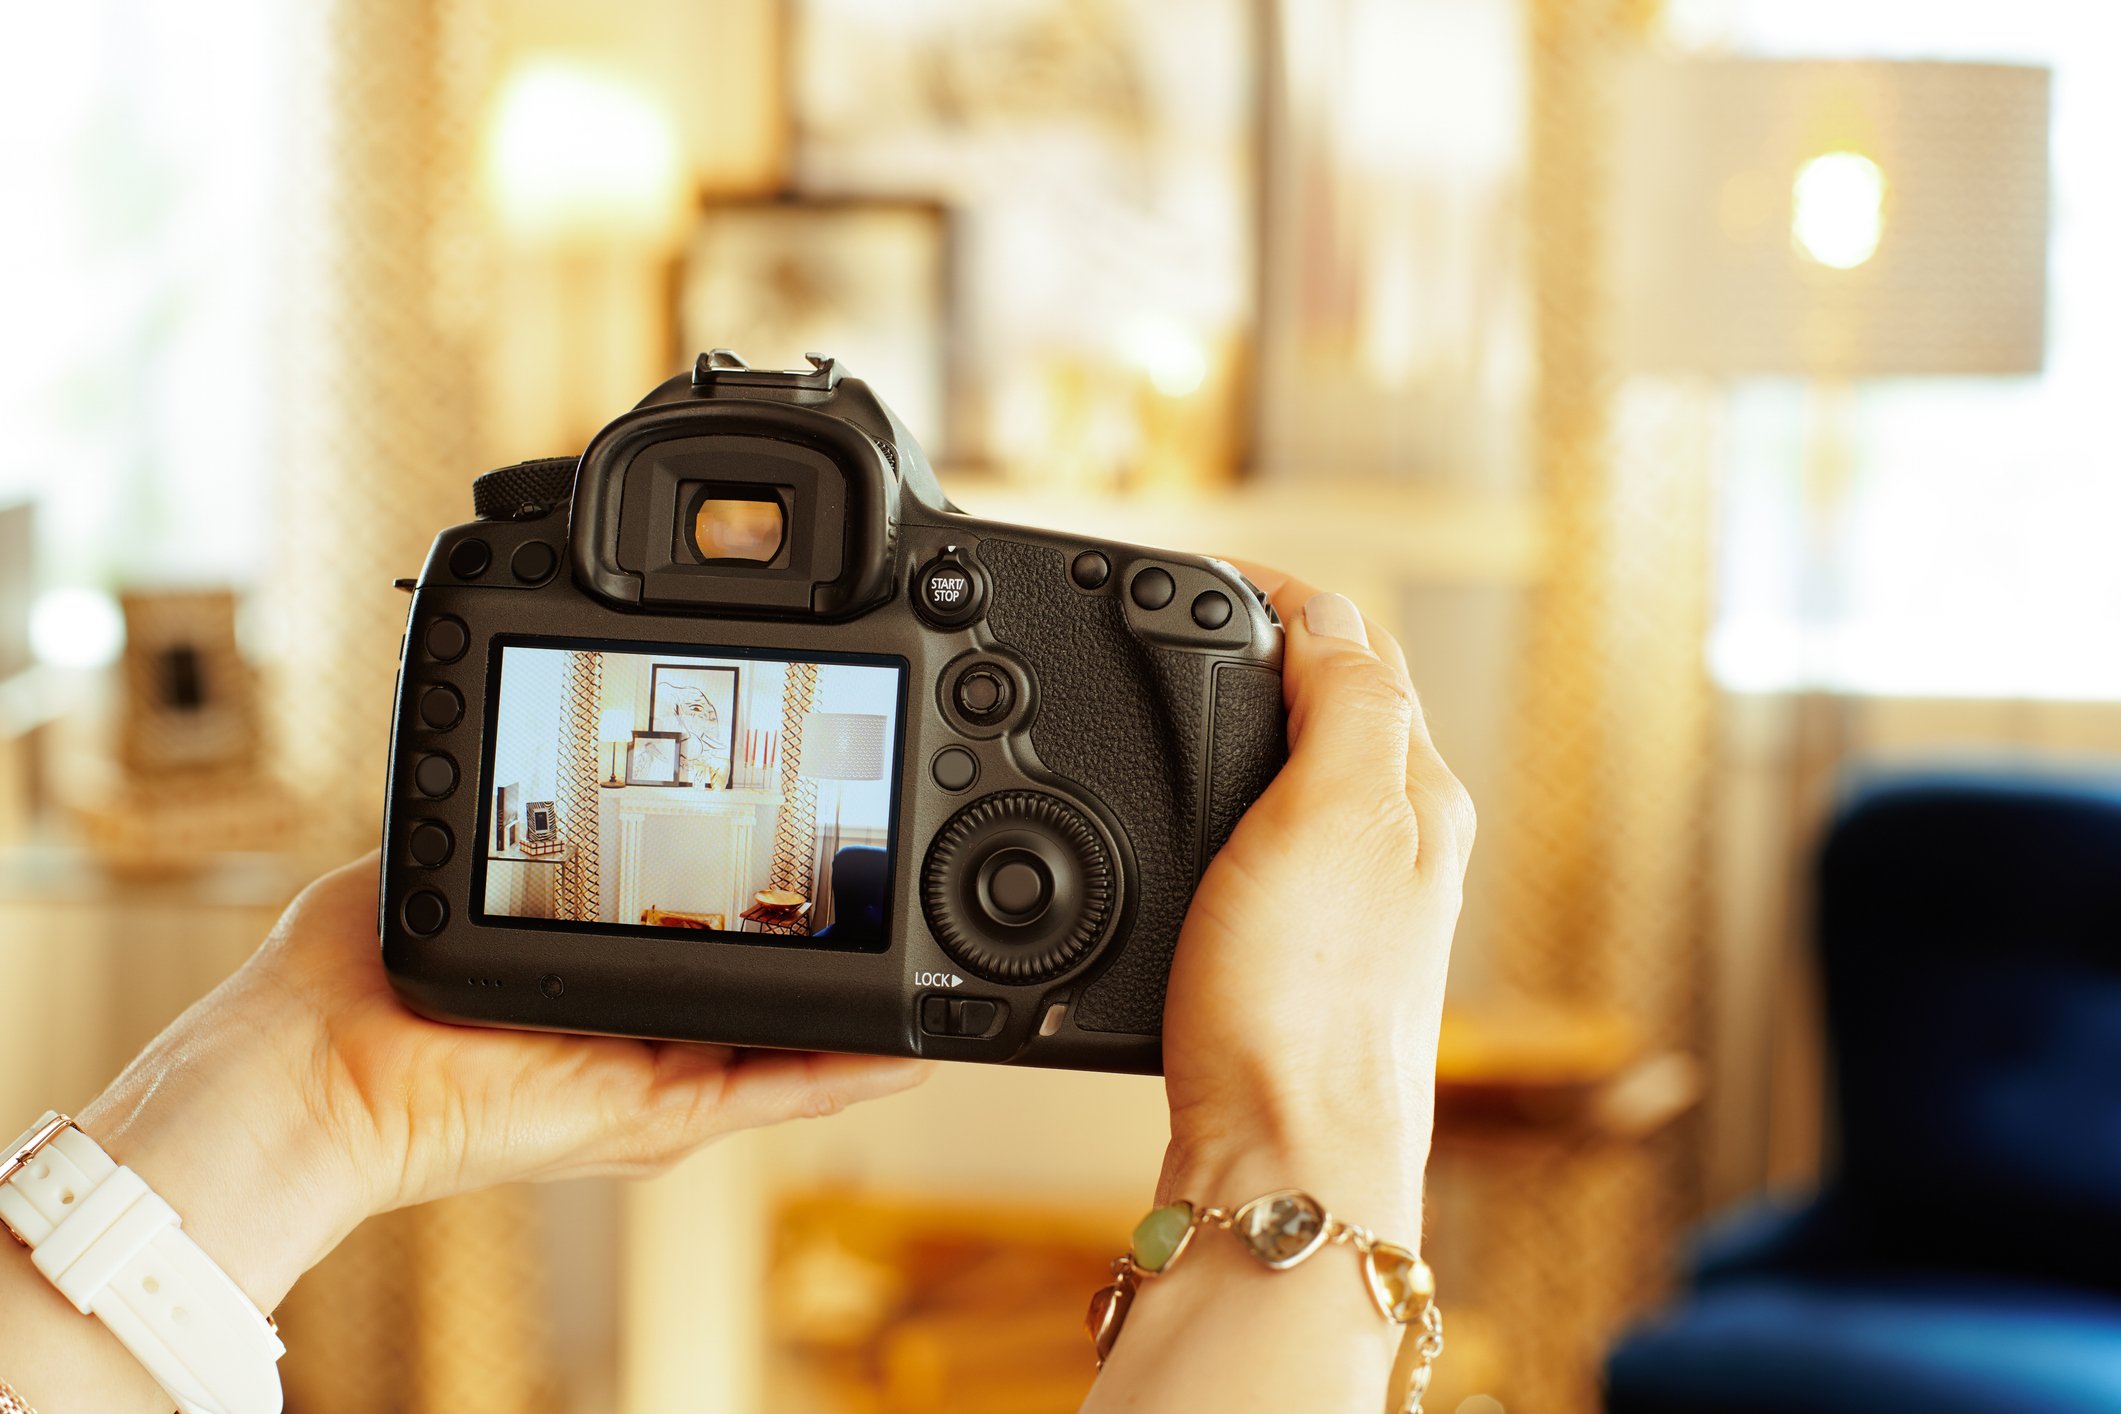
Full-Frame Sensor Camera
A full-frame sensor camera is a must-have for real estate photography. These cameras, whether mirrorless or D-SLR, offer superior image quality, especially in low-light conditions, which are common in interior shoots.
The larger sensor size captures more detail and provides a wider dynamic range. This allows you to highlight both the bright and dark areas of a room effectively.
Wide-Angle Lens
The next important piece of equipment is a wide-angle lens. For real estate photography, a lens that shoots between 12-17mm is ideal. This range allows you to capture entire rooms in a single shot, which provides a comprehensive view of the space.
Further, it’s important to avoid lenses with significant distortion, like fisheye lenses, as they can misrepresent the property. The sweet spot for most rooms is usually between 14-16mm.
Tripod
A tripod is indispensable for achieving sharp, high-quality photos, particularly when shooting HDR images. HDR (High Dynamic Range) photography involves taking multiple shots at different exposures and combining them to create a perfectly exposed image.
To make sure each shot aligns perfectly, a sturdy tripod is necessary. It also helps in low-light situations. This allows you to use slower shutter speeds without introducing camera shake.
Additional Equipment for Videography, Aerials, and 360 Tours
For those offering more than just still photography, additional specialized equipment is needed:
- Gimbal: For video shoots, a motorized camera stabilizer is a must. A gimbal ensures smooth, professional-looking footage by compensating for any camera movement. Popular models include the DJI Ronin and Zhiyun Crane.
- Drone: Aerial shots add a unique perspective to property listings. For this, a drone is very helpful. DJI models are highly recommended for their reliability and quality.
- 360 Camera: For creating immersive 3D tours, a 360 camera like the Ricoh Theta V or Z1 is required. These cameras capture the entire environment in high definition, allowing potential buyers to explore the property virtually.
Real Estate Photography Camera Settings: How Should I Set My Camera Up?
Now that you have an understanding of the right equipment needed, the next step is setting up your camera to capture the best possible images. Proper camera settings are key to showcasing properties in their best light. This is one of the most important real estate photography tips.
In this section, we’ll outline the general camera settings you should use for interior and exterior photography, as well as videos and aerial shots.
“Listing photos act as the virtual curb appeal of a home, setting the tone for a potential buyer’s interest and influencing their decision-making process.”
–Redfin
General Camera Settings Breakdown
The correct camera settings means you’ll be well-equipped to capture stunning real estate photos that genuinely showcase the properties in their best light.
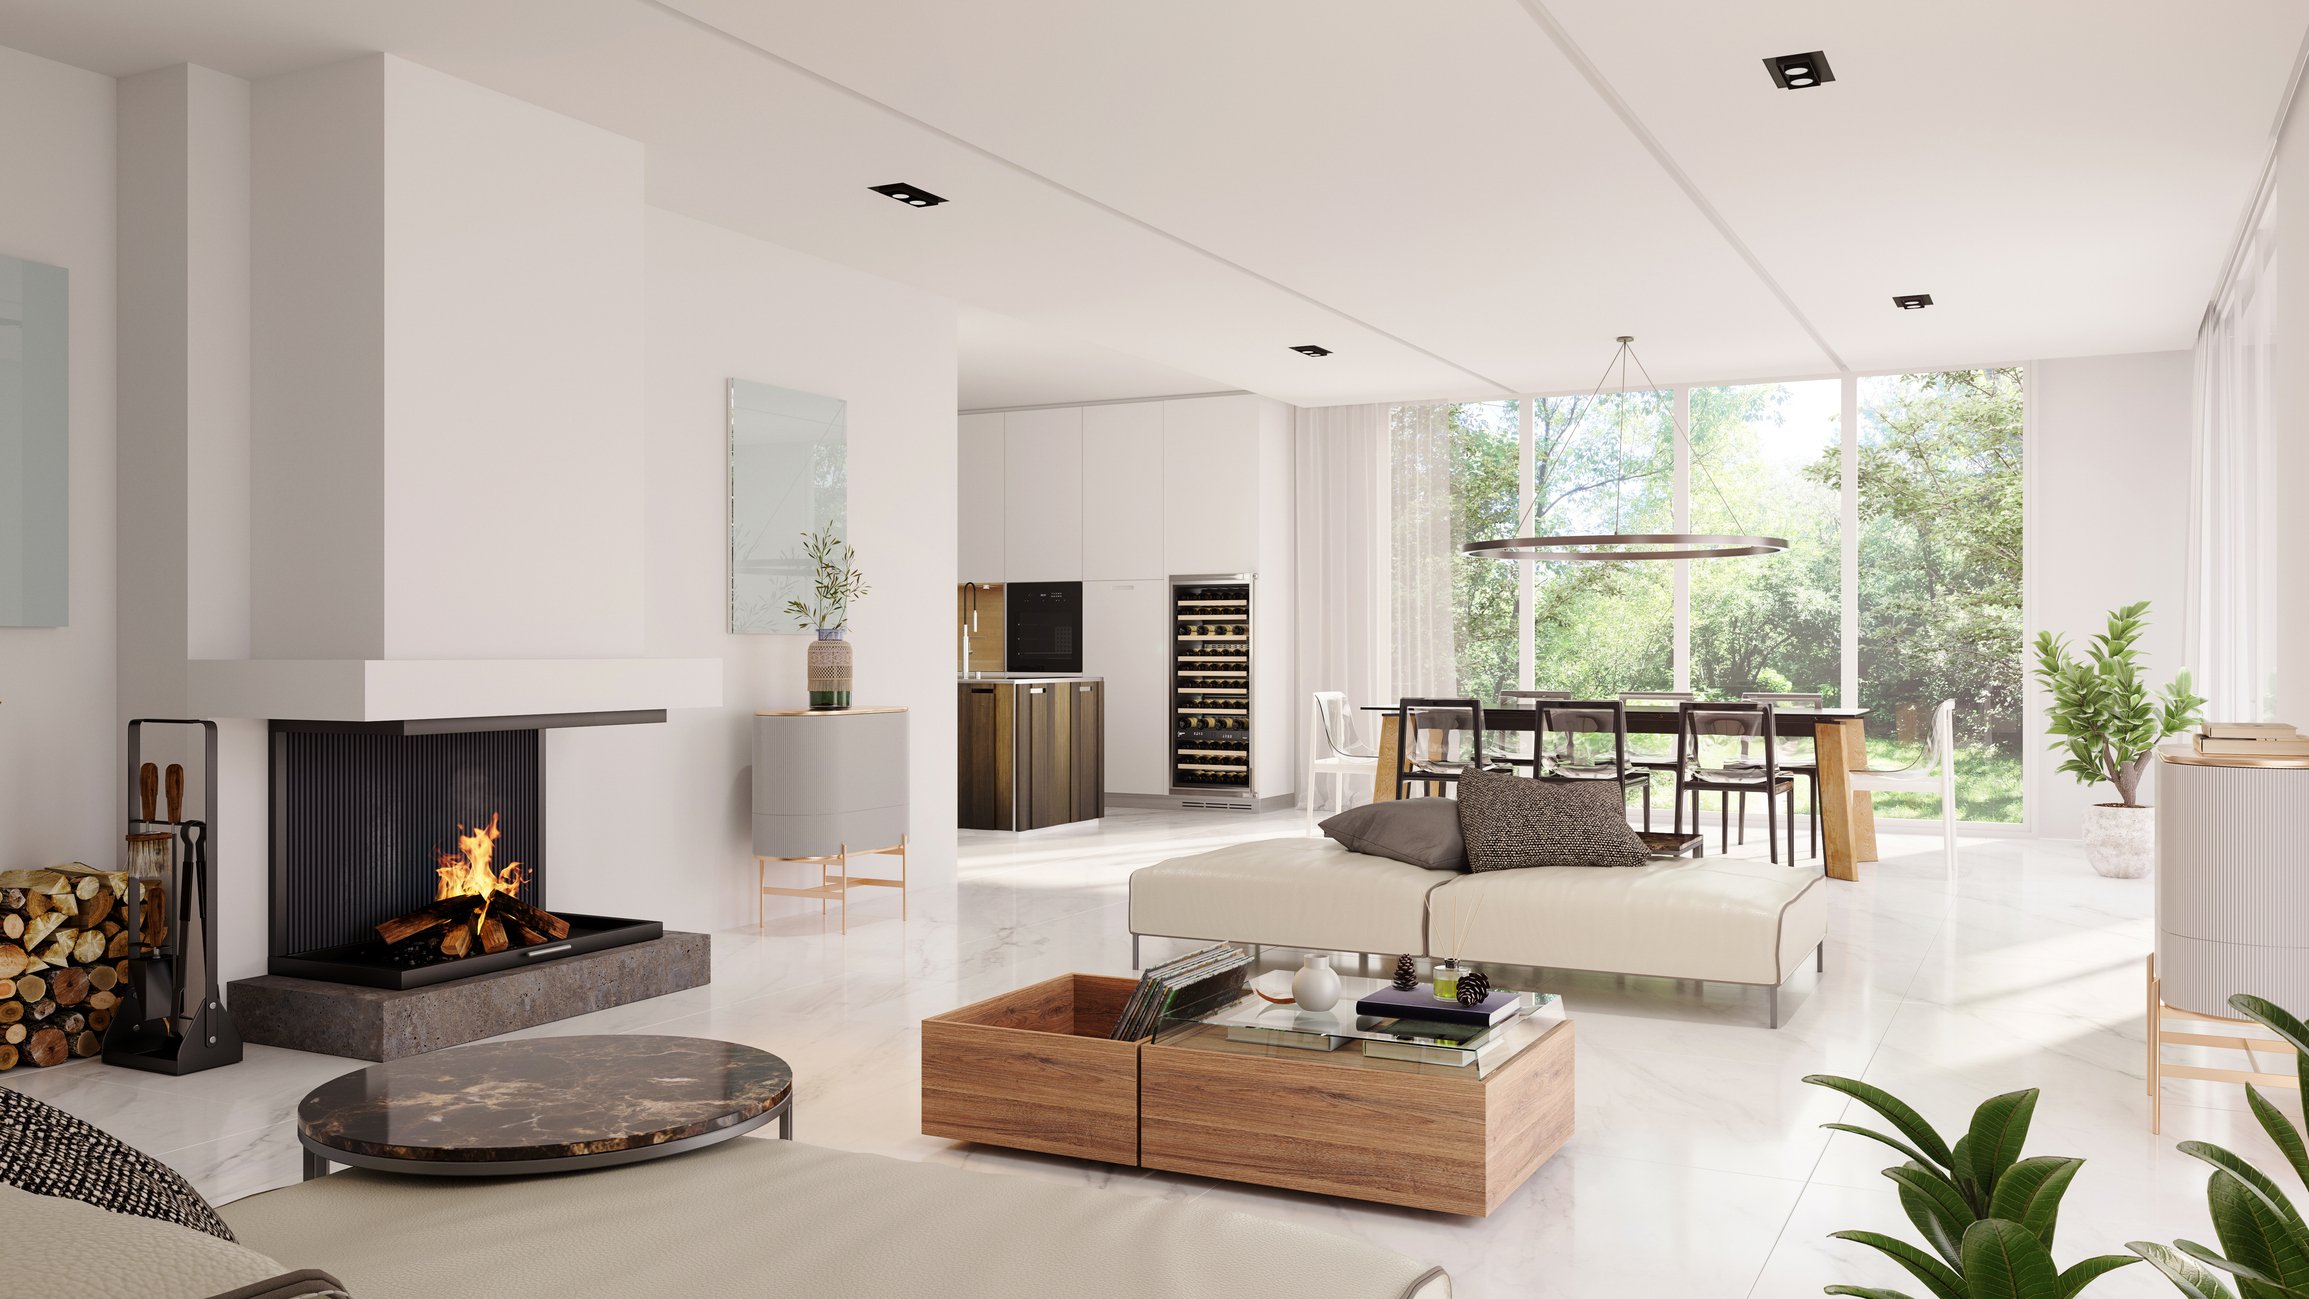
Interior Photography Settings
For interior photography, it’s important to adjust your camera settings to deal with various lighting conditions and to capture clear, detailed shots.
- ISO 400 Minimum: Start with an ISO of at least 400 to ensure your images are bright enough without introducing too much noise. Adjust as needed based on the lighting conditions.
- Shutter Speed 1/60th of a Second: Use a minimum shutter speed of 1/60th of a second to avoid motion blur, especially when shooting handheld.
- Aperture F4 or Smaller: Aim for an aperture of F4 or smaller (e.g., F5.6 – F8) to achieve a deeper depth of field, ensuring that more of the scene is in focus.
- Shooting Single Raw Interior Photos Slightly Underexposed: Underexpose your interior shots by about ½ stop. This helps in retaining details in bright areas and makes post-processing easier.
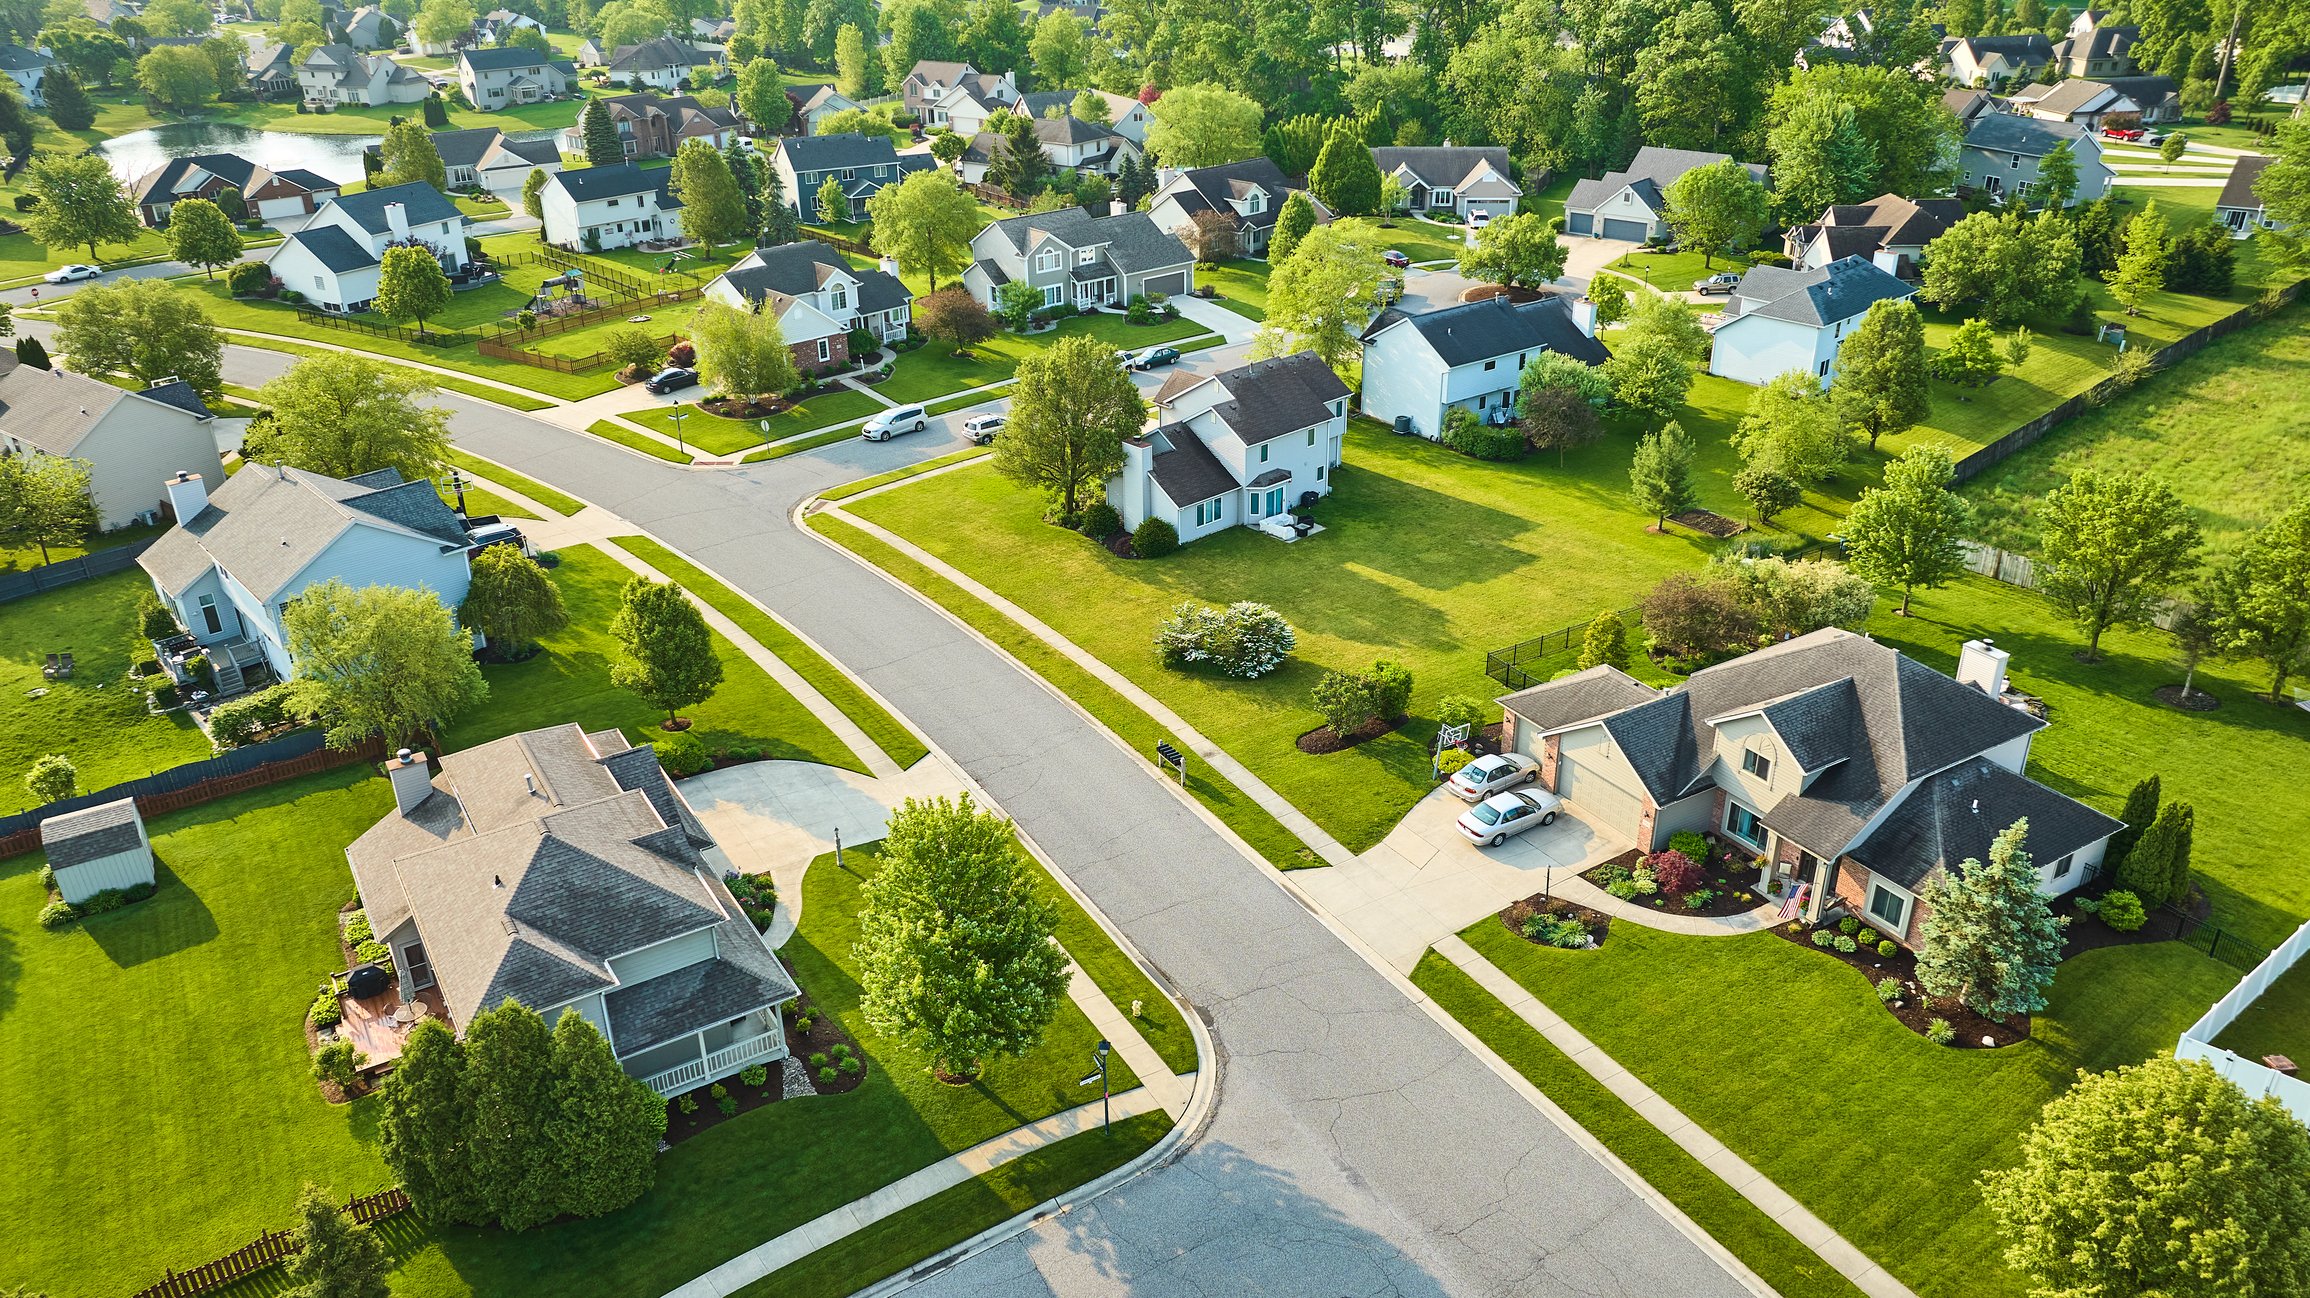
Exterior Photography Settings
When photographing exteriors, the goal is to balance the exposure to avoid harsh contrasts and maintain a natural look.
- Balanced Exposure: Focus on creating a balance between your exterior shots. Avoid overexposing the sky and underexposing the property.
- No Flash: Use natural light for exterior photos to keep the images looking realistic and avoid harsh shadows.
Video Settings
For video settings, the key is to maintain smooth, high-quality footage that accurately represents the property.
- Normal Exposure and Saturation: Shoot videos with normal exposure and saturation. Avoid using flat modes unless you plan to do extensive color grading in post-production.
- 30fps, 1080p Resolution: Record at 30 frames per second and 1080p resolution for smooth, high-definition videos.
- Aerial Video at 60fps if Possible: For aerial footage, aim for 60fps to capture more detail and allow for smoother slow-motion shots if needed.
General Settings for Taking Photos and Videos
When setting up for both photos and videos, there are a few general settings to keep in mind to ensure consistency and quality.
Manual Focus
Manual focus is how you can consistently capture sharp images, especially in challenging lighting conditions.
- Importance of Using Manual Focus Over Auto-Focus: Manual focus ensures that your images are sharp and consistent. Auto-focus can sometimes struggle in low light or complex scenes, leading to out-of-focus shots.
Aperture
Choosing the right aperture will significantly affect the sharpness and depth of field in your photos.
- Ideal Apertures for Interiors (F/8) and Exteriors (F/11): For maximum sharpness, shoot interiors at F/8 and exteriors at F/11. Adjust the aperture as needed based on the lighting conditions and desired depth of field.
White Balance
Correct white balance means that the colors in your photos are accurate and consistent.
- Using Auto White Balance vs. Manual White Balance: Auto White Balance can be useful, but it’s often better to use manual settings to ensure consistent color across all your shots. Adjust the white balance if colors look off.
Picture Profile
Adjusting the picture profile helps in controlling the final look of your images and videos, making post-processing easier.
- Recommendations for Reducing Contrast and Saturation: Use a standard picture profile but reduce contrast and saturation slightly in-camera. This helps prevent overexposed areas and makes color correction easier during editing.
Understanding Photo Format & Aspect Ratio
The right photo format and aspect ratio settings affect how your images are captured and displayed. Utilizing the correct standards here helps your work meet industry standards and look professional. It’s how to produce high-quality real estate images and videos that effectively showcase properties.
Photo Format
When it comes to photo format, always shoot in RAW. RAW format captures all the data from the camera sensor without any compression. This provides the highest quality images and gives you the most flexibility during post-processing.
RAW files retain more detail and allow for better adjustments to exposure, white balance, and color correction. This helps your final images look their best.
Aspect Ratio
The aspect ratio you choose determines the shape of your images and videos. This is how you can maintain consistency and meet platform requirements.
- Photos in 3:2 Ratio for Landscape Mode: For standard real estate photos, use a 3:2 aspect ratio. This is the typical ratio for DSLR cameras and provides a balanced composition for interior and exterior shots.
- Aerial Photos in 4:3: Aerial photos should be shot in a 4:3 aspect ratio. This format is common for drone cameras and allows you to capture more vertical space, which is ideal for showcasing the property and its surroundings.
- Videos in 16:9 Ratio (1920:1080) at 30fps: For videos, use a 16:9 aspect ratio with a resolution of 1920×1080 pixels at 30 frames per second. This is the standard format for high-definition video and ensures that your footage looks professional and is compatible with most viewing platforms.

The Importance of Lighting, Your Secret Weapon in Real Estate Photography
Lighting is foundational in all photography – and that’s no different in real estate. Mastering the use of lighting is a very simple way to improve the quality of your photos.
Proper lighting can highlight the best features of a property, create a warm and inviting atmosphere, and make spaces look larger and more appealing. But if not done right, it can create mediocre images and have the opposite effect.
Let’s explore how to use lighting effectively in your real estate shoots.
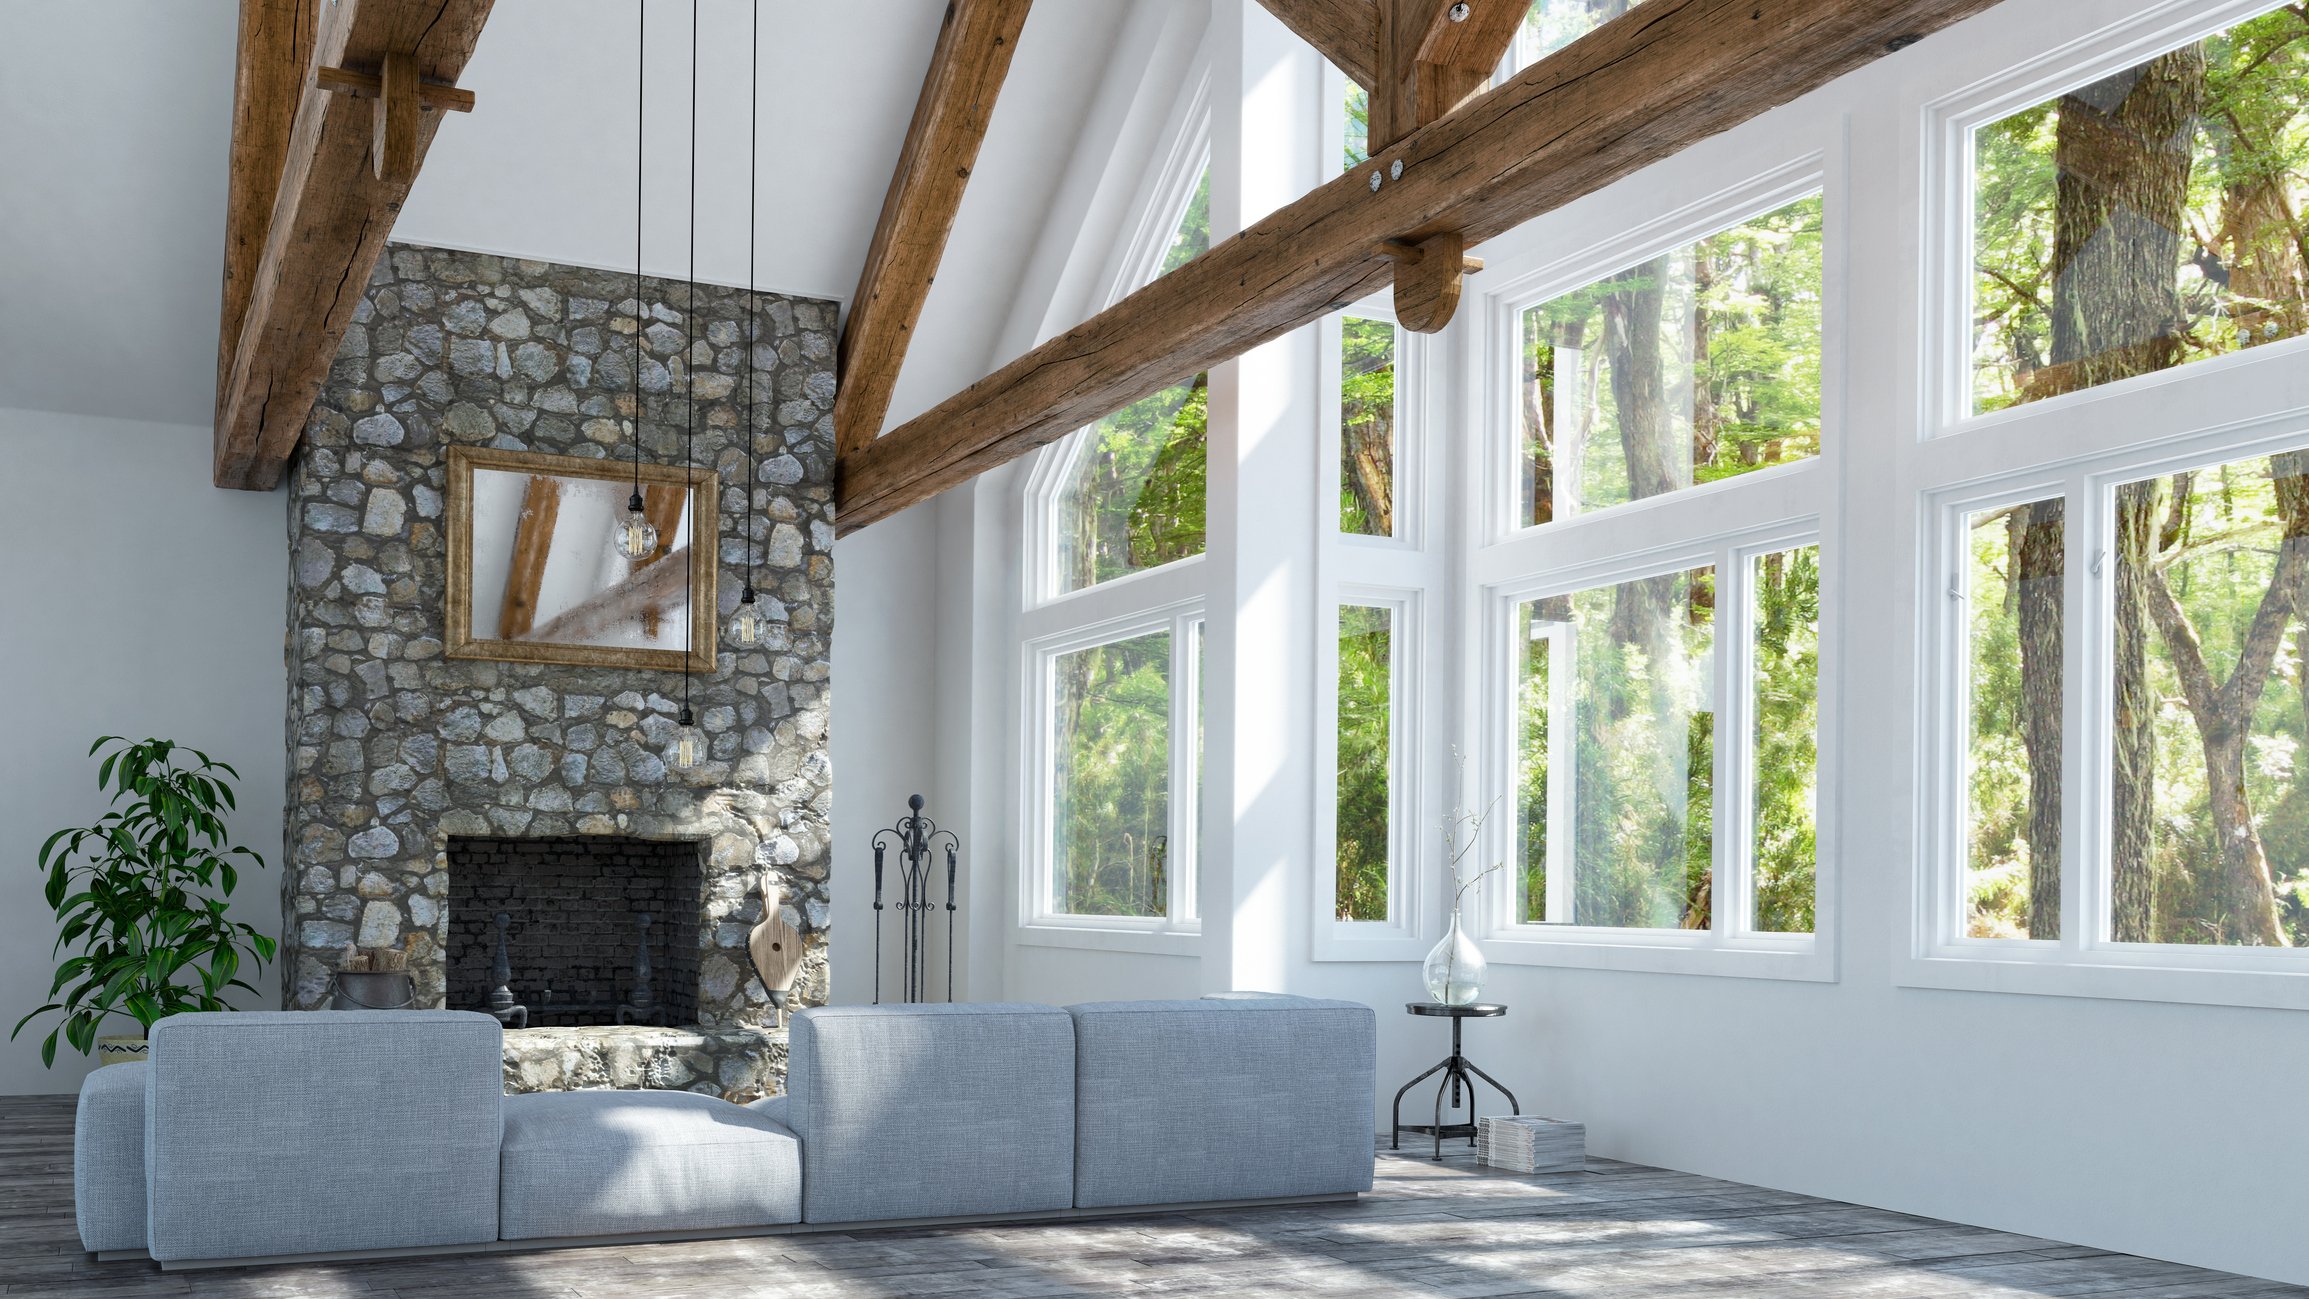
Available Light
One of the best ways to achieve natural and realistic photos is by using only available light at the property. Rely on the natural light coming from windows and the existing light fixtures within the property.
This approach helps to create a more authentic representation of the space and avoids the harsh shadows and artificial look that can come from using flash. Make sure to shoot at times of day when the natural light is most favorable, typically in the late morning or early afternoon.
Lighting Checks
Before you start shooting, confirm all light sources in the property are consistent and functioning. Check that all bulbs are the same color temperature to maintain consistent lighting throughout your photos. Replace any burnt-out bulbs and make sure all the lights are clean and free of dust.
This might seem small, but it will help avoid unwanted shadows and lead to even lighting in your shots. For instance, if a room has two side table lamps, make sure both are either on or off to avoid mismatched lighting.
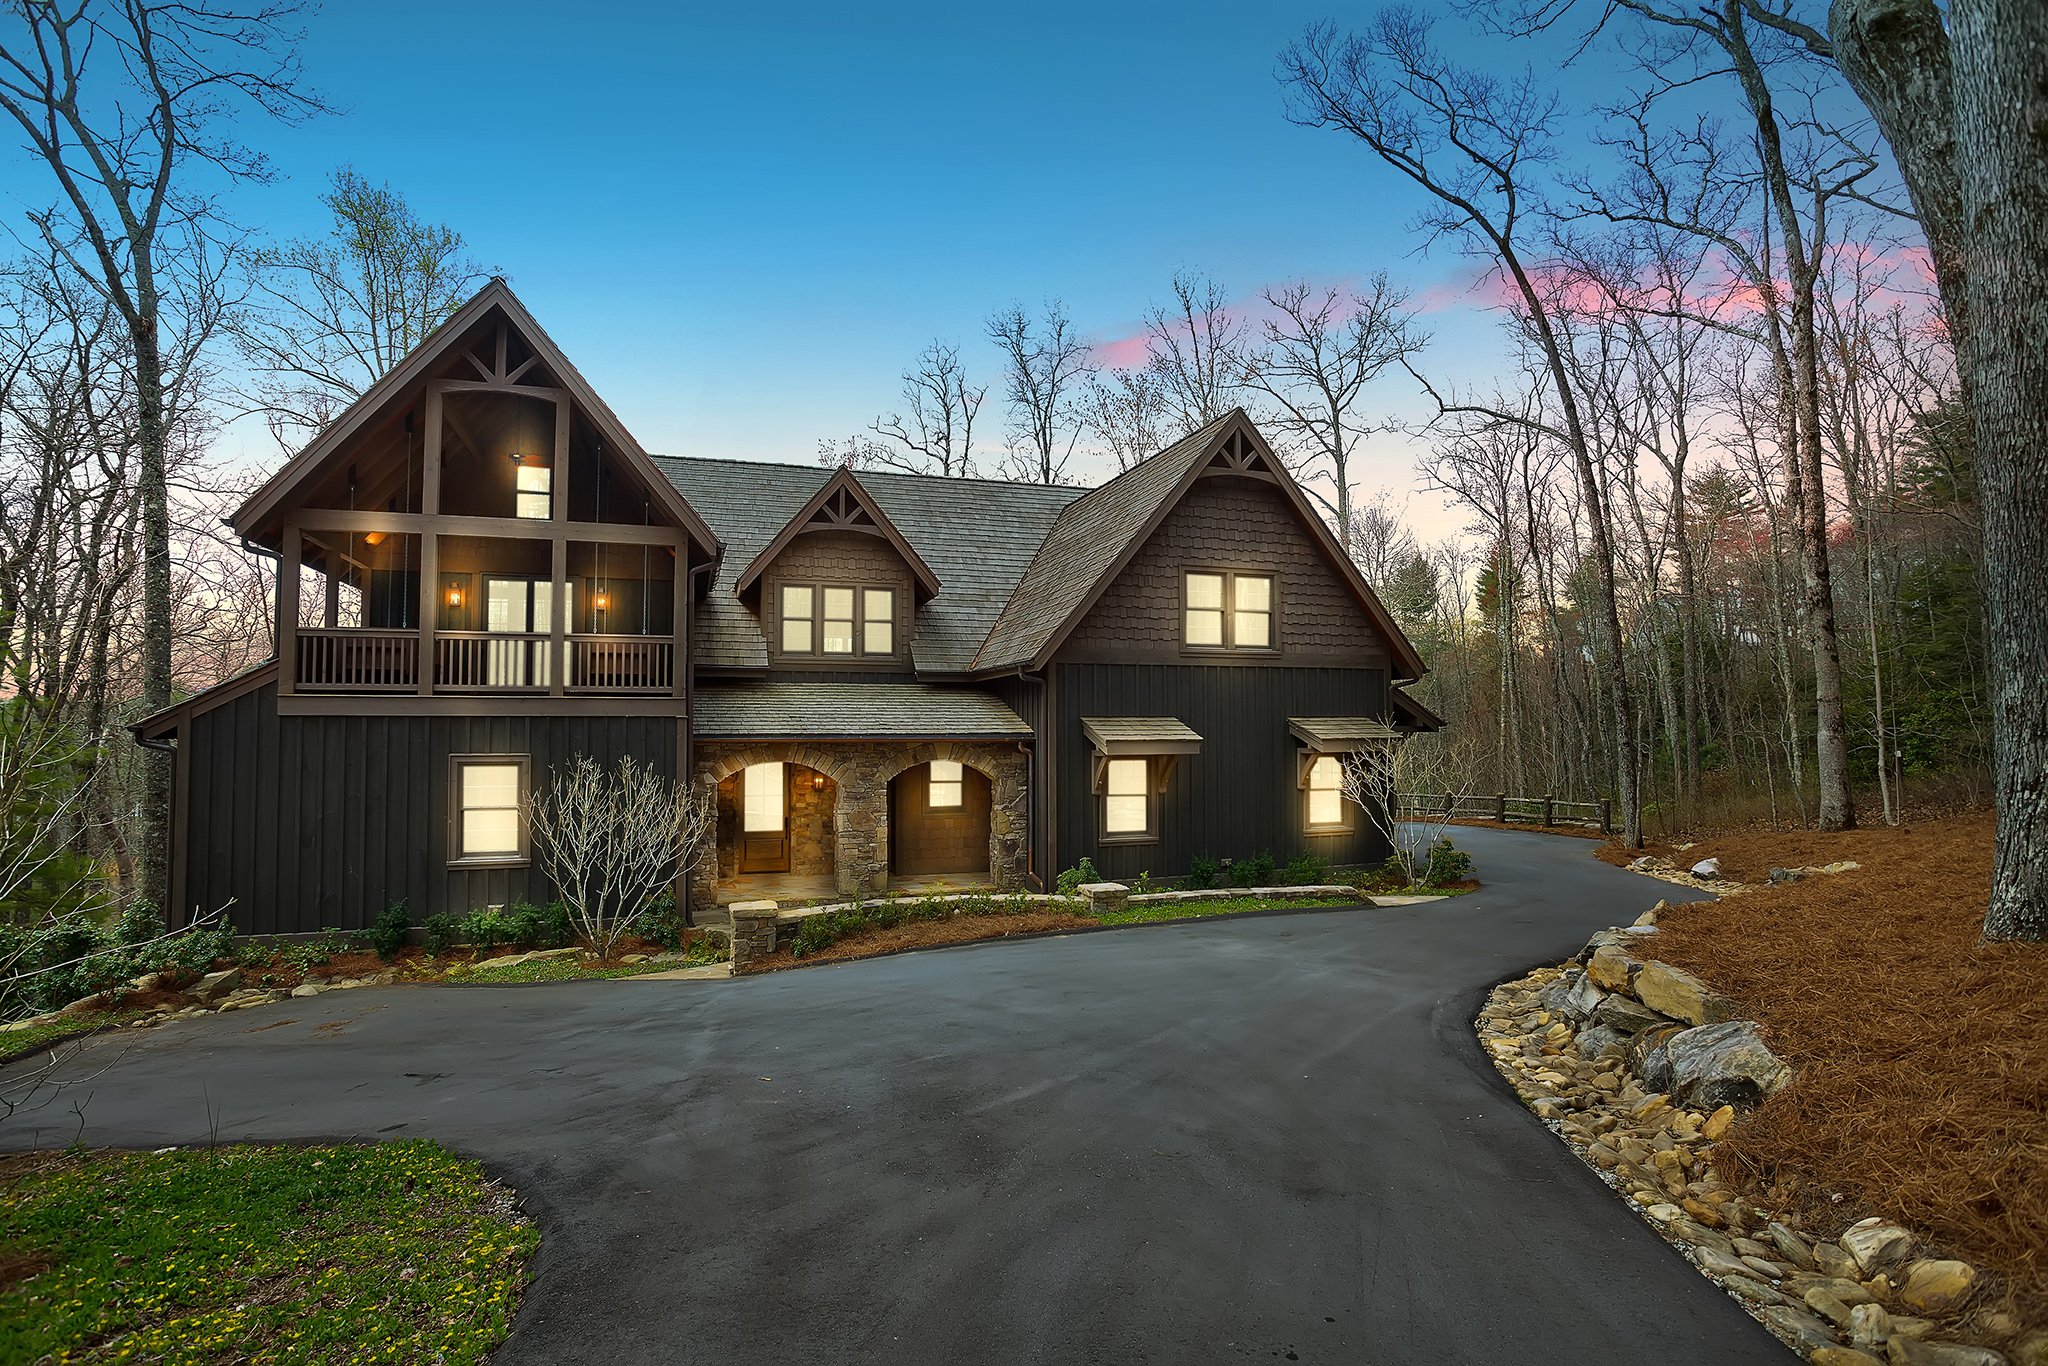
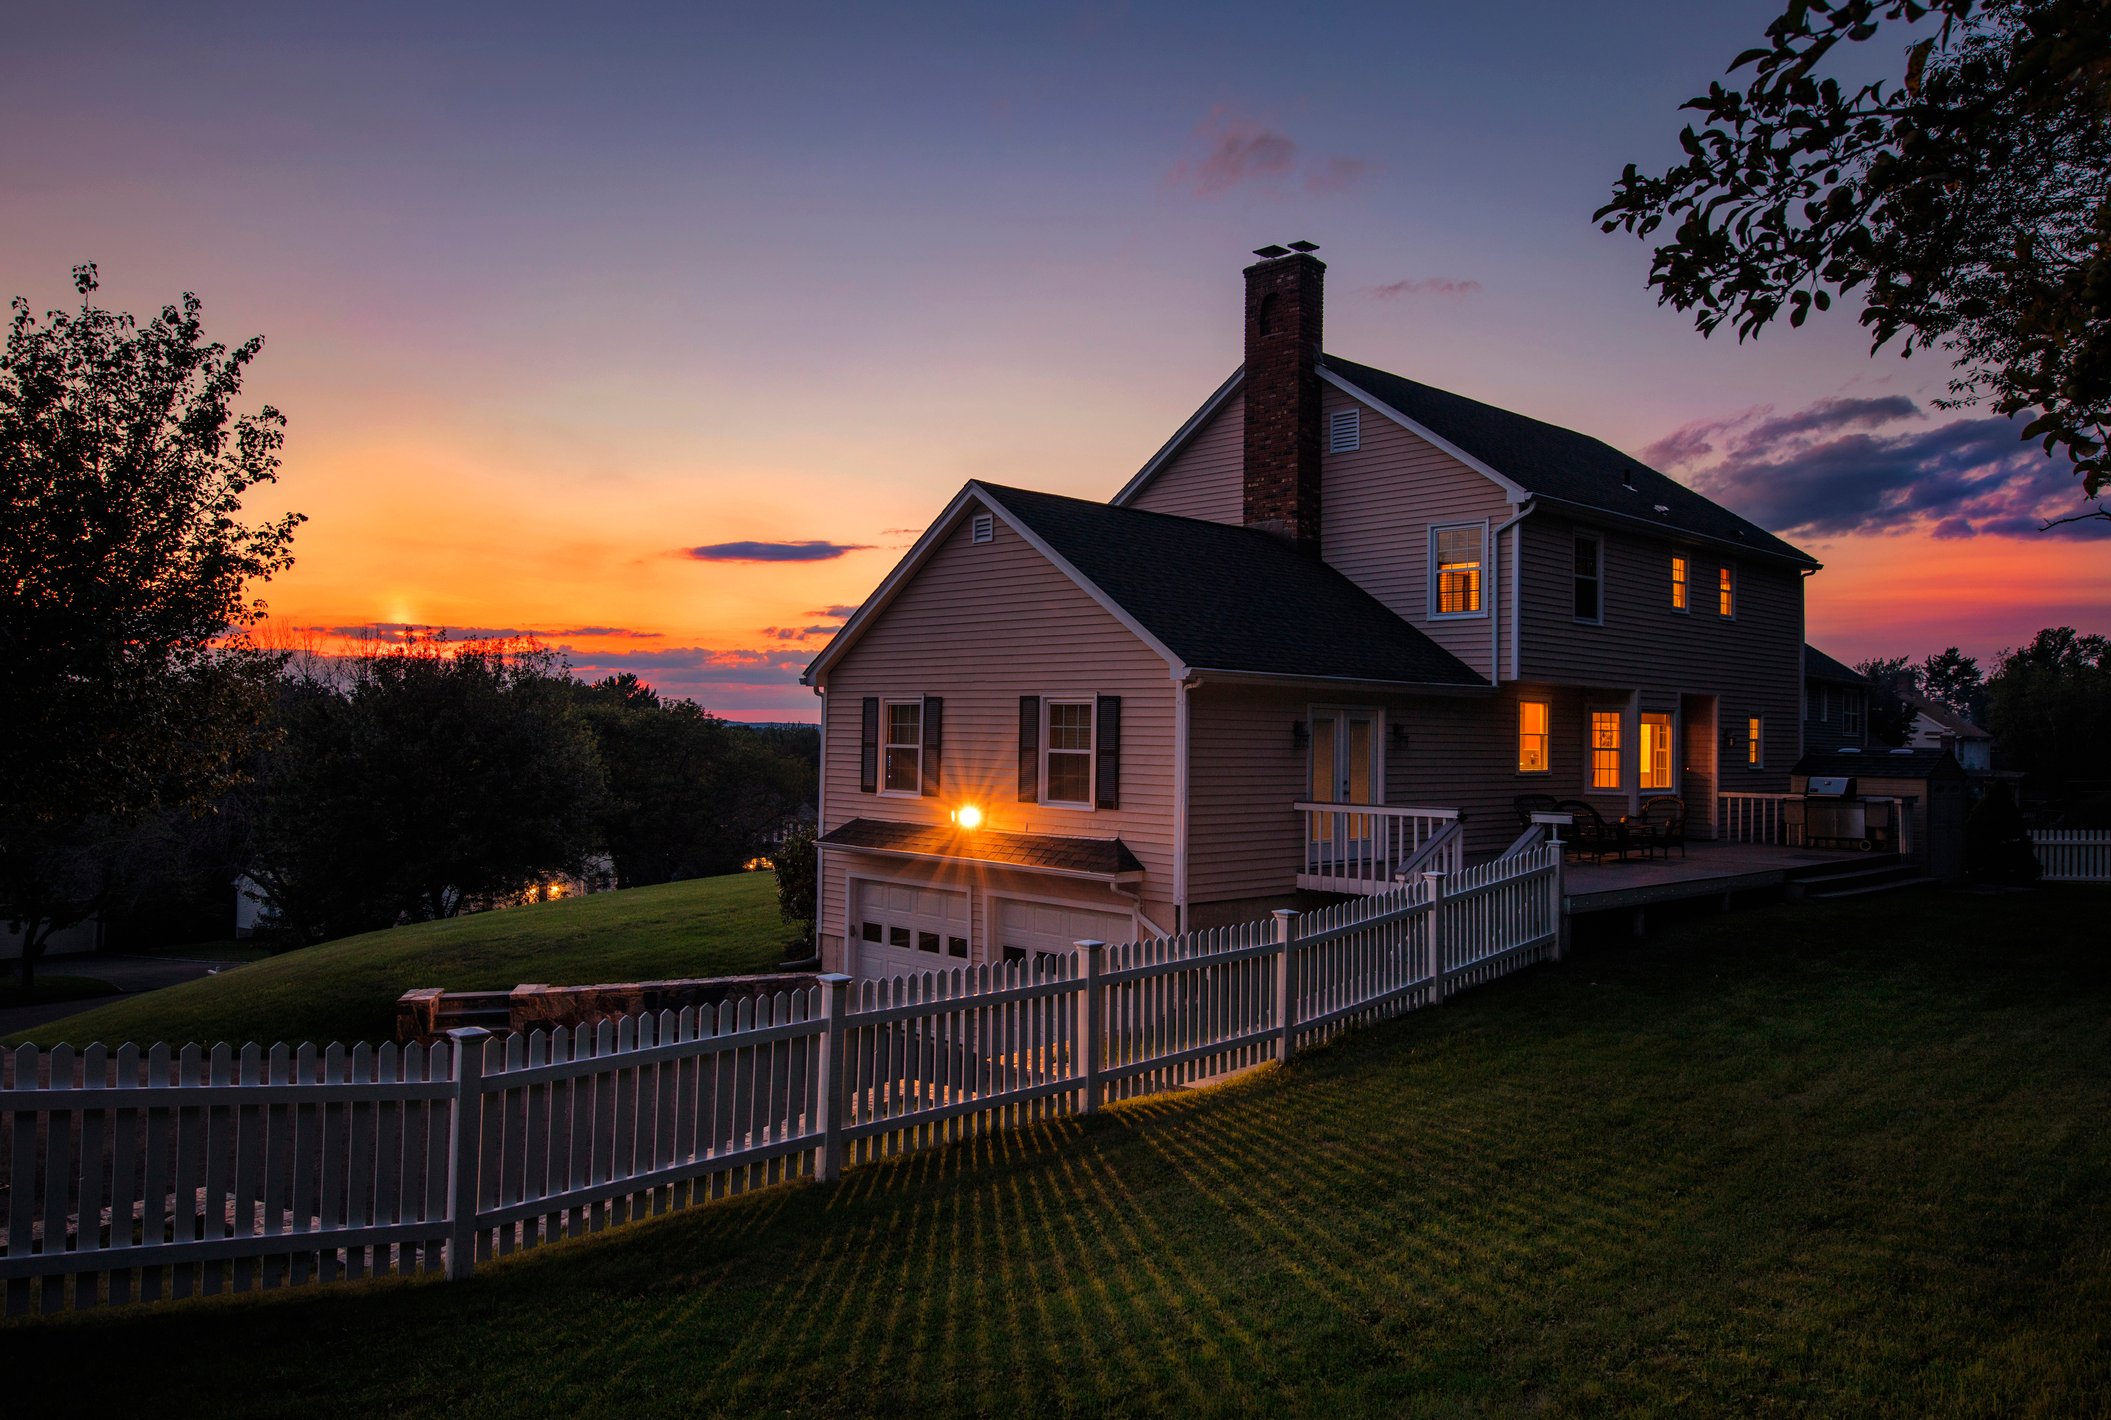
Exterior Lights
When shooting exterior photos, especially during twilight, the use of exterior lights can dramatically improve the visual appeal of a property. During twilight, turn on all exterior lights, including porch lights, landscape lighting, and any decorative lights.
This approach creates a warm, inviting glow and highlights the property’s features. Evenly distributed lights means that there are no harsh shadows. If some lights are out, it’s better to turn off all similar lights to avoid an uneven appearance.
Get Your Real Estate Photography Camera Settings Right and Capture Stunning Properties
To find success in this world, you must master real estate photography camera settings. It’s how you produce high-quality images that showcase properties at their best.
Practice and experiment with different settings to find what works best for each unique property. Remember, great photography is a blend of technical skill and creative vision.
Want to know more? Contact HomeJab today!


