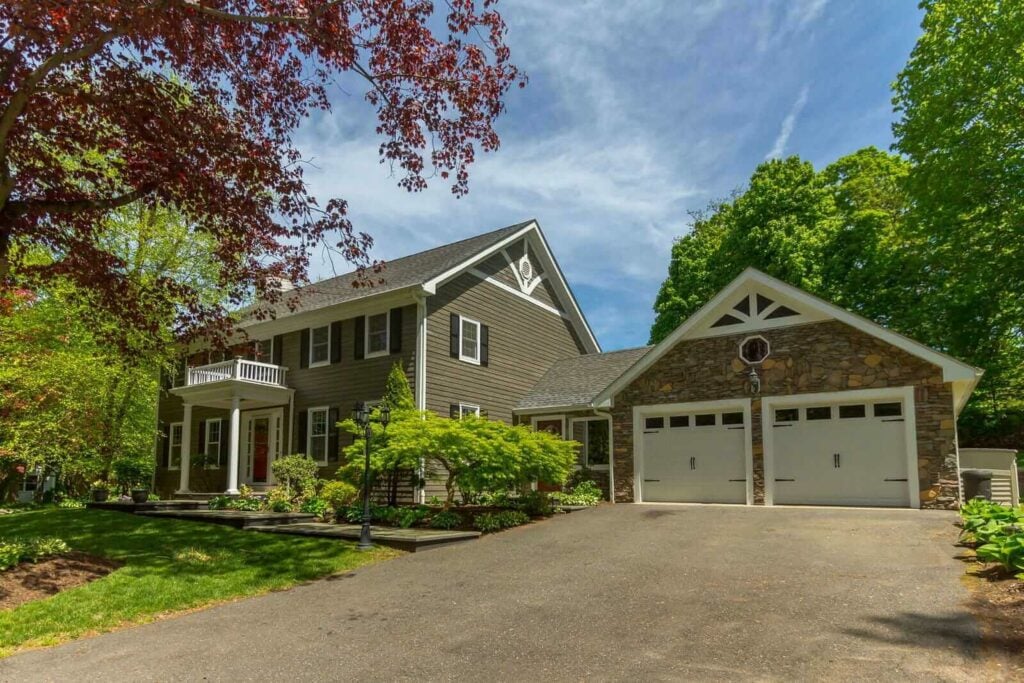
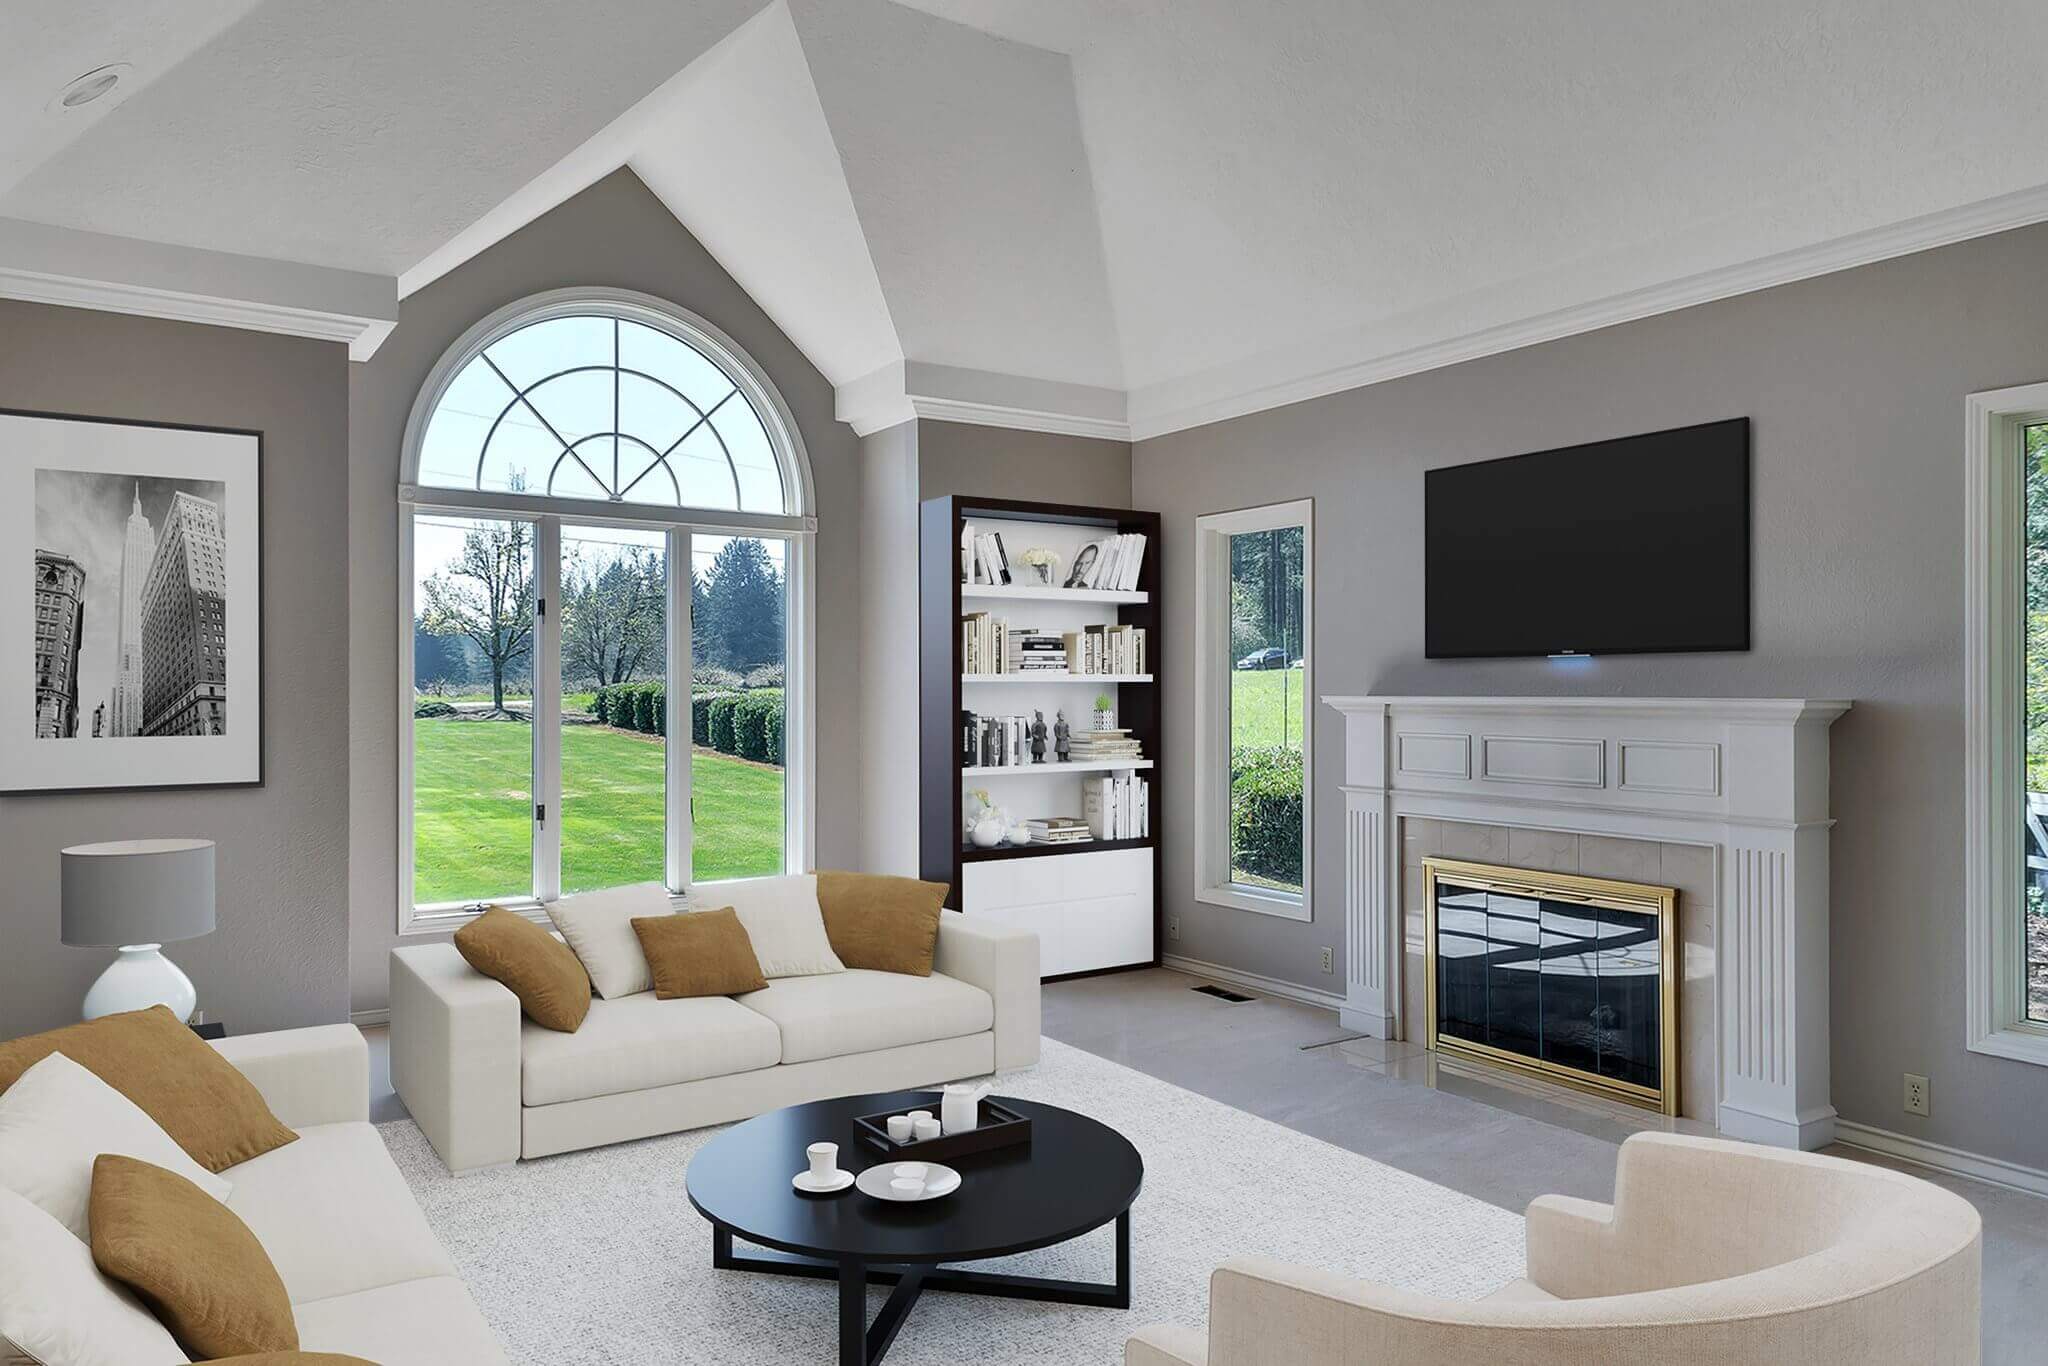
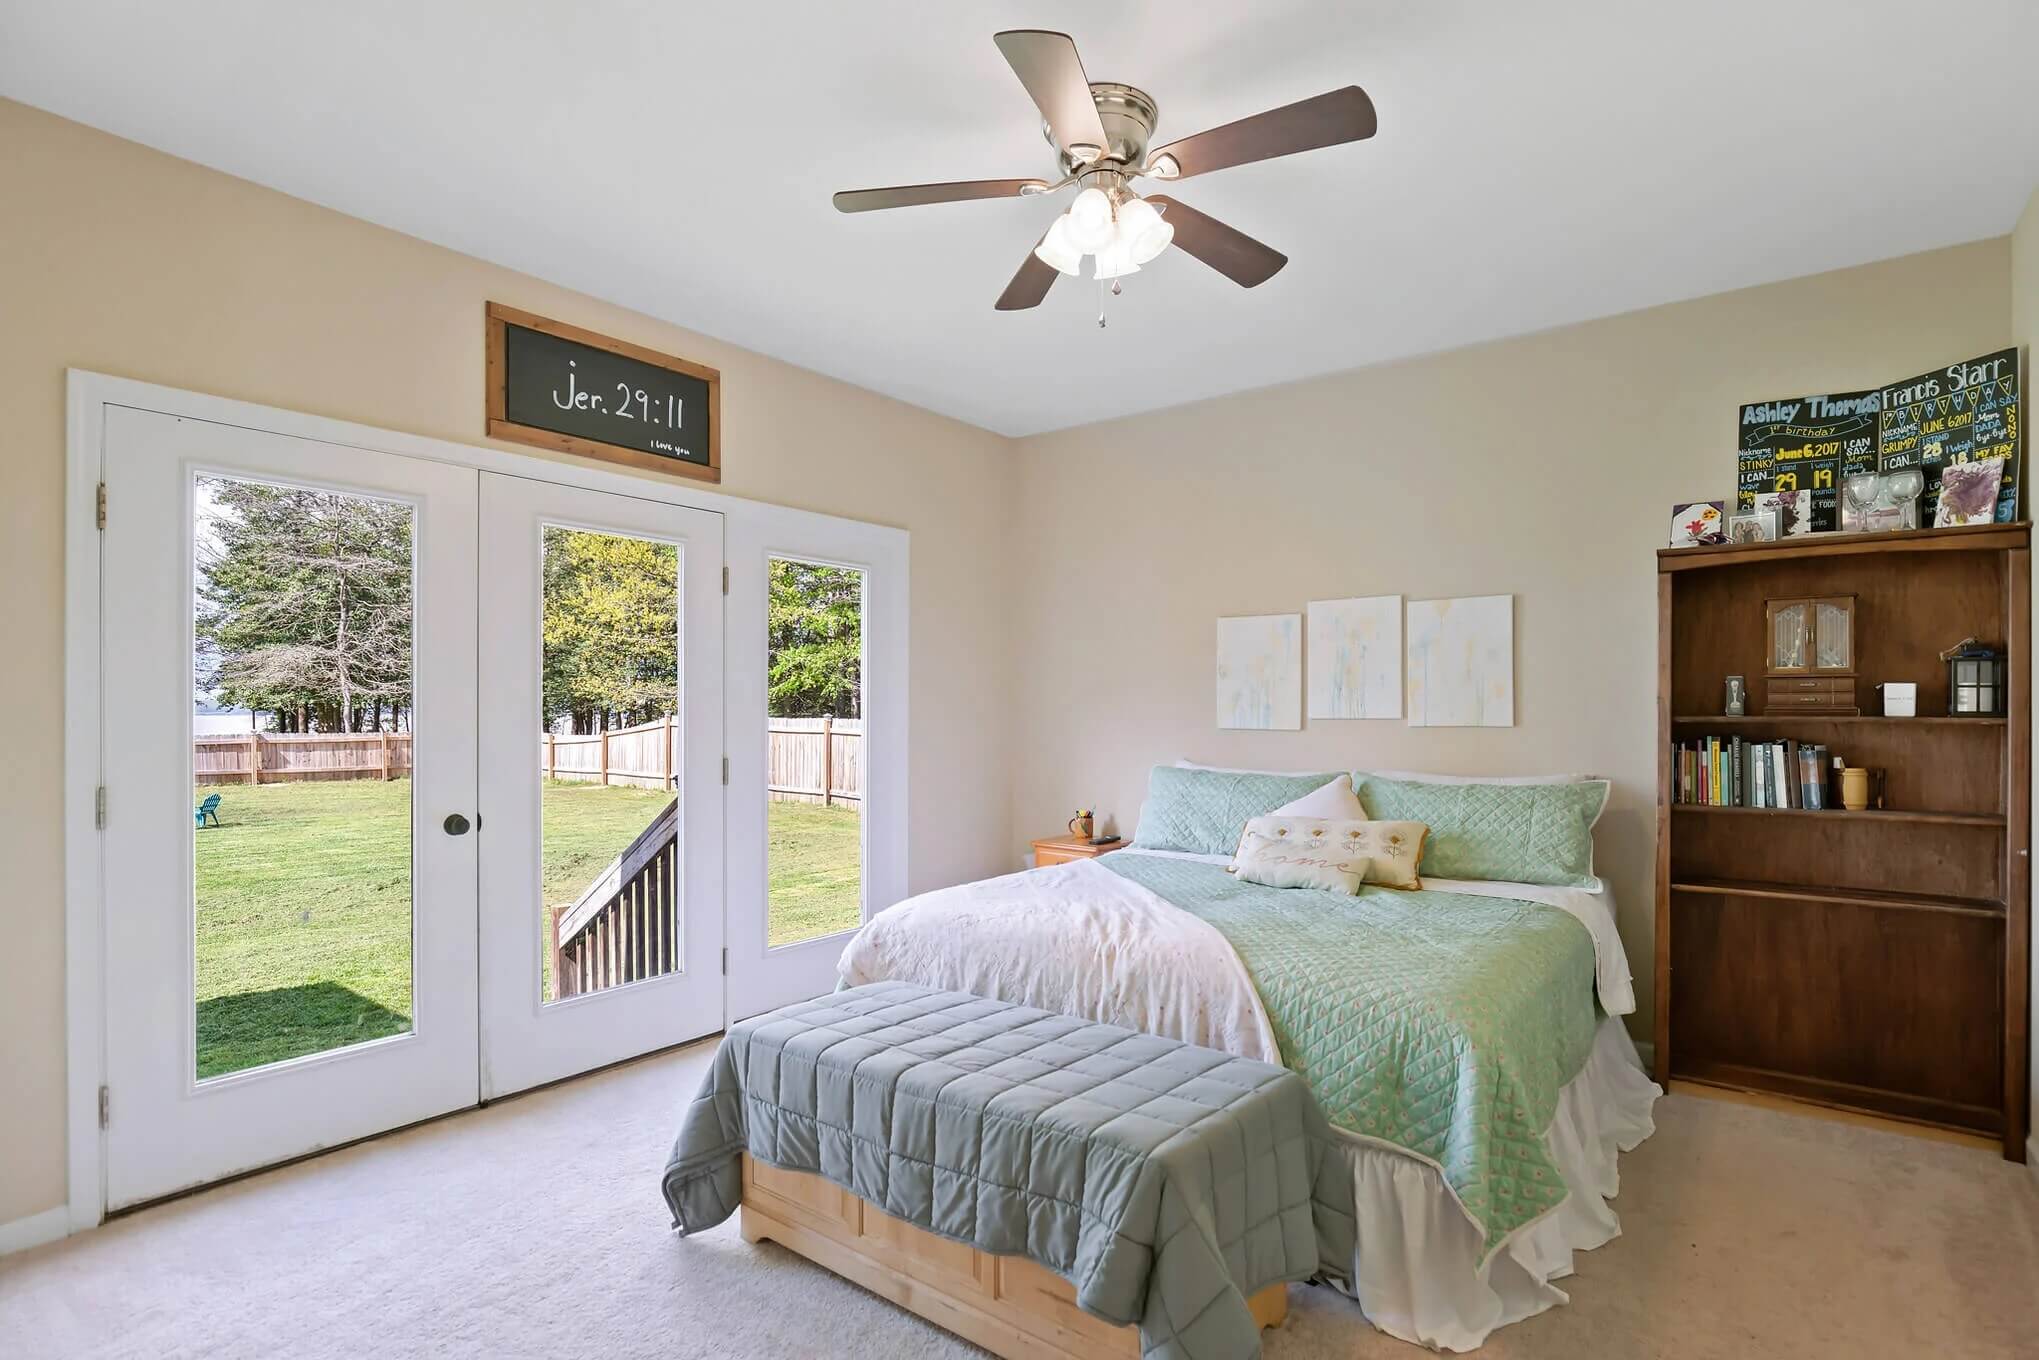
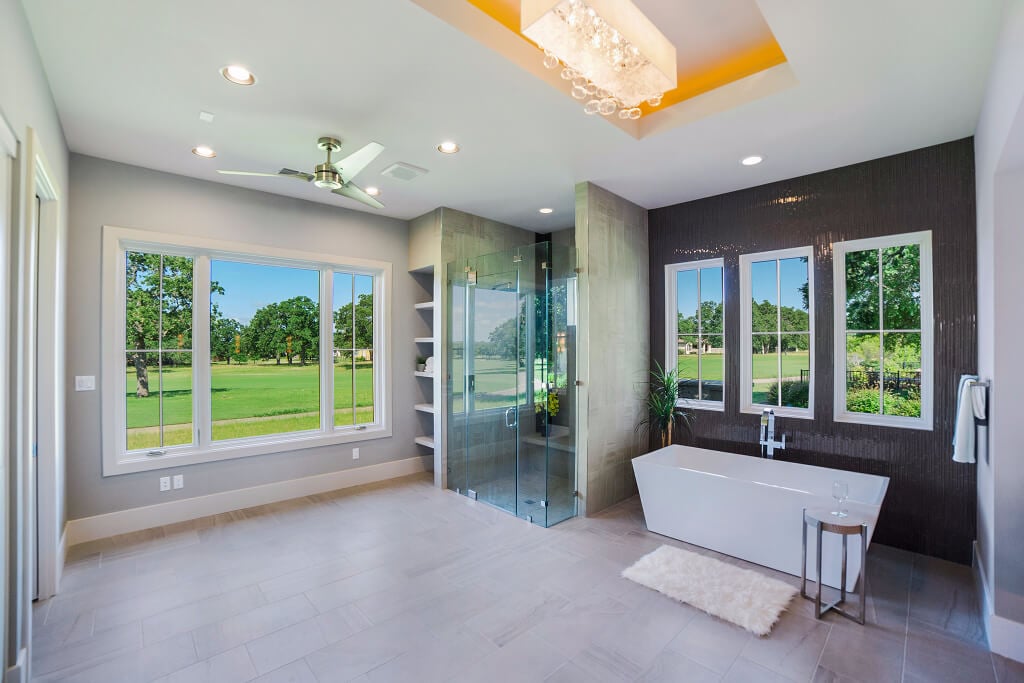
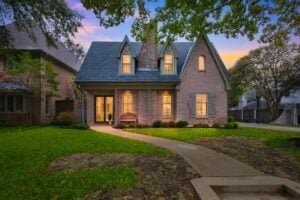
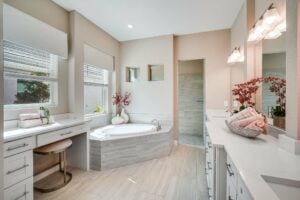
White balance ensures colors in your photos look natural and accurate, which is crucial when showcasing properties. Poor white balance can make a room appear uninviting or distort materials like hardwood floors, granite countertops, or wall paint. Here’s a quick breakdown:
- What It Does: Adjusts colors to match lighting conditions, keeping whites neutral and other colors true to life.
- Why It’s Important: Buyers rely on photos to assess properties. Misleading colors can hurt trust and reduce appeal.
- Key Challenges: Mixed lighting, large windows, and artificial lights often create color inconsistencies.
Quick Tips for Better White Balance
- Use Auto White Balance (AWB) for simple lighting but switch to manual for mixed conditions.
- Try camera presets (e.g., Daylight, Tungsten) or set a custom white balance with a gray card.
- Shoot in RAW format for easy adjustments during editing.
- Edit with tools like Lightroom or Photoshop to fine-tune temperature and tint.
Balancing accurate white colour helps your photos reflect the property’s real look, making them more appealing to buyers.
What White Balance Does
Basic White Balance Definition
White balance is a camera setting that adjusts colors to look natural under different lighting conditions. It works by analyzing the light’s color temperature (measured in Kelvin) and ensuring whites remain neutral. Whether it’s the warm glow of a 2,700K tungsten bulb or the cooler 5,500K light of midday sun, white balance ensures accurate color representation. This is especially important in real estate photography, where precise color accuracy plays a big role in showcasing interior materials and lighting.
Effects on Real Estate Photos
White balancing directly impacts how indoor materials and lighting conditions are portrayed in property photos.
Interior Materials
- Hardwood floors: Without proper adjustment, floors might look overly orange or dull gray.
- Kitchen countertops: The intricate colors and patterns of stone can appear washed out or distorted.
- Wall paint: Neutral-colored walls can shift to unwanted tones like yellow or blue.
Lighting Conditions
- Mixed lighting: Ensures consistent colors when natural and artificial light sources combine.
- Window views: Balances indoor lighting with outdoor scenery for a cohesive look.
- Time of day: Compensates for changes in natural light throughout the day.
When white balancing is off, the results can be dramatic. A warm, inviting room might appear cold and sterile, while sleek, modern designs could look outdated with yellowish tones. Accurate white balance is essential to highlight the true potential of a property.
At HomeJab, our photographers are skilled in using professional techniques to ensure every photo reflects the space’s actual charm and character.
Common White Balance Challenges in Real Estate Photography
| Scenario | Issues | Impact on Property Appearance |
|---|---|---|
| Mixed Natural/Artificial | Conflicting color temperatures | Rooms may look mismatched or unnatural |
| Large Windows | Blue light dominance | Interiors can appear cold or unwelcoming |
| Tungsten Lighting | Warm color cast | Neutral walls might look yellow |
| LED Fixtures | Inconsistent color rendering | Colors may vary from room to room |
Setting White Balance During Shoots
Auto White Balance Settings
Auto White Balance (AWB) can be a helpful starting point for real estate photography. Most modern cameras evaluate the scene and adjust the color temperature automatically. However, AWB may struggle in certain situations, such as:
- Mixed lighting conditions (natural light combined with artificial light)
- Rooms dominated by warm or cool tones
- Spaces with large reflective surfaces
AWB tends to work best in controlled lighting, like exterior shots taken on clear days. For more reliable results, consider switching to manual settings.
Manual White Balance Methods
When AWB isn’t enough, manual methods give you more control and consistency.
Camera Presets
Use these common presets as a guide:
- Daylight (5500K): Ideal for outdoor shots in sunlight.
- Cloudy (6500K): Suitable for overcast conditions.
- Tungsten (2700K): Works well for traditional indoor lighting.
- Fluorescent (4000K): Designed for commercial spaces or offices.
Custom White Balance
To achieve precise white balancing, follow these steps:
- Place a gray card in the primary shooting area.
- Make sure the gray card fills the frame.
- Capture a reference shot.
- Use this shot to set your custom white balance in the camera settings.
Kelvin Temperature Settings
The Kelvin scale allows you to directly control the color temperature. Refer to these Kelvin values for different lighting conditions:
| Lighting Condition | Kelvin Temperature | Best Application |
|---|---|---|
| Candlelight | 2000K | Mood lighting |
| Incandescent | 2700-3000K | Traditional indoor lighting |
| LED Lighting | 3000-4000K | Modern interiors |
| Natural Daylight | 5000-5500K | Exterior shots |
| Overcast Sky | 6000-6500K | Shaded or covered areas |
| Blue Hour | 7000-8000K | Twilight exteriors |
In mixed lighting scenarios, try to match the Kelvin value of the dominant light source. You can then adjust other lights or fine-tune the colors during post-processing.
HomeJab photographers suggest taking test shots at various Kelvin settings and reviewing them on a calibrated monitor. This helps ensure accurate color representation for property listings.
Fixing White Balance in Editing
Editing Software Tools
Both Adobe Lightroom and Adobe Photoshop offer powerful tools to fix white balancing issues. In Lightroom’s Develop module, you can tweak Temperature and Tint settings. The White Balance Selector (eyedropper tool) is especially useful for pinpointing neutral gray areas in your image.
Here are the key adjustments available in most editing software:
- Temperature: Adjusts the warmth or coolness of the image.
- Tint: Balances green and magenta tones.
- White Balance Presets: Quick options for common lighting conditions.
- HSL Panel: Allows precise control over individual color channels.
These features are essential for tackling complex lighting situations.
Correcting Mixed Lighting
When dealing with mixed lighting, start by balancing the dominant light source. Then, refine the image using these techniques:
- Layer Masking: Apply separate adjustment layers with masks to target specific areas of the image.
- Local Adjustments: Use graduated filters or adjustment brushes to tweak specific zones and blend different color temperatures.
These methods help create a cohesive look even in challenging lighting conditions.
Why Shoot in RAW?
Shooting in RAW format gives you much more flexibility when adjusting white balance. Here’s a comparison of RAW versus JPEG:
| Feature | JPEG Limitation | RAW Advantage |
|---|---|---|
| Color Depth | 8-bit color | 12-14 bit color |
| White Balance Range | Limited | Full adjustment range |
| Color Information | Compressed | Complete data preserved |
| Recovery Potential | Minimal | Extensive highlight/shadow recovery |
RAW files retain all the original color data, allowing you to:
- Make non-destructive edits.
- Adjust white balance across a broader range (2000K to 50000K).
- Recover details in highlights and shadows.
- Ensure maximum color accuracy in post-processing.
For real estate photography, always shoot in RAW and maintain a consistent editing process. This ensures professional, polished images that accurately represent the property.
Accurate white balance for real estate photography
White Balance Tips for Real Estate
In addition to in-camera settings and post-processing tweaks, these practical ideas can help you achieve accurate white balance in real estate photography.
Gray Card Methods
An 18% gray card can serve as a neutral reference for setting white balance, both during the shoot and in post-processing. Here’s how to use it when lighting changes:
- Place the gray card in the main shooting area.
- Take a reference photo with the card in the frame.
- Adjust your camera’s custom white balance settings based on the reference shot.
- Test the new settings with another shot to confirm accuracy.
This method ensures your colors stay neutral and consistent across varying lighting conditions.
Matching Colors Between Photos
Consistency is key when photographing multiple rooms. Start by setting a baseline white balance in the main area, then fine-tune adjacent rooms to match. To maintain uniformity:
- Batch process photos taken under similar lighting conditions.
- Use objects or surfaces that appear in multiple shots as reference points.
- Apply effective settings from one photo to others with similar lighting.
- Check transitions between spaces to ensure smooth, cohesive colors.
For mixed lighting environments, prioritize the dominant light source first, then make selective adjustments to secondary sources.
Professional Photo Services
HomeJab photographers specialize in capturing real estate images with natural and appealing colors, even in tricky lighting situations. They use advanced HDR techniques and professional-grade tools to deliver high-quality results.
Why choose professional services?
| Feature | Benefit |
|---|---|
| Fast Delivery | Photos ready in 24 hours [1] |
| Color Accuracy | Reliable and consistent tones |
| Expert Techniques | Superior HDR processing |
| Top Equipment | Industry-standard tools |
Whether you’re taking photos yourself or hiring professionals, these strategies can help ensure your images showcase the property in its best light.
Summary and Next Steps
Here’s a quick guide to achieving accurate white balance in your real estate photography. Getting white balance right ensures your photos showcase a property’s true colors.
| Skill Level | Recommended Approach | Best For |
|---|---|---|
| Beginner | Auto white balance + basic editing | Simple, well-lit properties |
| Intermediate | Manual settings + gray card method | Mixed lighting conditions |
| Professional | Kelvin settings + advanced HDR | Complex lighting scenarios |
As mentioned earlier, achieving proper white balance starts with your camera settings and is fine-tuned during post-processing. Real estate professionals have two main options to consider:
DIY Approach
- Adjust manual settings
- Use gray cards for accuracy
- Batch process your edits
- Master advanced editing techniques
This option is ideal if you prefer flexibility and hands-on control over your workflow.
Professional Services
For those who want guaranteed results, professional services can be a game-changer. For example, BWE Investment Sales scheduled a HomeJab photoshoot and received polished, high-quality images in just 48 hours [1].
Here’s what real estate professionals are saying about these services:
“The photos were crisp, professional, and beautifully lit. Every detail impressed me – I highly recommend their services [1].” – Liz Zeng, HomeJab Customer
Start applying these techniques today and watch your property listings stand out.

