
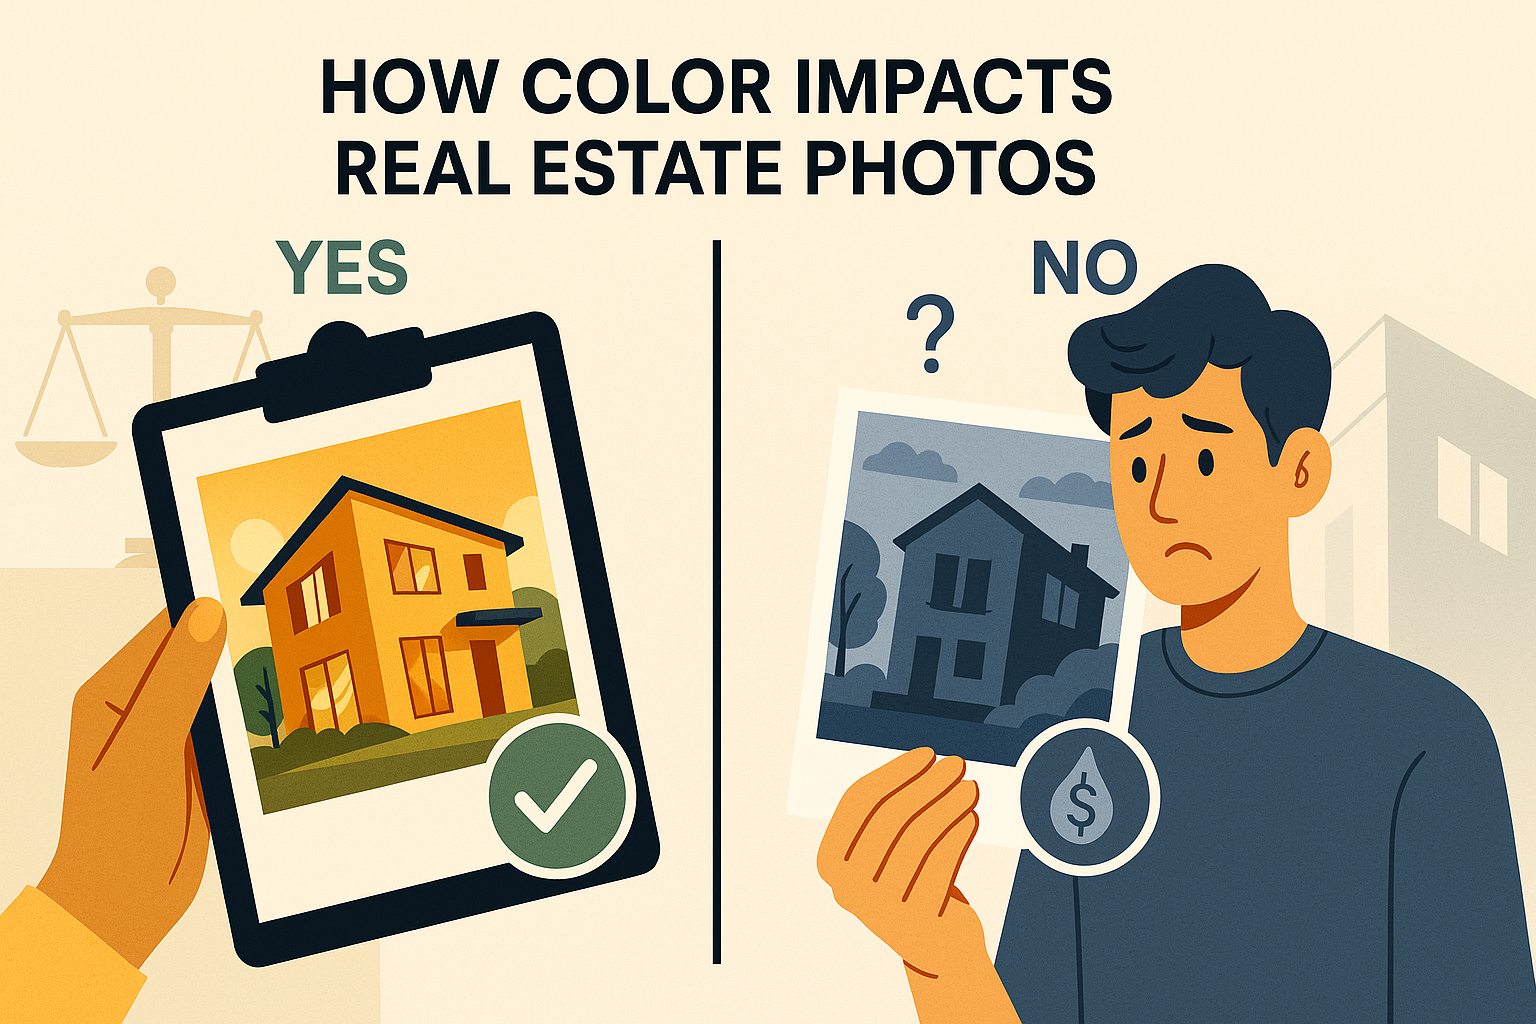
Color can make or break your real estate photography. It shapes first impressions, influences emotions, and even affects perceived property value. Here’s what you need to know:
- First Impressions Matter: Buyers form opinions within 90 seconds of seeing a photo, with color influencing up to 90% of those decisions.
- Boost Property Value: Homes with yellow kitchens can add $1,360 in value, while soft gray living rooms may increase value by $1,100.
- Engagement Rates: Balanced, warm tones can drive 30–50% more buyer engagement. However, poor color choices, like stark whites or dominant reds, can reduce offers by $600.
- Technical Accuracy: Tools like white balance settings and HSL adjustments ensure colors are true-to-life, avoiding errors like mixed lighting or over-saturation.
- Room-Specific Colors: Neutral tones like grays and beiges work best for living rooms, while blues and greens create a calming vibe in bedrooms. Kitchens and bathrooms should feel bright and modern with clean whites.
Color Theory for Real Estate Photography
Key Color Factors in Real Estate Photography
Getting the colors right in real estate photography is about more than just technical skill – it’s about understanding how color influences emotions and decisions. A perfect balance ensures your images not only represent the property accurately but also connect with potential buyers on a deeper level.
Color Accuracy: The Foundation of Property Photography
When it comes to real estate photography, accurate color is non-negotiable. It sets the tone for trust and ensures buyers aren’t misled by photos that don’t match reality. Consistency in color correction across a listing also lends a polished, professional feel.
Dr. Matt Johnson, neuroscientist and author of Branding that Means Business, highlights the complexity of color perception:
“The colors we experience are a product of our own, evolved visual systems and are not inherent properties of external reality.” [2]
This means that while everyone perceives color slightly differently, maintaining technical precision ensures your photos look great across various devices and lighting conditions. Tools like a white balance selector and a color checker card can help establish this consistency. Adjusting temperature and tint during editing will eliminate unwanted color casts, ensuring walls, flooring, and finishes are shown as they truly are. This is especially important for showcasing custom paint jobs or unique materials – they can become standout features when captured correctly.
Once the technical side is nailed down, understanding how color influences emotions can take your property photos to the next level.
How Color Psychology Affects Real Estate Photography
Colors do more than just look good – they evoke feelings. Warm tones like reds, oranges, and yellows create a sense of coziness, making them perfect for living rooms or family spaces. On the flip side, cooler shades like blues and greens offer a calming, sophisticated vibe, ideal for bedrooms, bathrooms, or outdoor areas.
Neutral tones, such as grays, beiges, and whites, act as a blank canvas, helping buyers imagine their own style in the space. These colors work particularly well for walls, floors, and larger furniture pieces, creating a balanced and inviting atmosphere.
For a bit of energy, subtle pops of vibrant color can be strategically placed. A splash of red can add drama and excitement, while yellow brings a sense of warmth and optimism. To tie everything together, stick to a consistent undertone – either warm or cool – across the property. This creates a seamless flow from room to room, enhancing the overall appeal.
However, even the best color strategy can fall flat if technical errors creep in. Let’s look at some common mistakes and how to avoid them.
Common Color Mistakes and How to Fix Them
Color-related errors can easily diminish the impact of real estate photography, but with the right techniques, they’re entirely fixable.
- Mixed lighting: Combining natural and artificial light often leads to inconsistent color temperatures within a single room. To fix this, use local adjustments in editing software or opt for flash photography with diffused lighting to even things out.
- Color casts: White walls sometimes take on unexpected tints from nearby objects or lighting. Use the HSL (Hue, Saturation, Luminance) panel in your editing software to fine-tune the balance and restore accurate colors.
- Over-saturation: While vibrant photos can grab attention, overdoing it makes the property look unnatural. Dial back saturation levels to ensure the images remain true to life while still being visually appealing.
To maintain consistency, create custom presets tailored to different properties and lighting conditions. For precise edits, use masking and keying techniques to target specific sections of the photo without impacting the entire image. Finally, always review your work on multiple devices to ensure it looks great no matter where it’s viewed. These small adjustments can make a big difference in building buyer confidence and showcasing a property’s true potential.

Using Color Effectively in Different Property Areas
Choosing the right color strategies for a property can make all the difference when it comes to attracting buyers and standing out in a crowded market. Each area of a property serves a unique purpose, and the colors you choose should reflect that.
Exterior and Curb Appeal
The exterior of a property is the first thing buyers notice, and its color sets the stage for what’s inside. In fact, 58% of homeowners focus on upgrading exterior paint during renovations, making it one of the most impactful updates you can showcase in listing photos [5].
Neutral tones dominate exterior palettes, with white leading at 23%, followed by gray (19%) and beige (10%) [5]. These shades not only photograph well in different lighting but also appeal to a wide range of buyers.
“Repainting the exterior of your home is one of the most impactful and budget-friendly ways to enhance curb appeal”, says Nina Lichtenstein, founder of Custom Home Design by Nina Lichtenstein [5].
Contrast is another big factor – 71% of homeowners opt for contrasting trim to highlight architectural details. Popular choices include white (28%), black (22%), and green (13%), which add depth and visual interest [5]. For photos, soft, warm whites under natural light work beautifully, offering a timeless look that complements most styles.
Landscaping is also part of the equation. Fresh mulch and vibrant flowers near the entrance can anchor the home’s color scheme while enhancing its overall appeal. The trick is to balance these elements so they highlight the architecture rather than overshadow it.
Living Rooms and Common Areas
Living rooms are often the heart of a home, so their colors need to feel warm and inviting yet neutral enough to appeal to potential buyers.
Soft neutrals like beige and light gray are ideal for these spaces. They create an open, welcoming atmosphere while providing a blank canvas for buyers to imagine their own décor. For personality, subtle accents like muted greens or soft terracotta can be introduced through artwork, pillows, or small decorative pieces. However, it’s important not to overdo it – too many bold tones can make the space feel smaller in real estate photography.
Lighting plays a big role here. Living rooms often combine natural and artificial light, so choosing colors that photograph well in both conditions is key. Neutrals tend to maintain their consistency across various lighting setups, ensuring the space looks polished whether viewed on a phone or a large monitor.
When staging, pay attention to how colors flow into adjoining areas. Maintaining consistent undertones, whether warm or cool, creates a sense of harmony that buyers find appealing. It’s less about matching everything perfectly and more about creating a cohesive feel.
Kitchens and Bathrooms
Kitchens and bathrooms are scrutinized more than any other spaces, so their color schemes should focus on cleanliness, brightness, and a modern vibe. These areas need to look fresh and updated to meet buyer expectations.
White remains a favorite for kitchens, with clean cabinets, light countertops, and neutral backsplashes creating a streamlined, contemporary look. When photographing these spaces, adjusting white balance is crucial to avoid unwanted reflections and ensure colors appear true to life.
“The best way to modernize your kitchen inexpensively is with your color palette. By bringing a refresh to your walls and cabinet colors, you can easily transform a space”, says Alex Yacavone, Kohler Design Studio Manager [6].
In bathrooms, reflections from mirrors, tiles, and fixtures can complicate photography. Soft, diffused lighting minimizes glare while maintaining the bright, clean aesthetic buyers expect. During post-processing, removing smudges and water spots from reflective surfaces like countertops and stainless steel fixtures is a must.
Color adjustments should be precise in these spaces. Stainless steel should appear neutral, wood tones should look natural, and stone or tile surfaces need to retain their authentic appearance. Over-saturating colors can make these rooms feel artificial, so aim for subtle enhancements that stay true to reality.
Bedrooms and Private Spaces
Bedrooms are personal spaces, and their colors should evoke relaxation and comfort. Buyers need to imagine themselves unwinding here, so a calming palette is essential.
Soft, muted tones like gentle grays, warm whites, and earthy shades create a serene atmosphere. These hues work well with the softer lighting typically found in bedrooms, whether it’s from bedside lamps or filtered natural daylight.
Cool undertones, such as blues and soft greens, can further enhance the tranquil vibe. However, avoid overly bold or energizing colors – this isn’t the place for dramatic statements. Instead, focus on creating a peaceful retreat.
Adding texture through fabrics and materials can make the space more visually interesting without clashing with the color scheme. Think layered bedding, soft throws, and natural elements like wood or woven accents. When photographing these details, ensure the colors appear accurate, as buyers often notice small touches like bedding and curtains.
Natural light is your best friend in bedroom photography, but keep an eye on how it shifts throughout the day. Morning light tends to be cooler, while afternoon light adds warmth. Consistent color correction can help maintain the soothing appeal of these spaces, no matter when buyers view the photos online.
Technical Tips for Managing Colors in Real Estate Photography
Getting the colors right in real estate photography is a must if you want to showcase properties accurately. The secret lies in setting up your camera properly and refining the images during post-processing.
Camera Settings for Accurate Color Capture
White balance is the key to capturing true-to-life colors. As Marcella Marcella explains, “Mastering white balance is crucial for accurately representing a property’s colors” [7].
Auto white balance (AWB) often struggles with mixed lighting. For example, moving from a sunlit living room to a tungsten-lit hallway can confuse your camera’s settings, leading to inconsistent colors in your photos.
Switching to manual white balance gives you better control. To start, familiarize yourself with the Kelvin scale: lower values around 2,000K represent warm tones (like candlelight), while higher values around 7,000K represent cooler tones (like overcast skies) [7]. Most indoor lighting falls between 2,700K (warm tungsten) and 5,500K (daylight). While your camera likely has presets like Daylight, Cloudy, Shade, Tungsten, and Fluorescent, using a custom white balance with a gray card is the most precise option. Simply place a gray card in the scene and adjust your camera’s settings accordingly.
Always shoot in RAW format. RAW files give you the flexibility to tweak white balance during editing without losing quality. In contrast, JPEG files lock in the white balance, making adjustments more difficult later.
Before you begin a shoot, check your white balance settings and adjust them as you move between rooms with different lighting. Once you’ve captured your images, refine the color balance during post-processing to ensure consistency.
Post-Processing for Color Consistency
Post-processing is where you fine-tune and standardize colors across all your photos. Start by using the white balance selector on a neutral area of the image, then adjust the temperature (warm-to-cool) and tint (green-to-magenta) as needed [3].
Use HSL (Hue, Saturation, Luminance) adjustments for precise color control. For instance, if the kitchen cabinets look too yellow or the bathroom tiles seem overly blue, you can target those specific colors without affecting the rest of the image. This approach is especially helpful for mixed lighting scenarios where different areas of the photo may have varying color casts.
For particularly tricky lighting, local adjustments can help. Masking tools allow you to apply corrections to specific areas, such as warming up a tungsten-lit dining room while keeping the living room’s daylight-balanced appearance intact [3].
Creating presets for different property types and lighting conditions can save time and ensure a consistent look across your portfolio. Additionally, using color calibration tools helps establish a reliable baseline for your edits.
Finally, review your photos on multiple devices to make sure the colors look accurate everywhere. A perfectly calibrated monitor doesn’t guarantee the same results on other screens, so this step is essential [3].
Optimizing for MLS and Online Listings
Once your photos are color-corrected, it’s time to prepare them for MLS platforms and online listings. Accurate colors not only make the property more appealing but also build trust with potential buyers.
Save your files in RGB color mode and use the JPEG format. RGB is ideal for digital displays, and JPEG files strike a good balance between quality and file size, ensuring quick loading times without compromising the visuals [8].
Keep in mind that web resolution requirements differ from print. Online listings typically need 72 DPI, much lower than the 300 DPI used for print materials [8]. Despite the lower resolution, quality remains vital – listings with high-quality photos get 61% more views and can help homes sell for $3,400 to $11,200 above their list prices [9].
To make your images pop on various screens, slightly increase brightness and contrast. This compensates for differences in screen calibration. Adding a touch of sharpening also ensures clarity across devices with varying resolutions [8].
Lastly, ensure your photos match the preferred aspect ratios for MLS listings, such as 4:3 or 16:9. This prevents issues like letterboxing or stretching, ensuring your images display cleanly and professionally [8].
How HomeJab Improves Real Estate Photography with Expert Color Management
HomeJab transforms real estate photography into striking visual narratives that grab the attention of potential buyers. By focusing on precise color management across a range of services, HomeJab ensures that real estate listings make a lasting impression. Among these services, HDR photography stands out as a game-changer for capturing vibrant, true-to-life colors.
HDR Photography for Accurate Color Representation
HDR (High Dynamic Range) photography is the answer to one of real estate photography’s biggest challenges: mixed lighting conditions. Bright windows combined with dimly lit interiors often create photos with washed-out highlights or overly dark shadows, misrepresenting the space’s actual colors.
HomeJab’s HDR photography solves this issue by combining multiple exposures of the same scene. This method highlights every detail, from the richness of wood tones to the crispness of cool blues, creating a balanced and inviting image.
David Brandt shared his experience: “The photos were bright, sharp, and made the space look super inviting without overdoing it.” This approach ensures the natural beauty of a space shines through without the artificial look that can deter buyers.
HomeJab delivers HDR photos within 24 hours, so your listings are market-ready with stunning visuals in no time. Mary Carney praised the quick turnaround, saying: “Their photos and video highlighted my listing at its very best… their photos show its potential!” This speed, combined with exceptional quality, ensures you can stay ahead in a competitive market.
Virtual Staging with Expert Color Coordination
HomeJab takes visual appeal further with virtual staging, creating welcoming spaces where buyers can imagine themselves. Empty rooms often feel uninviting, but HomeJab’s virtual staging adds furniture and décor with thoughtfully chosen color palettes that highlight the room’s best features.
For example, a living room with warm beige walls and hardwood floors might be staged with a navy blue sofa, cream throw pillows, and a wooden coffee table, creating a harmonious and inviting look. Virtual staging allows precise color matching to complement each room’s unique features, helping buyers envision the space as their future home.
The results speak volumes: staged properties can sell up to 73% faster and attract 40% more online views [10]. With 78% of buyers expecting virtually staged images in online listings, this service has become essential [10].
At just $50 per photo, HomeJab’s virtual staging is a budget-friendly alternative to traditional staging, which can cost over $7,200 [10]. This affordability lets you stage multiple rooms and experiment with different styles to attract a variety of buyers.
Twilight and Dusk Photos for Dramatic Visuals
Twilight photography turns exterior shots into captivating images that demand attention. The warm hues of the golden hour create a luxurious, inviting feel that standard daytime photos can’t match.
HomeJab’s twilight photography balances the natural twilight colors with interior lighting to create breathtaking visuals. The warm glow from windows contrasts beautifully with the deep blue sky, giving properties a sophisticated, high-end look.
Listings featuring twilight photos see 76% more views and a 29% boost in engagement, often leading to faster sales [11][12]. Despite these benefits, only 8% of real estate listings use twilight images, making it a powerful way to stand out [11]. This technique is especially effective for upscale homes, with 59% of twilight photos used for properties priced at $500,000 or more [11].
HomeJab’s photographers expertly handle the challenges of twilight photography, from timing the shoot during the brief golden hour to balancing interior and exterior lighting. Post-processing ensures the golden tones are enhanced without losing the image’s natural look.
Tara Foristal summed up the HomeJab experience perfectly: “They’re affordable, reliable, and consistently deliver top-notch photos.” Whether it’s HDR photography, virtual staging, or twilight shots, HomeJab’s commitment to quality and attention to detail give your listings the competitive edge they need to shine in today’s market.

Conclusion: Using Color to Improve Your Real Estate Listings
Key Takeaways for Real Estate Professionals
Color isn’t just about aesthetics – it’s a tool that can significantly impact property value and buyer interest. Listings with professional photography sell for 32% more, move off the market 30% faster, and generate nearly three times more inquiries from serious buyers compared to those with amateur photos [16].
Accurate color representation plays a key role in helping potential buyers imagine themselves in the space [3]. Additionally, understanding how different colors influence emotions and preferences allows you to better target specific buyer demographics [1].
Technical aspects of color management are just as important. Simple techniques like matching white balance to the lighting conditions and using HSL adjustments for fine-tuning colors can ensure image consistency [3]. Custom presets tailored to different properties and lighting setups can also save time while maintaining quality.
The results speak for themselves: high-quality photos generate 118% more views, and homes with HDR images sell 50% faster [4][13]. Even more impressive, professionally photographed homes often achieve 47% higher asking prices per square foot [13].
Why Professional Services Matter
With 97% of home buyers starting their search online [16], the quality of your photos can make or break your listing’s performance. Professional services like HomeJab understand that color influences up to 90% of snap judgments, making expert color management a critical factor in your success [1].
Professional photographers bring more than just a camera – they bring expertise. They understand color theory, handle mixed lighting challenges, and work within the correct color spaces to ensure accurate representation [14]. This expertise helps eliminate issues like color casts, inconsistent tones, and over-saturation, all of which can turn buyers away [15].
The numbers back it up: listings with professional-quality photos attract 61% more views and can add up to $11,200 to the final sale price [17]. Beyond just capturing images, professionals ensure a consistent color palette across your listing, creating a polished and cohesive look that builds trust with buyers [15].
With services like HomeJab, you get more than just photos. From HDR photography that ensures accurate color to virtual staging that aligns colors seamlessly, their approach gives your listings a competitive edge. In today’s fast-paced market, where first impressions happen in seconds, professional color management isn’t just helpful – it’s essential for faster sales and higher profits.
FAQs
How do colors in real estate photos affect buyers’ emotions and decisions?
Colors in real estate photos play a big role in shaping how buyers feel about a property. Warm shades like reds and yellows bring a sense of energy and excitement, while cooler tones like blues and greens create a more calming and relaxing vibe. These subtle emotional triggers can influence how buyers connect with a space, making it feel more welcoming and appealing.
Choosing the right color palette can also help potential buyers picture themselves living in the home. Neutral colors, for instance, showcase a property’s flexibility, while bold accents can draw attention to standout features. By using the psychology of color effectively, real estate professionals can craft listings that are not only eye-catching but also leave a lasting impression on buyers.
What are common color mistakes in real estate photography, and how can they be fixed?
Mistakes in managing color for real estate photography often stem from issues like poor lighting, over-saturation, and incorrect white balance. When lighting isn’t handled properly, colors can appear distorted or inconsistent. To address this, aim to use natural light as much as you can, shoot during the golden hour for softer tones, and steer clear of combining daylight with artificial lighting, which can create conflicting color temperatures.
Over-saturation is another common problem – it can make photos look overly edited and take away from the property’s natural charm. Instead, focus on subtle adjustments, enhancing contrast and refining colors just enough to achieve a natural, inviting look.
Lastly, skipping white balance adjustments can result in odd color tones that feel off. To fix this, ensure that whites appear neutral and adjust the balance to reflect the room’s lighting conditions. Even small changes here can significantly elevate the quality and appeal of your real estate photos.
Why does accurate color representation matter in real estate photos, and how can it impact a home’s value?
The Importance of Accurate Color Representation in Real Estate Photos
Getting the colors right in real estate photos is more than just a technical detail – it’s about shaping how potential buyers feel about a property. Colors have the power to influence emotions and set the mood of a space. Think about it: warm shades like beige or soft yellow often create a cozy, inviting vibe, while cooler tones like light gray or blue can bring a sense of calm and sophistication. These subtle emotional triggers can make a home stand out and leave a lasting impression on buyers.
But it’s not just about feelings – accurate color representation can also affect how much a property is worth in buyers’ eyes. Research shows that homes painted in popular, neutral tones like off-white or charcoal gray tend to attract more attention and often sell at higher prices. High-quality real estate photos that capture these colors correctly help buyers see the property at its best, increasing the chances of competitive offers and a quicker sale.


