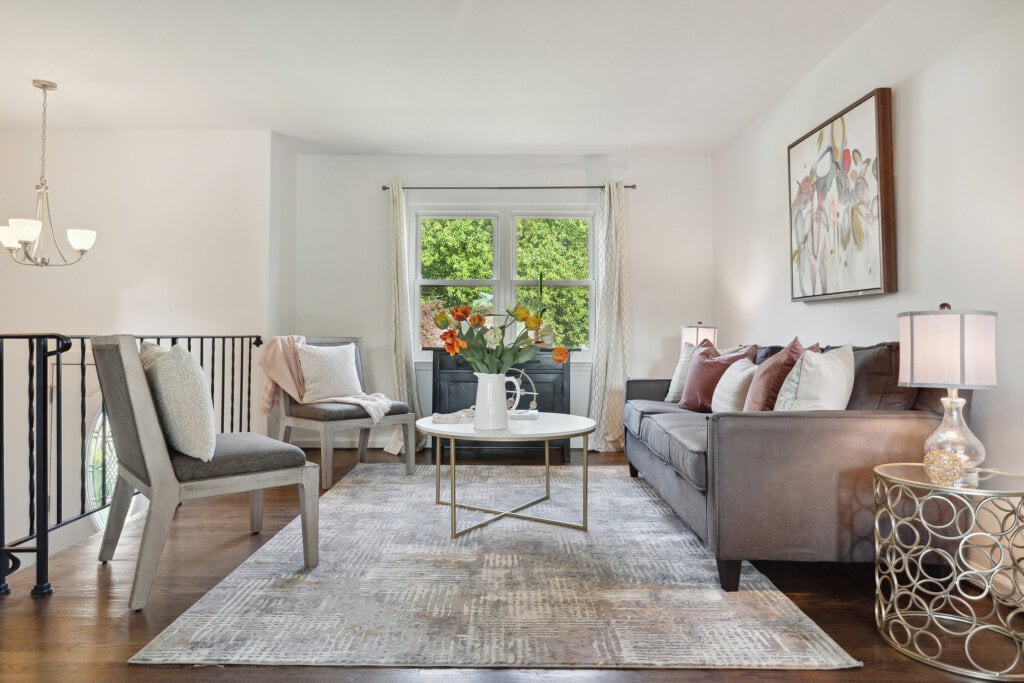
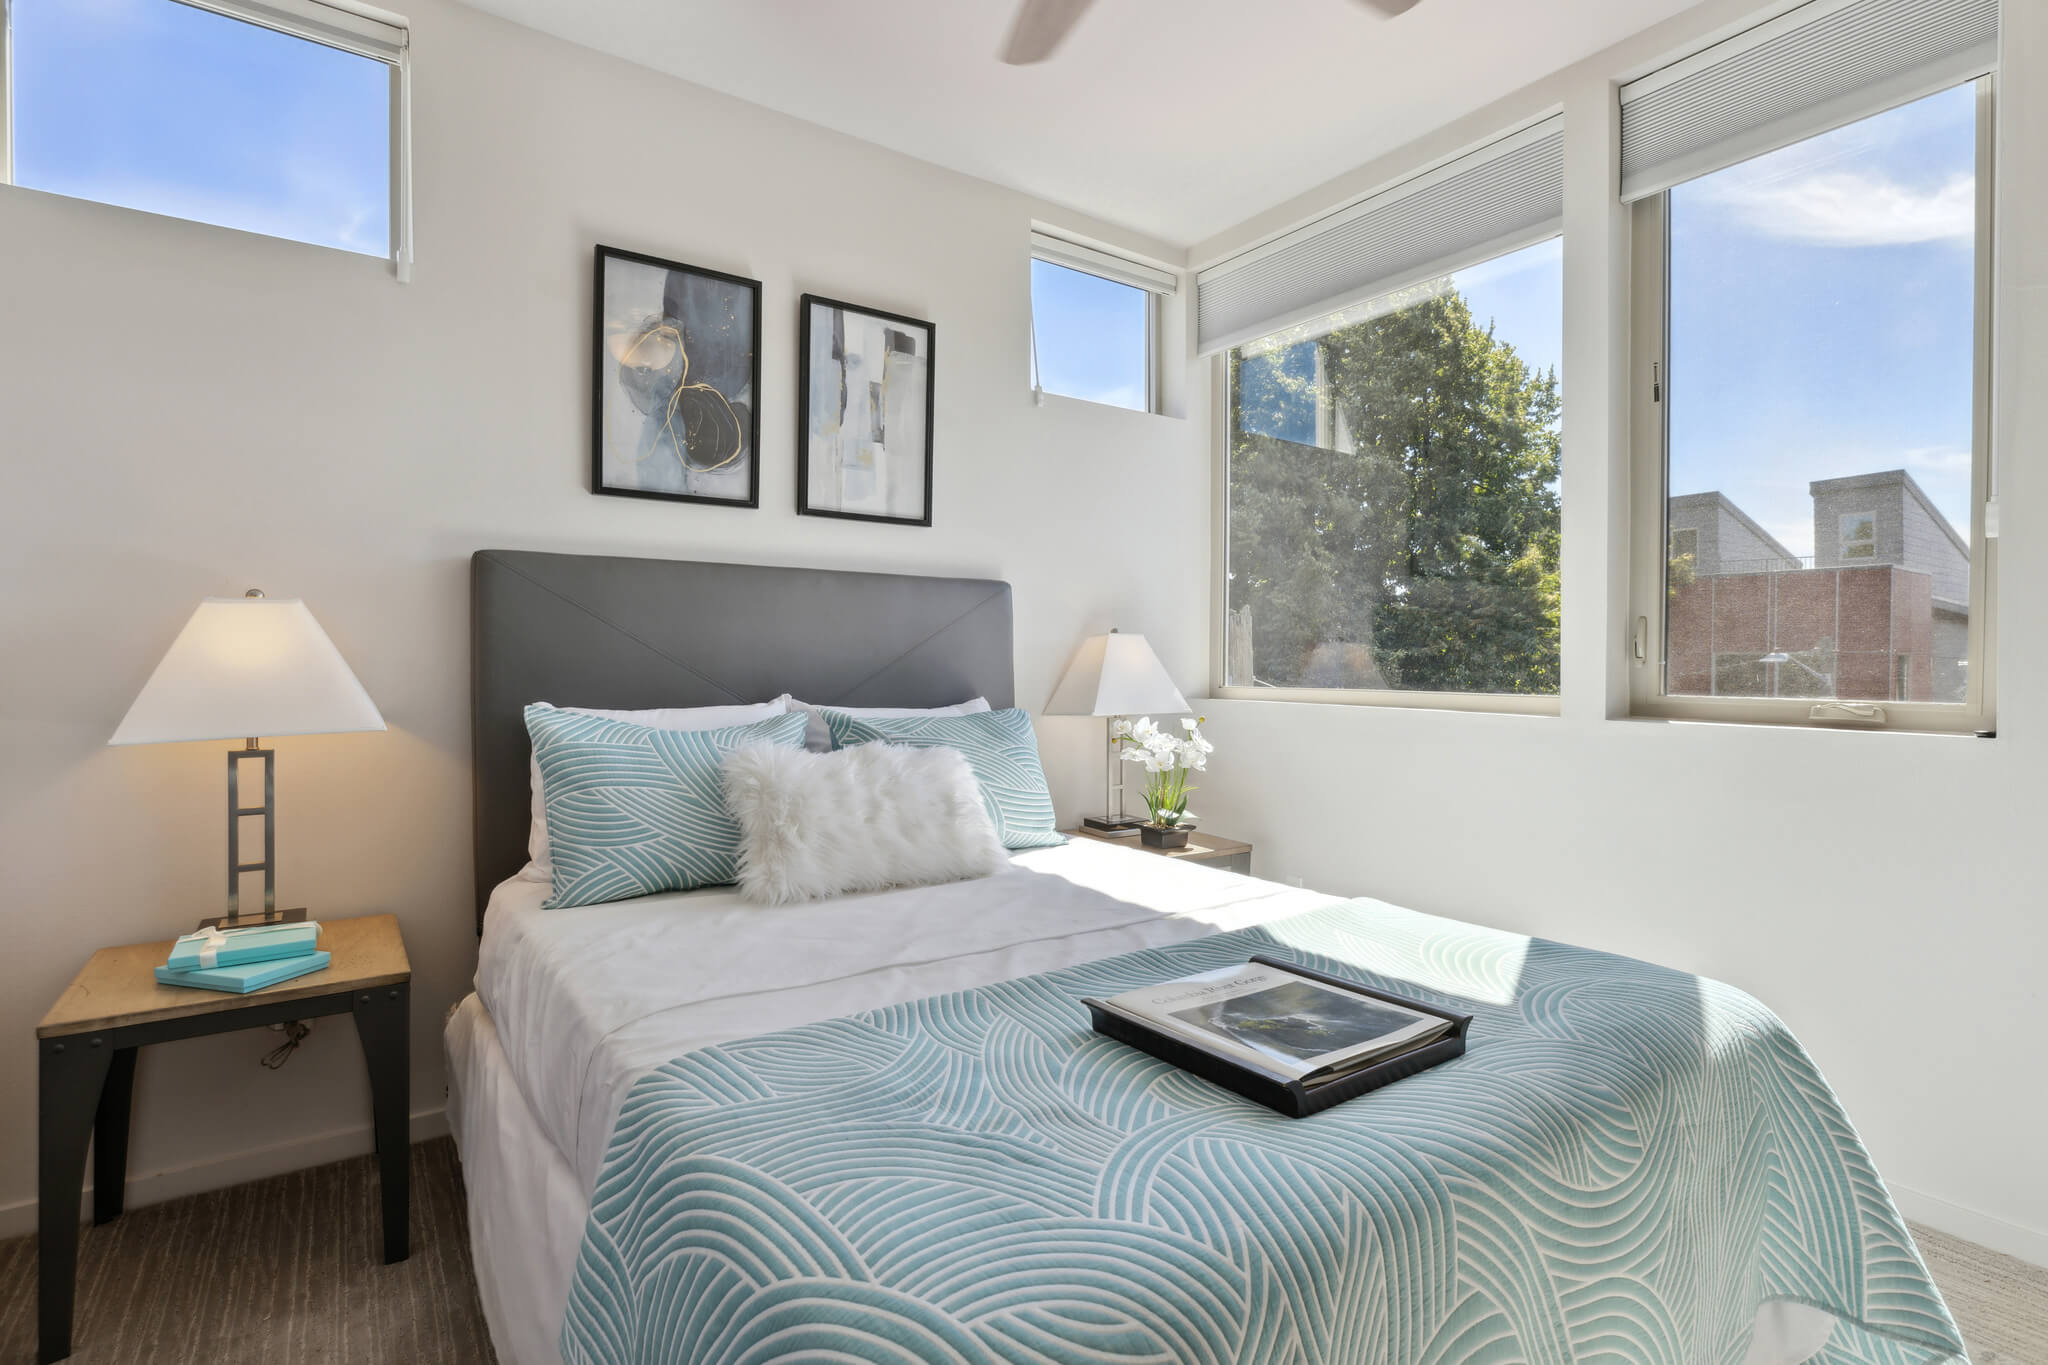
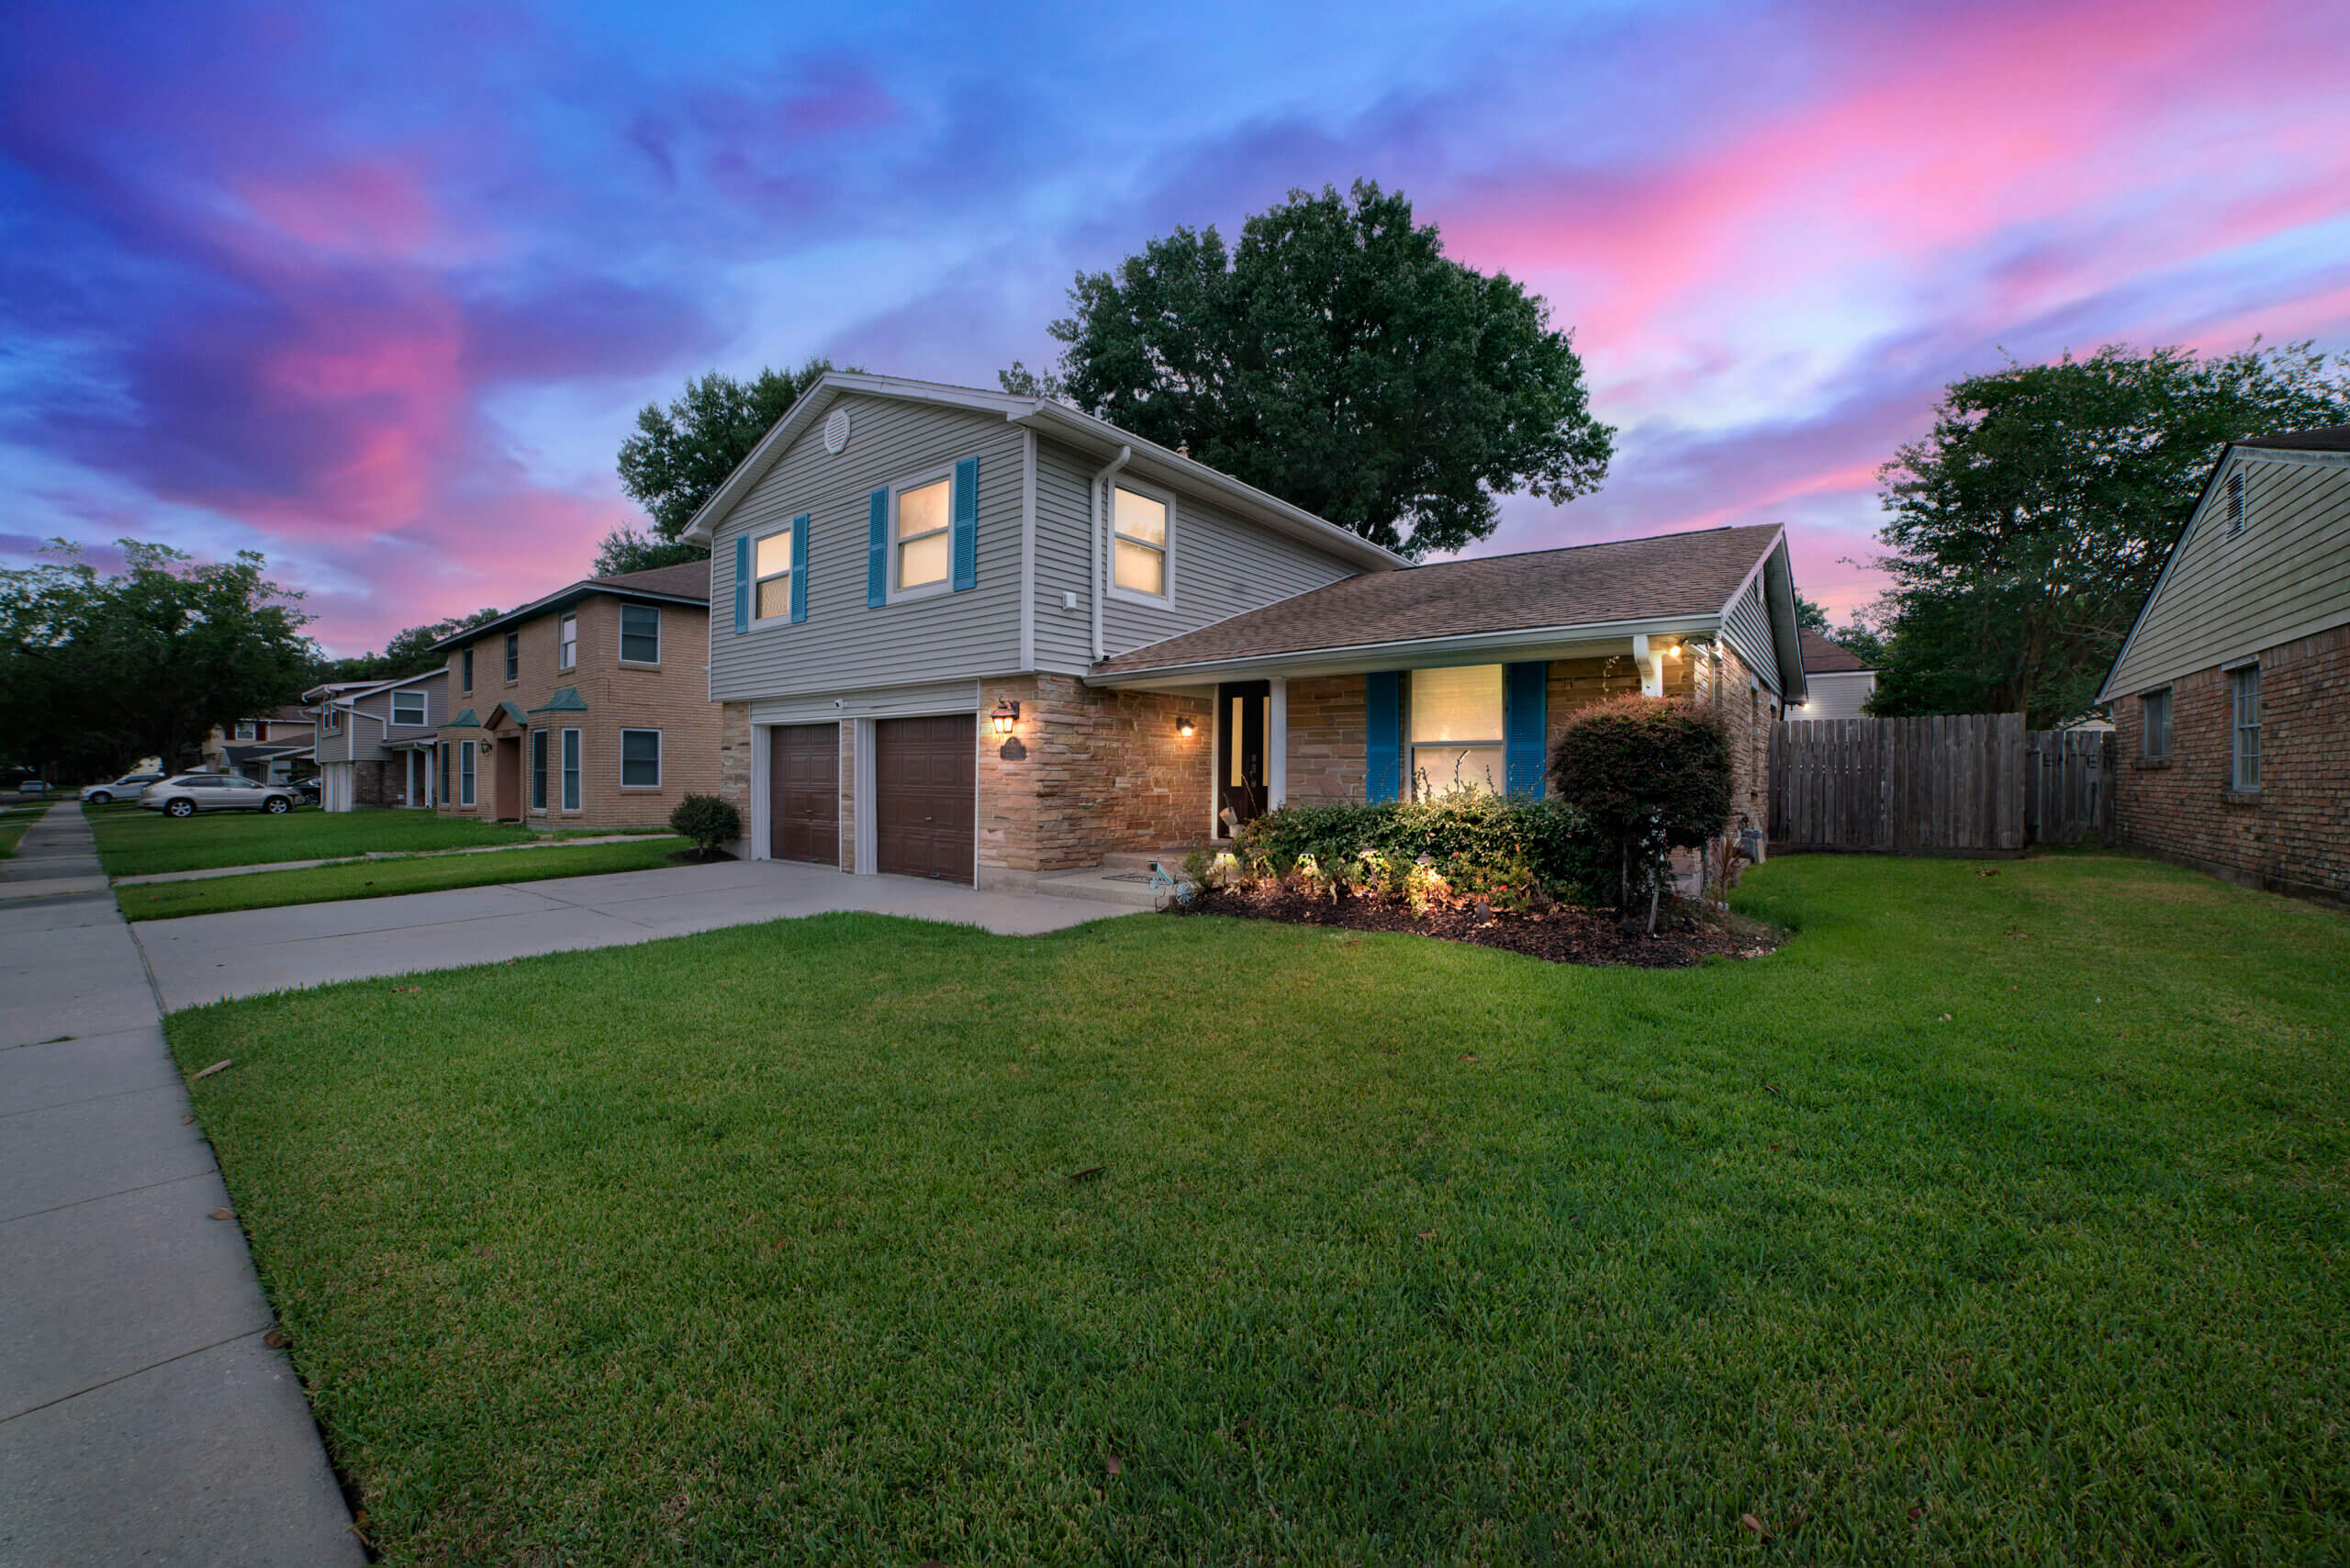
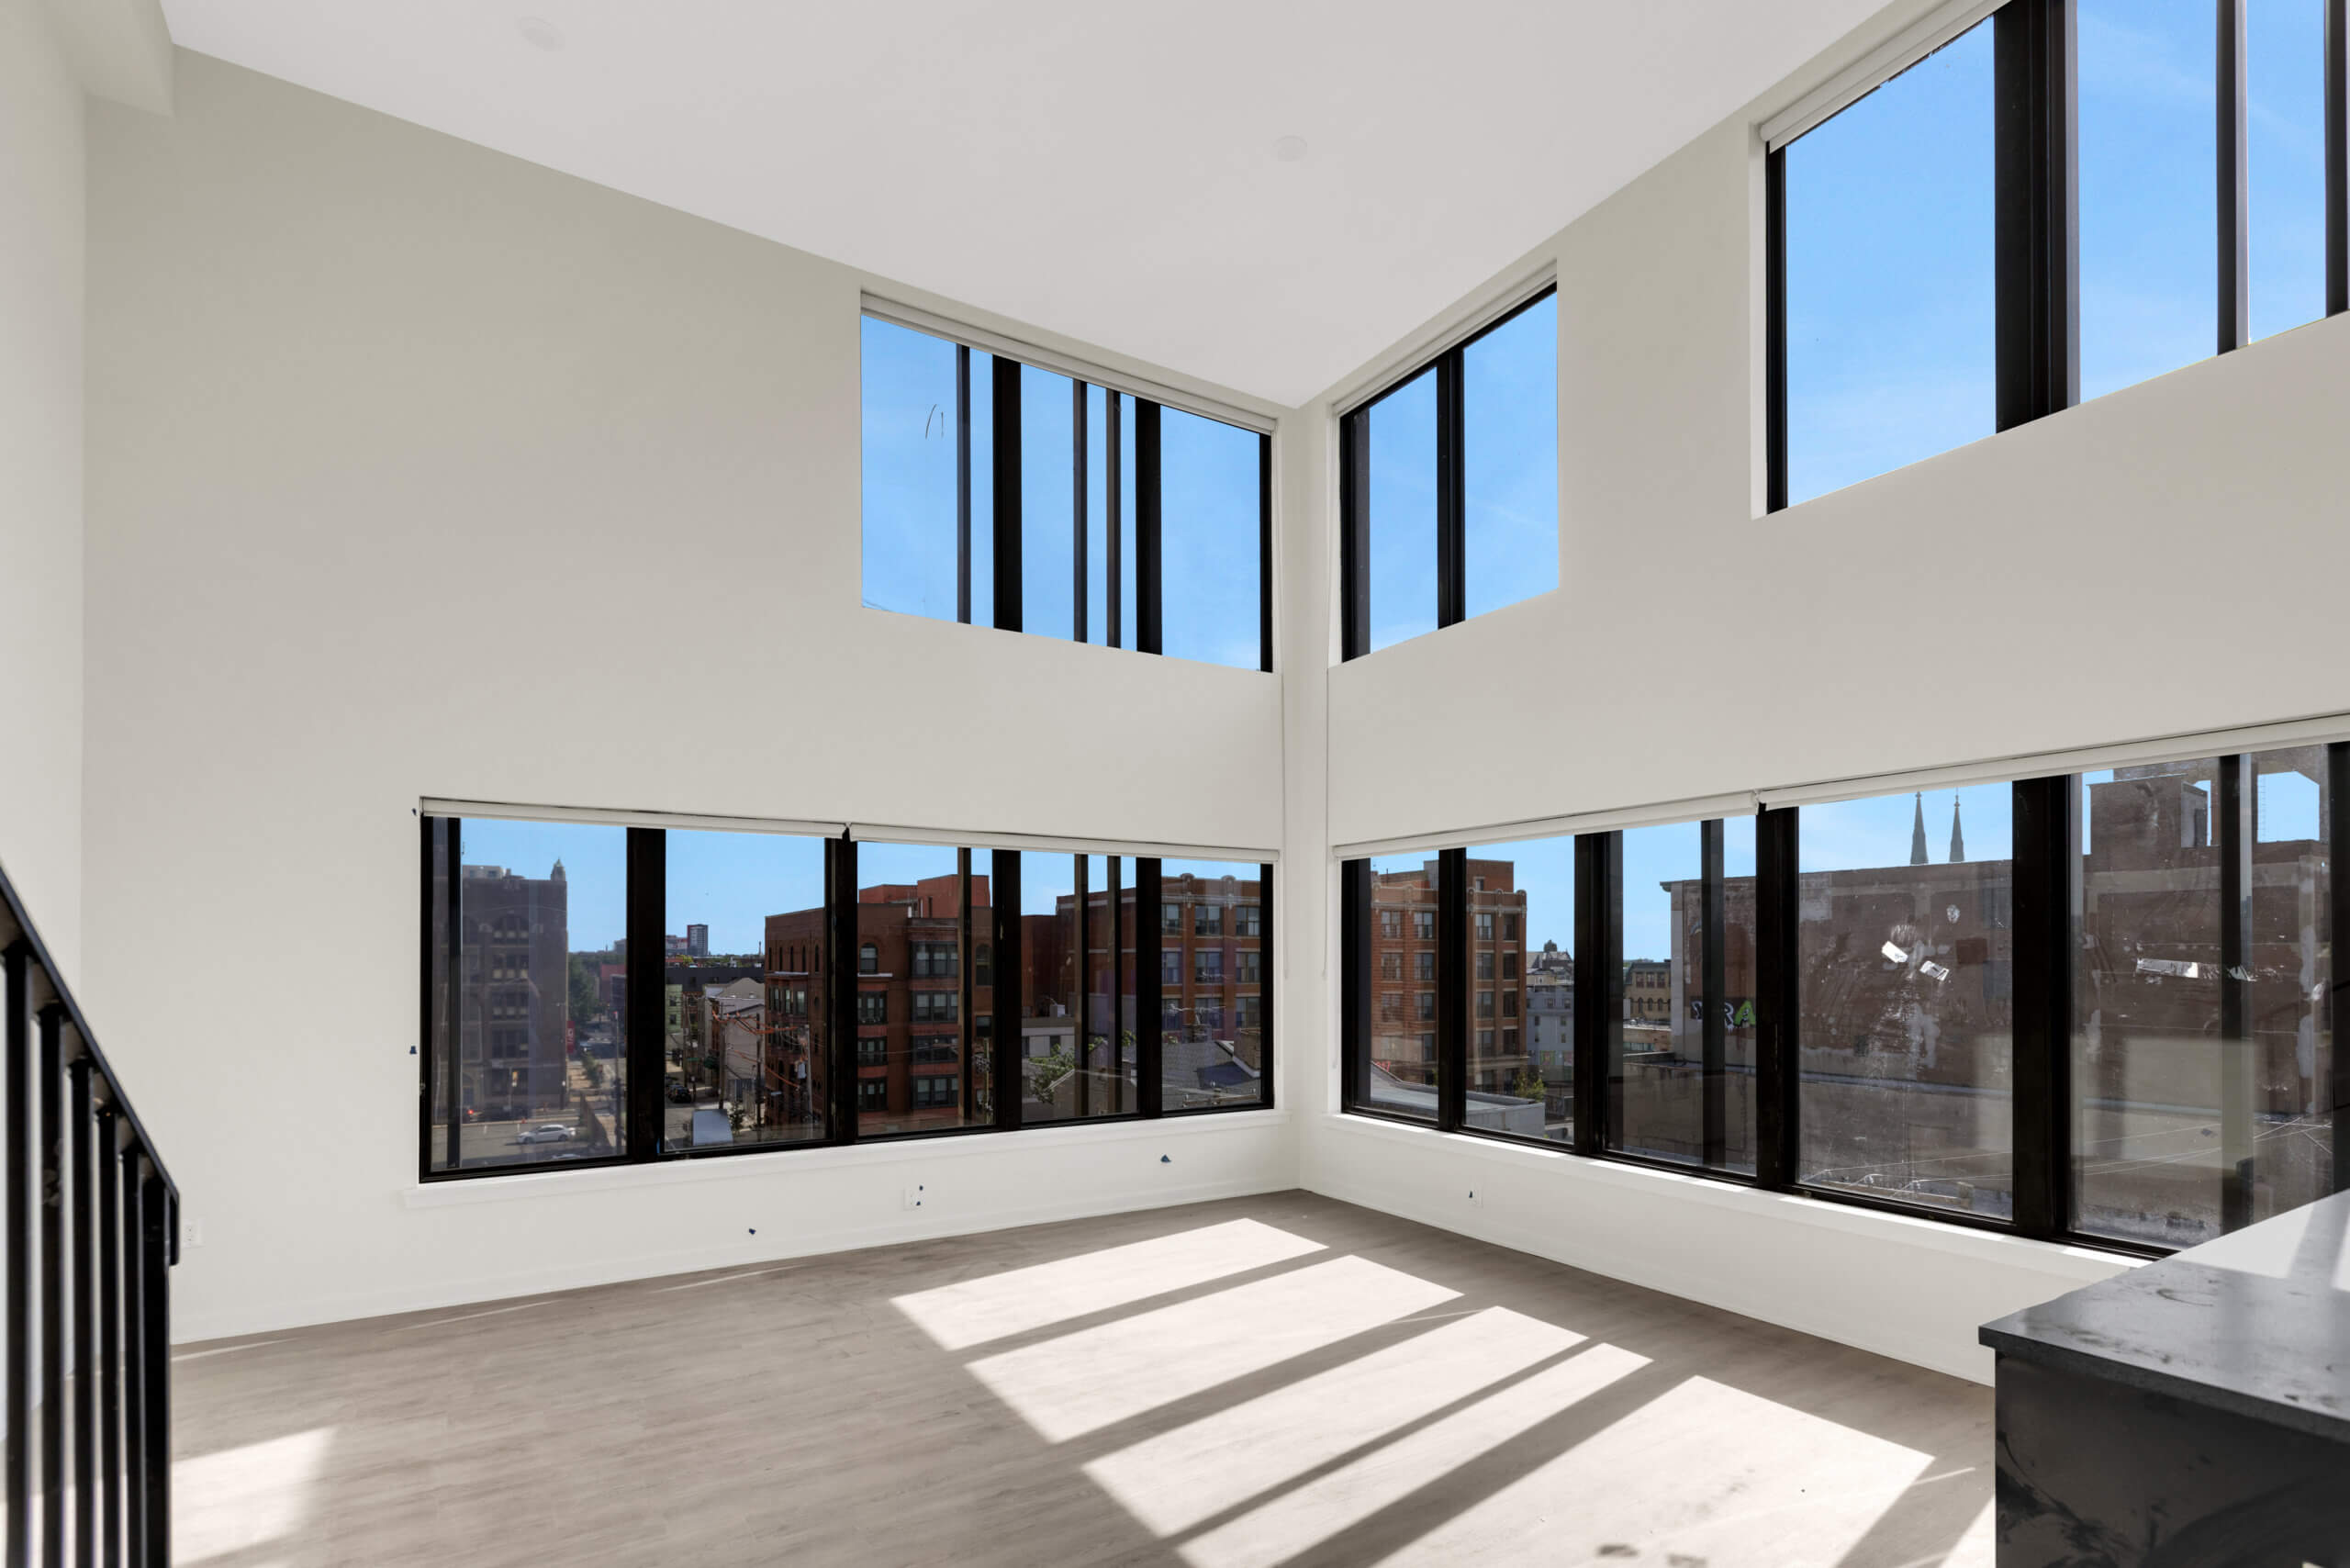
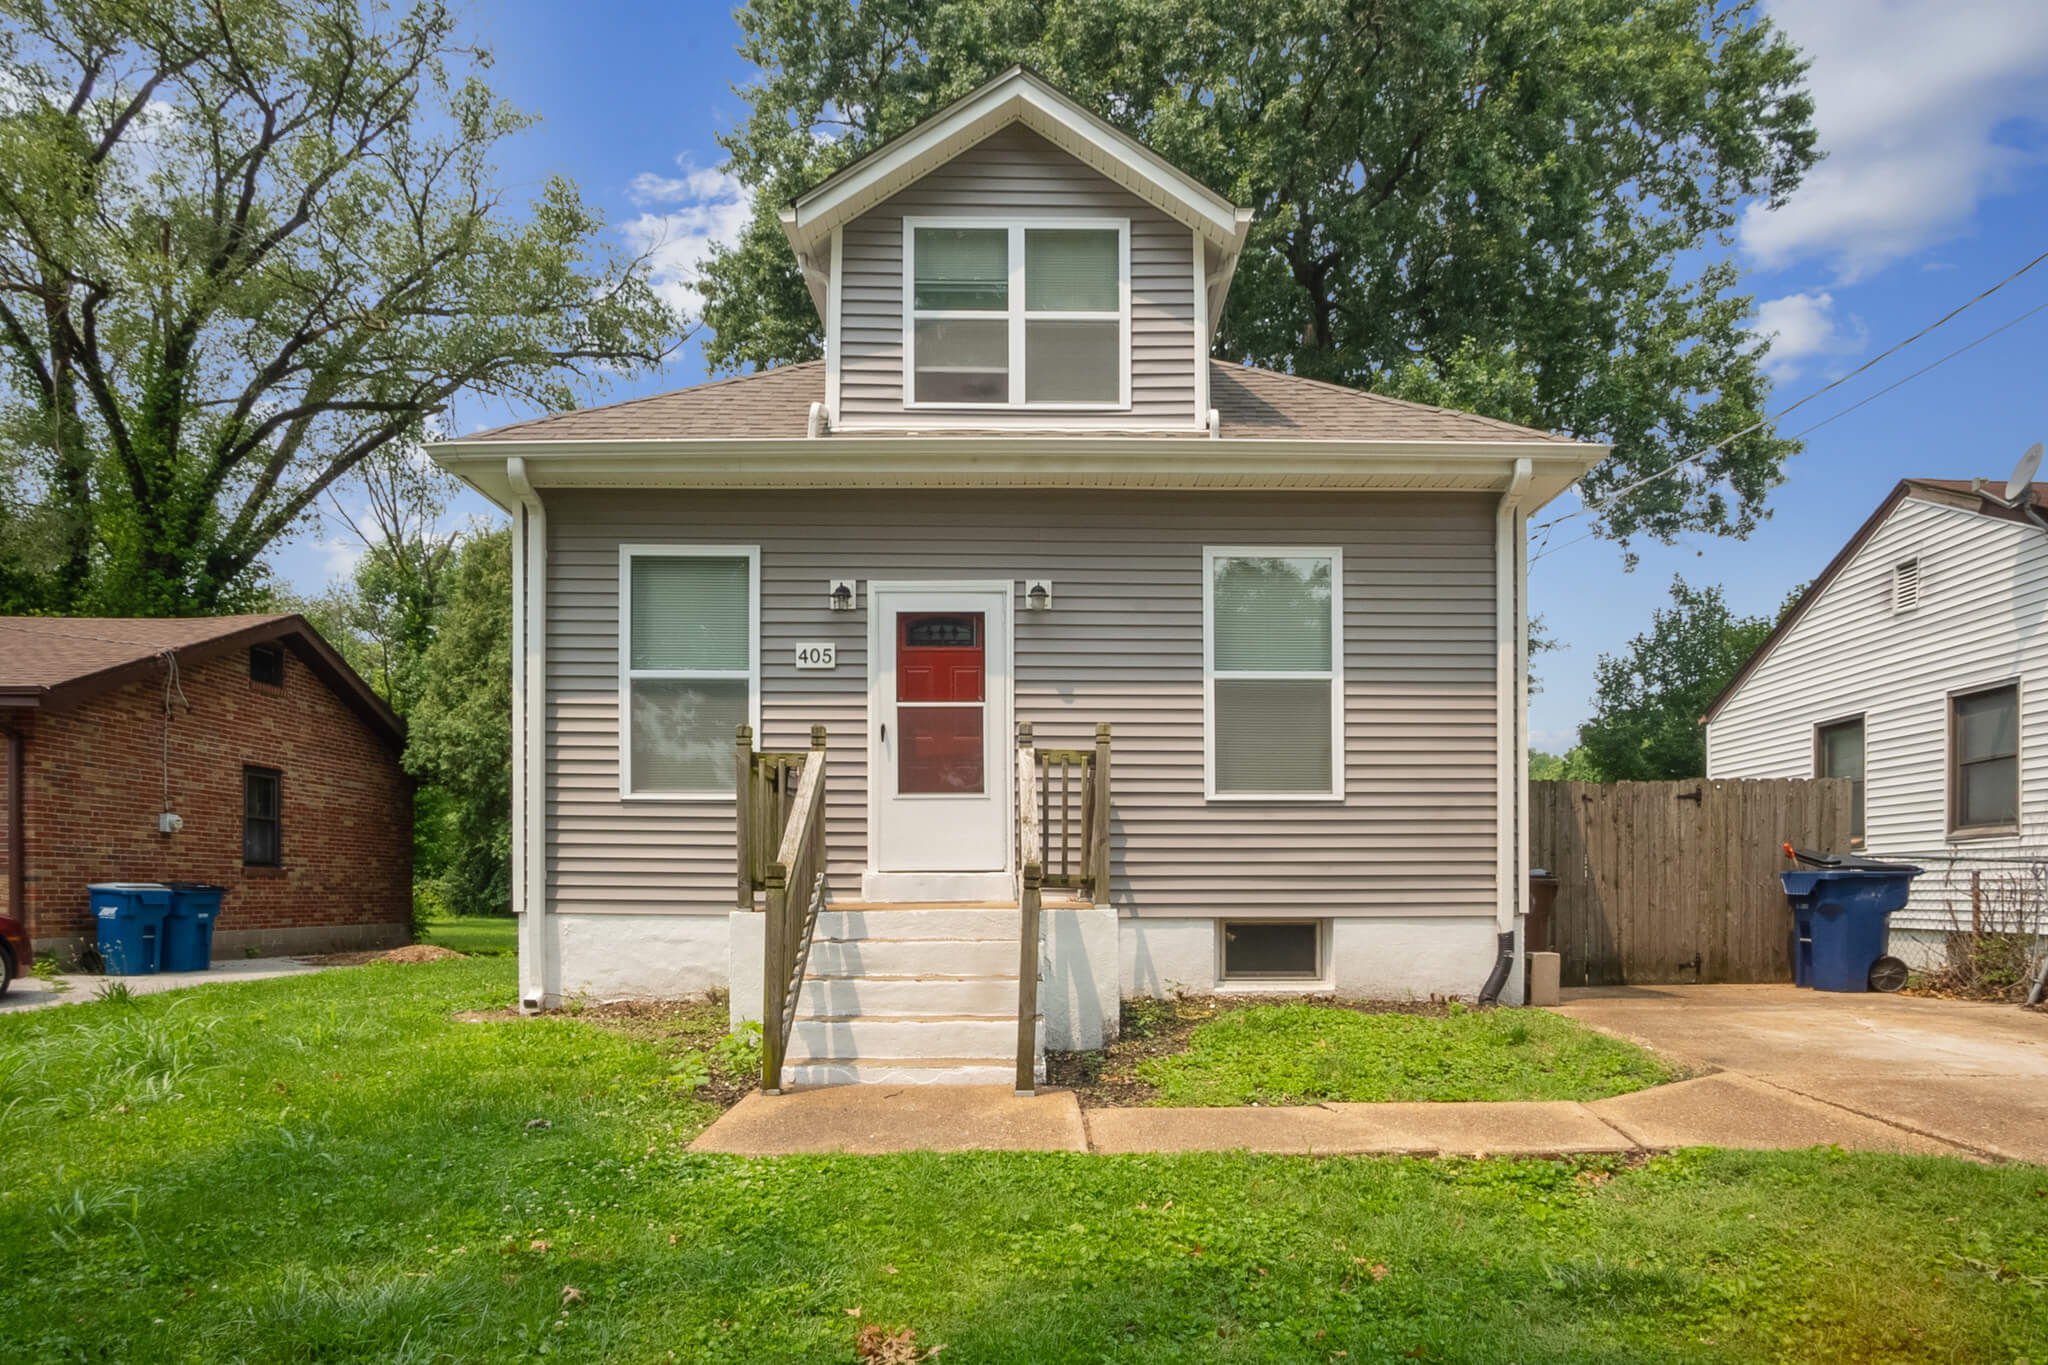
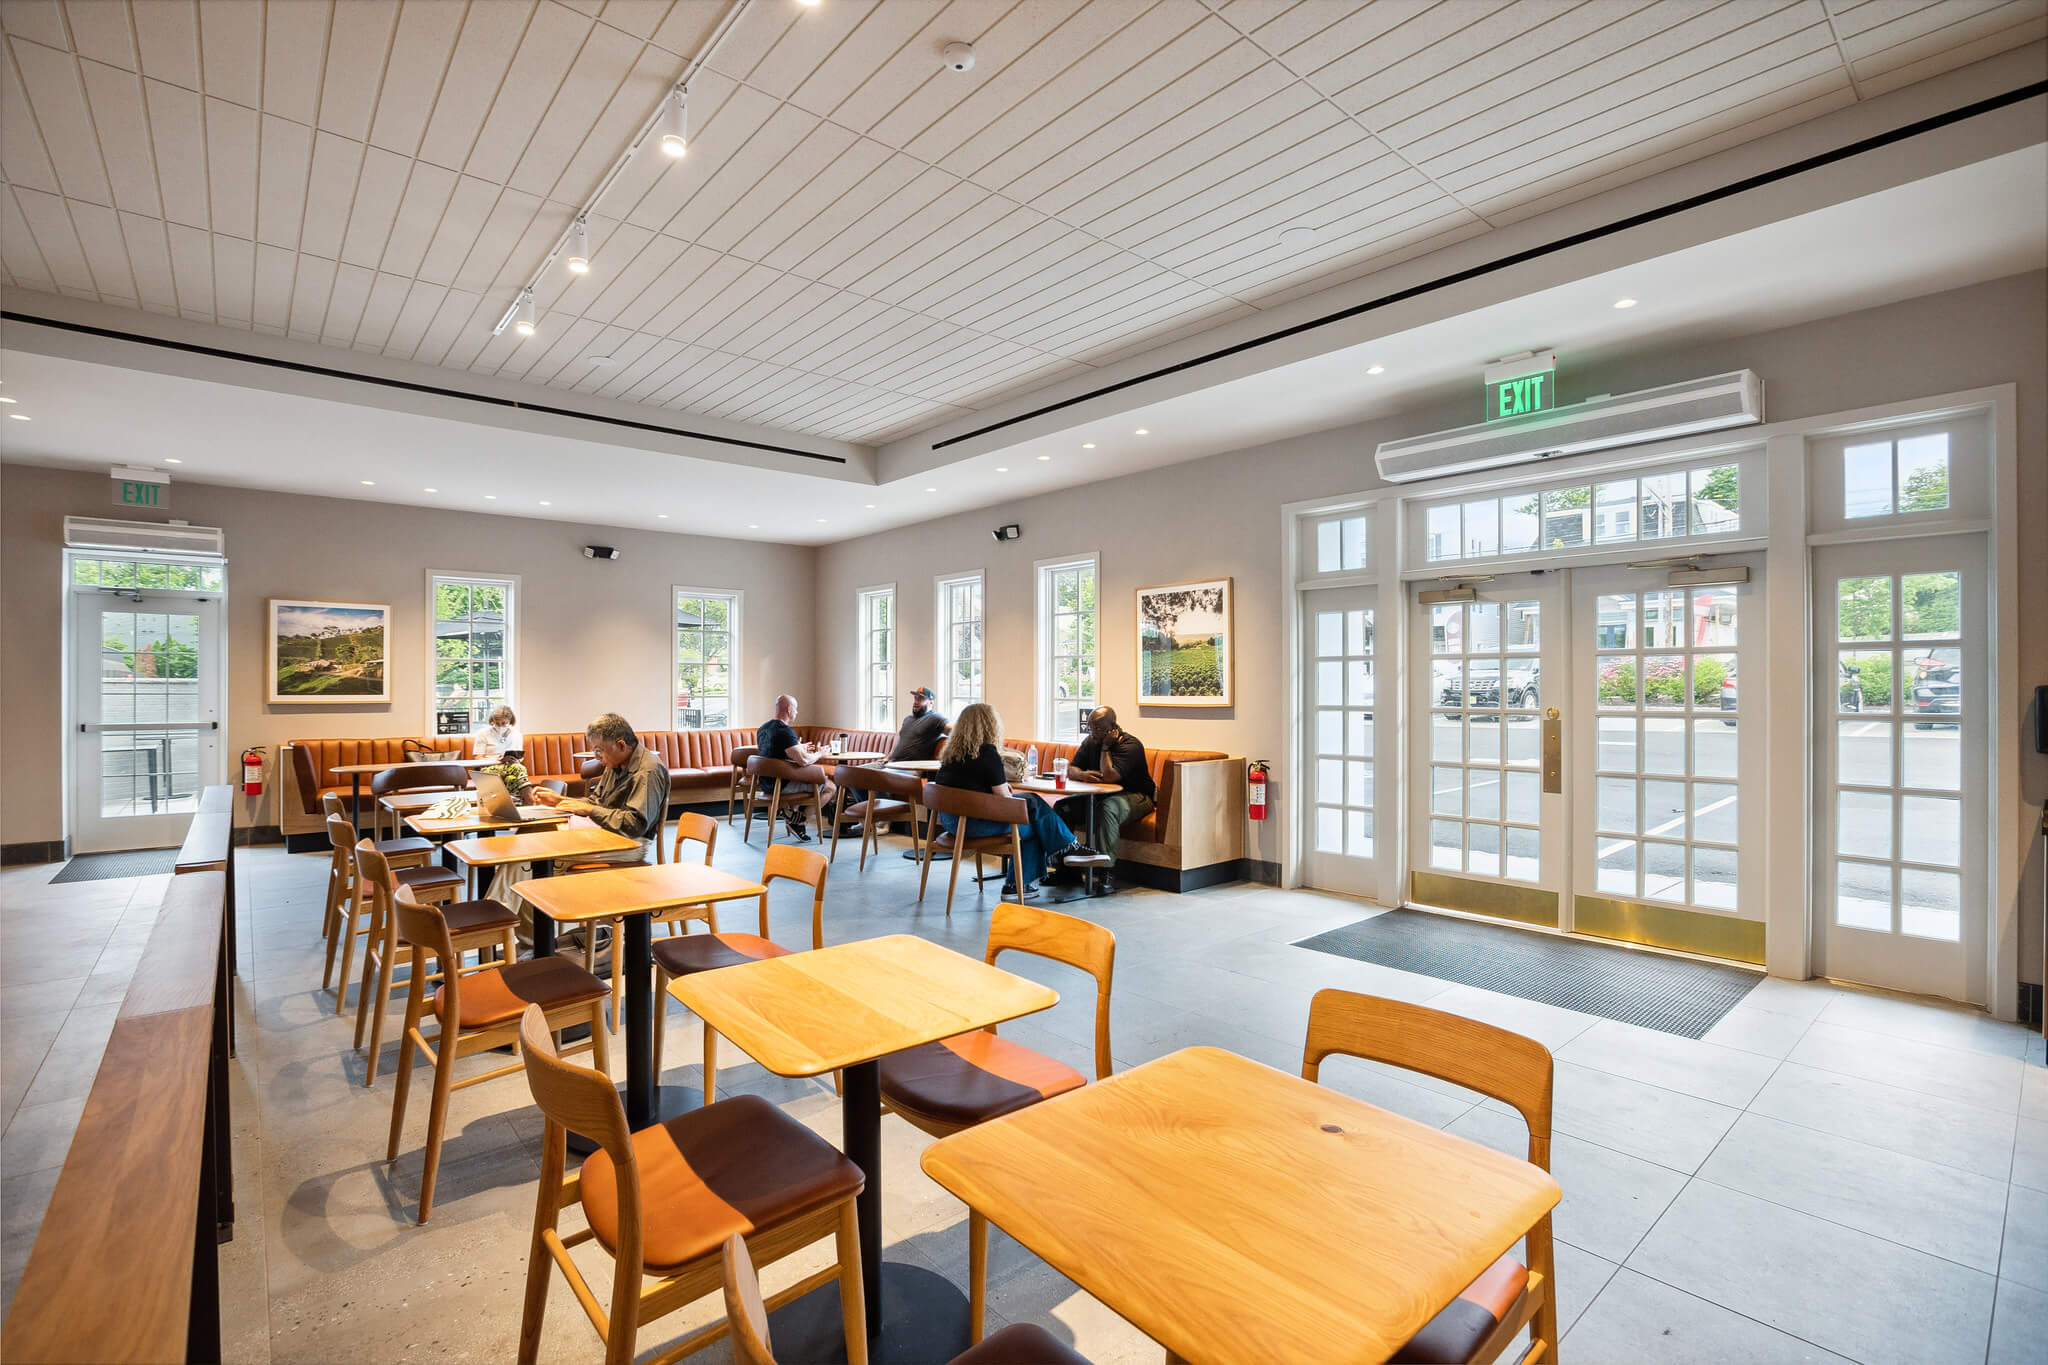
Even as a professional real estate photographer, you are bound to make some mistakes. But that’s okay because those mistakes serve as valuable lessons regarding the ins and outs of shooting real estate photos. Still, it doesn’t hurt to continuously learn and hone your skills so you can keep expanding your clientele and strengthening your portfolio.
This article discusses the 7 most common mistakes when taking real estate photos and how you can actively avoid them for the best results.
1. Choosing the Wrong Lens for the Job
A common mistake real estate photographers make when shooting is choosing the wrong lens. For instance, you will need a wide-angle zoom lens if you plan to shoot in a tight space. On the other hand, if you do plenty of outdoor work, a telephoto or regular lens can be quite useful to get the job done.
The trick is to know the nature of your job and then choose the camera lens accordingly. There are many jobs where you can use a 24-70mm or 24-105mm lens, provided the interior is spacious and the desired photographs are made from simple compositions. But if you will be working in tight spaces or narrow rooms, it is more appropriate to use a 16-35mm or 14-24mm ultra-wide lens.
2. Capturing your Reflection
Photographing certain areas of a property (such as bathrooms, dance rooms, yoga rooms, etc.) can be quite difficult without accidentally getting a mirror selfie. Even if you manage to hide yourself from the camera, your flash might still make an appearance. Either way, it’s a distraction that may look unprofessional and is a mistake that you should avoid.
The trick here is to work the angles as best as possible. Oftentimes, that could mean positioning yourself slightly higher or lower than normal. Other times, you may have to position yourself at a right angle against the mirror to avoid any unwanted reflections.
3. Over processing Images
Another common mistake photographers make is over-processing their real estate photos in a photo editor. Keep in mind that photography is art, but it should also be an accurate depiction of reality. This means you should balance your artistic creativity with realistic representation so potential buyers are not deceived.
Your goal should be to render colors and tones naturally. Opting for “warm” and “bright” rather than “shadowy,” “dark,” and “cold” will make a room look more inviting and natural.
4. Having Crooked Lines
When your camera is not properly leveled, it makes vertical and horizontal lines appear crooked. Since real estate photos are shot quickly, finding a way around this issue becomes more difficult. To minimize the appearance of these crooked lines, you should position your camera perfectly before clicking the shots. And unless you are photographing in a corner, you will also want to point straight at your subjects to ensure that the horizontal lines are not crooked.
The ideal height for interior photography is around 5 inches. Moreover, you can use a tripod to ensure everything is adequately lined up and straight.
5. Poor Property Preparation Before the Shoot
Even if you are an excellent photographer, your real estate photos will look mediocre if there is a lack of property preparation. The whole point of real estate photography is to make a space look visually appealing to the potential buyer. Part of your job is to inform your clients regarding any prep work they should do, including decluttering, landscaping, repainting, moving furniture, etc.
You should make these suggestions in written form so you can simply email them with each shoot appointment. If you offer property preparation services yourself, then be sure to charge extra for it.
6. Not having a Shot List
Real estate photographers generally work within tight deadlines. One way to ensure that you don’t end up spending more time than required is to create a shot list for your real estate photos. Even though every property has distinct details or qualities, some common shots apply to all properties. For instance, you know you must click a wide shot of each bathroom and bedroom.
However, you may opt for an ultra-wide angle shot for a room that has a more intricate design. For luxury properties, you may have to opt for aerial photography to capture their true beauty. Begin with a basic shot list and work your way up to add or tweak any details as needed. Collaborate with your client to see which photography works best for which area.
7. Not Researching the Market and Asking for Client Feedback
Whoever you talk to will have an opinion, and it may take some to learn whose opinion you should trust. Make sure to research the market trends carefully and see what other real estate photographers are doing. Moreover, it doesn’t hurt to directly ask your clients what kind of real estate photos they expect from you and which areas they’d like you to focus more on.
For real estate photos, you should look at the Multiple Listing Service for guidance. You should also pay attention to the ideal photo size or uploading and then deliver photos sized for different listing sites. Lastly, keep yourself updated with the ongoing rates, and see if your current skill, packages, and work level need to be modified to keep up with the trends and customer needs.
This will help you stay ahead of the competition. Remember to not promise too much or agree upon a deadline that you cannot deliver on. Doing so will hurt your credibility and may lead to unnecessary arguments. When discussing important points with the client, clearly highlight your job description and any deliverables to avoid confusion.
Final Thoughts
The art of real estate photography is complex and requires consistent learning and skill modification, even if you are a professional photographer. That means embracing new technology, developing new techniques, and avoiding common mistakes when taking real estate photos.

