At HomeJab, we’ve prepared a comprehensive guide to get your home camera-ready and one step closer to selling!
In this article, we cover three key sections to the home prep process — Exterior Shots, Interior Shots & Virtual Staging — and it’s all you’ll ever need to prepare your home before your real estate photographer’s scheduled to arrive.
How To Prep Your Home Exterior
Ever heard of the phrase, “it’s not about what’s on the outside but what’s on the inside that counts?”
Yeah. No.
When it comes to real estate photography, the outside counts just as much as the inside.
And with the bulk of your life taking place indoors, it’s no wonder that a home’s exterior is often overlooked during the prep process.
That said, below are 5 areas to consider when prepping the exterior sections of your home. Keep in mind that an impeccable exterior can help your property score a great first impression!
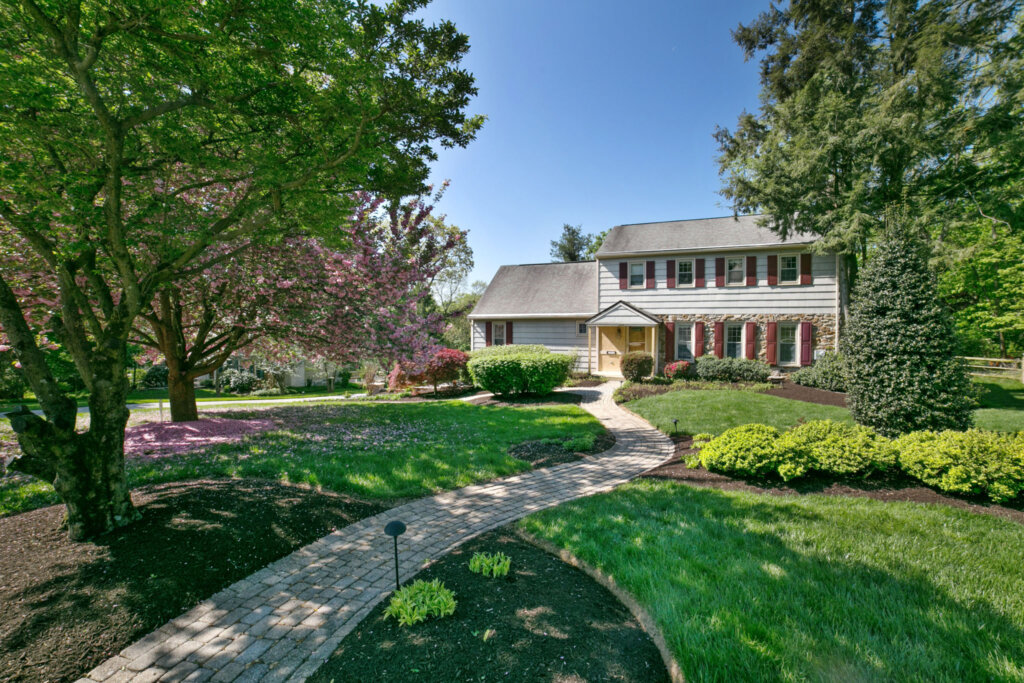
1. Yards & Landscaping
A well-groomed front yard, ideally with some flowers and plants that pop, can certainly set the mood for the rest of the home-viewing experience.
What’s more, a home’s exterior and front lawn are usually the featured image in show sheets, so you’ll want to make sure that the outside sections of your home are as photogenic as possible, starting with your grass.
Grass should be trimmed uniformly for a clean and consistent look. There should be no unruly patches of grass or overgrown shrubs that distract from a uniform look. On the other hand, if your front lawn is comprised of Astroturf or synthetic grass, be sure to spot-clean any stains that may have set into the grass over time.
2. Pathways & Driveways
Are there tire streaks on the driveway leading up to the garage? Are there trash and recycling bins lined up against the curb waiting to be collected by the utility company? Are there any other obstructions that might further distract from the main focus of the image (ie. your home?)
When it comes to real estate photography, these are important questions to consider! So make sure that these areas are unobstructed before the photographer arrives.
And lastly, we know that you’re super proud of your sweet ride, whether it’s a ‘95 Corolla or a ‘21 Maserati, but homebuyers aren’t very keen on viewing pictures of your car (so maybe save that for “Car and Driver” Mag?)
3. Unsightly Elements
Piggybacking off Step #2, you should check for unsightly elements that could derail your real estate photography efforts, such as tricycles parked on freshly mowed lawns, water hoses coiled over rusty pipes, and stray garden shovels staked into the soil.
Seriously, not even the adorable child swing hanging from a branch of your olive tree is safe.
In real estate photography, less is certainly more.
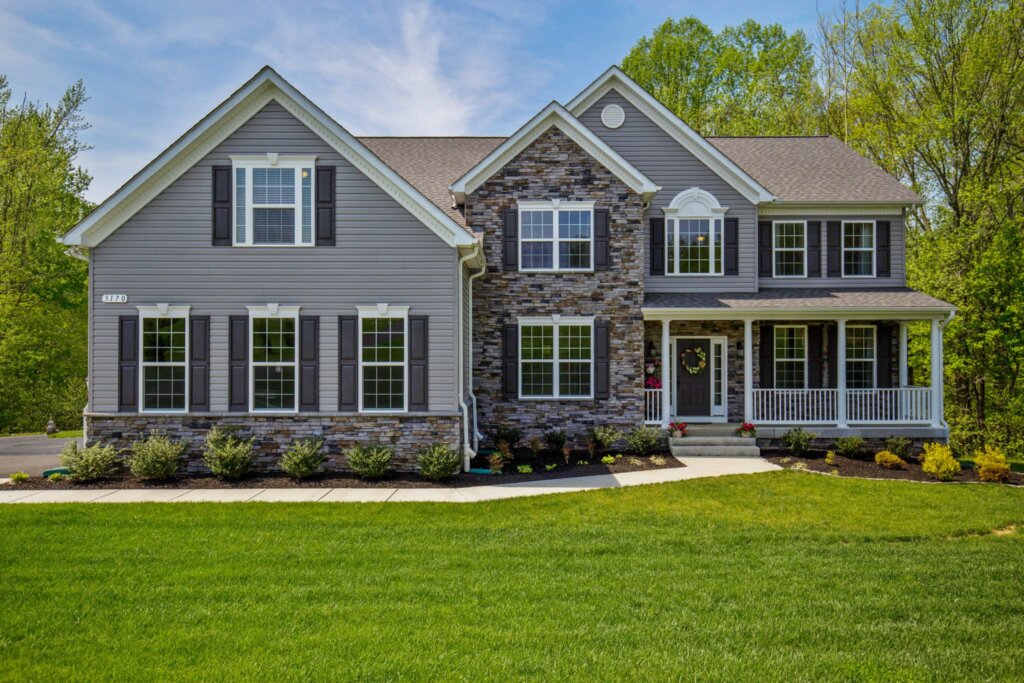
4. Windows & Doors
If you’re already prepping the front and back exteriors of your home, we’d like you to take a moment and glance at each exterior section.
(Go ahead. We’ll wait.)
Alright, so now that you’re back, may we ask, Where did your eye go? What exactly did you see?
A basic interior design trick is to design around a conversation piece in every room. This conversation piece could be a blush wingback chair or an exquisite marble top coffee table that your eye will be immediately drawn to. And then, as you survey the rest of the area, everything else centered around the design will sort of just make sense.
You can apply the same technique to your home exterior and really up the ante in your real estate photography game.
For example, you might not know the house number for your neighbor down the street, but you know that her door is painted in a “school bus yellow” that you can’t help but notice as you drive past.
Before you splash a gallon of yellow paint on your front door, ask yourself if there could be a “conversation piece” to your home exterior that your real estate photographer can capture during the photo shoot. This should be something eye-grabbing, such as an ornate door knocker or a comfy seating area.
At the very least, you should aim to keep your front and back doors clean and presentable. That goes for window panes, too.
5. Outdoor Entertaining
Does your home boast an appealing deck, patio area, or gazebo?
If your home is rich in outdoor amenities, use them!
Good real estate photography showcases exterior areas in your home where the prospective buyer can imagine themselves spending time. This can be a BBQ grill area, swimming pool, or zen garden.
Remember, your goal is to entice the homebuyer to set up a viewing of your property right away, and a flawless photoshoot (highlighting exteriors as much as interiors) is the quickest way to accomplish this.
(For more on Exterior Home Prep, check out this article!)
How To Prep Your Home Interior
At HomeJab, our photographers are instructed not to rearrange items in your home when they arrive to snap pictures. This is why the below 3 steps to prepping your home’s interior are crucial.
Before we dive in, note that a home is best captured when empty, so no photobombing with your pets and guests in the background, please.
Also, our photographers don’t photoshop items out of the pictures they take free of charge, so if you don’t want that lava lamp on your nightstand to be featured, please do your best to remove it.
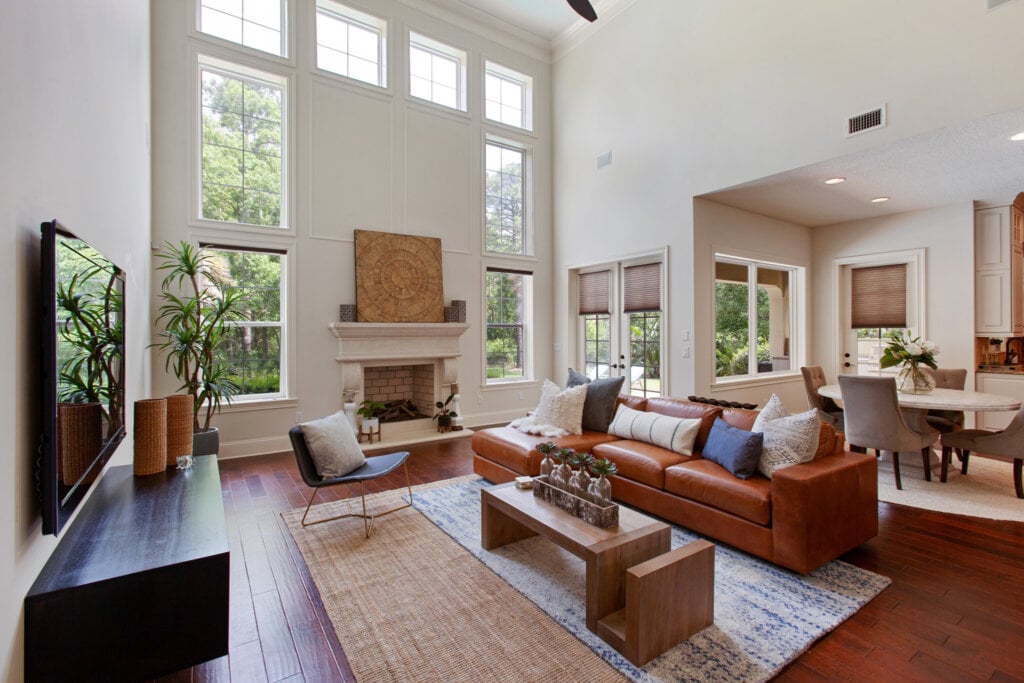
1. Declutter
In real estate photography, knickknacks are no bueno, that goes for the spice jars on the kitchen counter and the piles of bills on the dinner table.
To ensure that all interior rooms are camera-ready, please put away all personal care items including laundry bags, toys, pet beds, food, and water bowls.
It’s also recommended that you remove personal photos, such as framed pictures or photo albums that are otherwise on display.
And lastly, if you care to leave towel linens hanging on rods in the bathroom, opt for colors like white and beige to offer a neutral palette to the viewer.
2. Lighting
Light is an important element to consider when prepping your home for the real estate photographer.
Make sure that all light bulbs are working properly and that they’re switched on.
Also, leaving all doors open in each room can help brighten up your spaces even more and aid the real estate photographer in capturing more depth to your spaces.
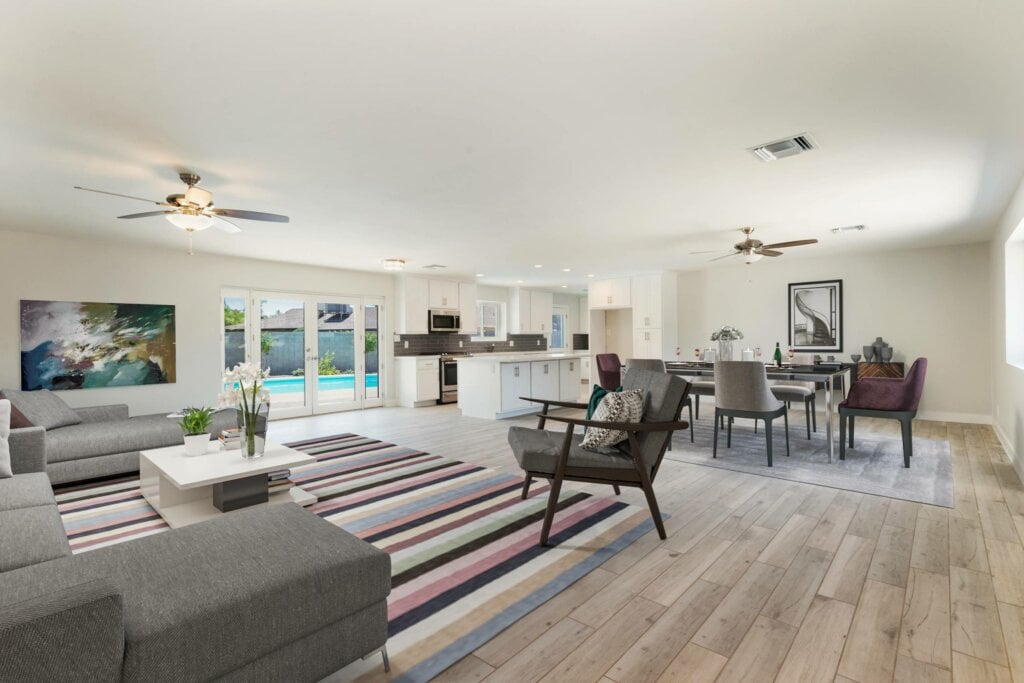
3. Cleanliness
To prepare for the perfect interior shots, your home should be sparkly clean and uber tidy.
To that end, ensure that all beds are neatly made, vacuum and clean all carpets and rugs, empty out all sinks, showers and bathtubs, lower all toilet seats, wipe all counters, surfaces and mirrors, and put away all waste bins.
We can’t stress enough that when it comes to real estate photography, visual details matter, which is why you should strive to conceal electric wires (if possible) and to arrange furniture items in an aesthetically pleasing way.
For instance, you can fluff up the pillows on your couch and arrange them through color coordination.
(To access HomeJab’s bulleted Prep List, click here!)
How To Prep For Virtual Staging
But what if there’s nothing inside of your home to prep? Not a single chair, table, or desk to sit at?
Worst of all, what if the items in your home aren’t photogenic at all? What if they’re bonafide eyesores like that jungle-themed wallpaper in the bathroom or the red leather sofa in the living room?
At HomeJab, we can agree that, for the most part, beauty is in the eye of the beholder.
But when it comes to real estate photography, you’ll want to err on the side of caution, and that includes subduing loud, jarring elements by replacing them with warm, neutral colors.
The good news is that our virtual staging services can either fill in those empty spaces or remove unsightly items from the picture, swapping them out for modern furniture and decor instead!
When planning a virtually staged home, be mindful of best practices and rules to avoid misrepresenting your property.
Some MLSs think that virtual staging presents an ethical issue based on misrepresentation, which is why there should be a disclaimer in your listing stating that your home is virtually staged. If so, the disclaimer should note that items depicted in the room are meant to help the prospective homebuyer envision what the home can look like and not what it actually looks like at the time the pictures were taken.
We also recommend including pictures in your listing showing the current state of the room. This way you can help clear any confusion or misrepresentations on your listing.
Finally, don’t let the photoshoot prep process overwhelm you! At HomeJab, we make it incredibly easy to start with your best foot forward. Just follow this guide and book your real estate photographer when your home’s ready for its closeup!