The fusion of technology and artistry has opened a new frontier in real estate marketing – and it’s in the skies. For real estate professionals and photographers, understanding the impact of real estate drone videos is crucial in today’s competitive market.
This guide outlines the essential drone shots needed to craft a compelling real estate drone video that not only highlights the property but also tells its unique story.
1. The Initial Approach Shot
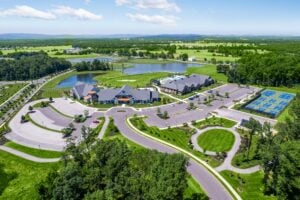
Begin with a high-elevation approach to the property, creating an “establishment” shot. This long-distance view offers a broader perspective of the community before focusing on the property. As the drone nears the property, gradually tilt the camera downwards, seamlessly transitioning from a panoramic view to a detailed look at the property.
2. Driveway Approach
For properties with long driveways, capture a low-altitude shot flying from the street over the driveway. Using an FPV (First Person View) drone for added maneuverability through branches or landscape features can add a dynamic touch.
3. Parallax/Arc Shots
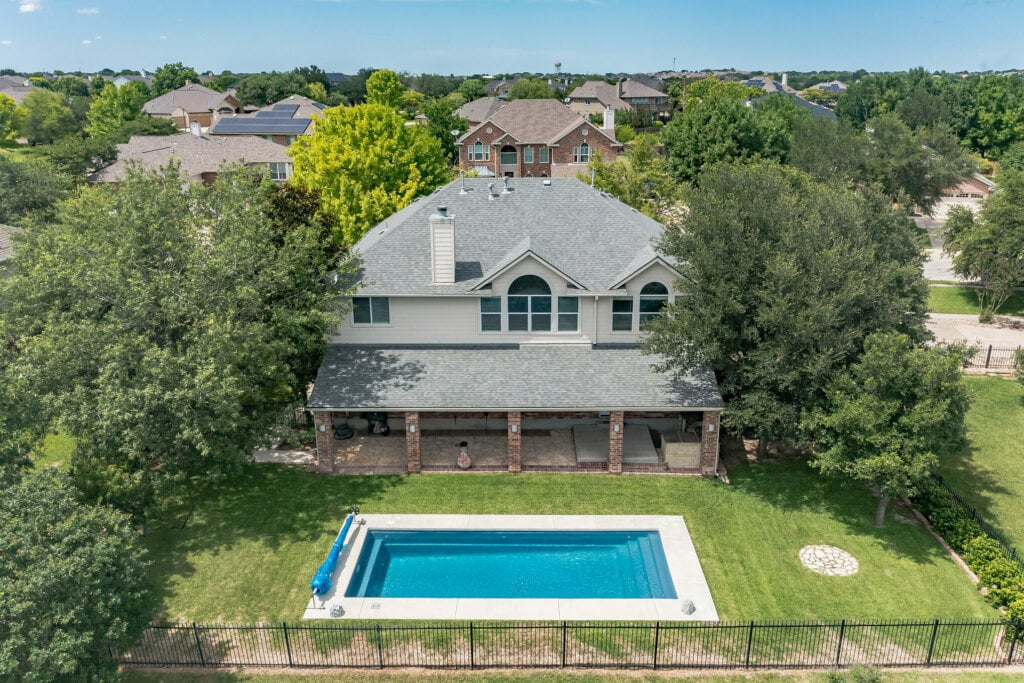
Parallax shots involve moving the camera in an arc around the subject while maintaining focus on it. These shots should be taken from various heights – high (about 200-250 feet), medium (around 100-125 feet), and close-up (approximately 50 feet). Execute these for both the front and back exteriors, ensuring the home remains centered. The key is smooth, graceful, and slow movement of the drone to capture the essence of the property.
4. Overhead Rising Shot
Position the drone directly above the property, looking straight down. As the drone ascends, this shot reveals the layout and design of the property from a bird’s-eye view.
5. Neighborhood Feature Shot
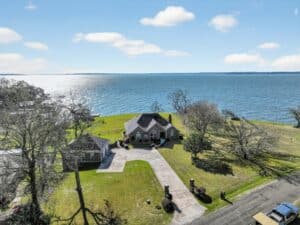
If applicable, include a rising shot that transitions from the property to a nearby neighborhood feature, like a park, body of water, or city skyline. This highlights the property’s location and its proximity to attractive local amenities.
6. Flyover Closeup Shot
Start from the front yard and fly the drone low over the property to reveal the backyard. This shot is particularly effective in showcasing outdoor features like pools or gardens.
7. End Flyaway Shot
Conclude with a shot that mirrors the initial approach but in reverse. As the drone pulls away, tilt the camera up towards the horizon, signaling the end of the video. Capturing the setting sun can add a stunning visual effect to this final shot.
Additional Tips
- Music: Pair the footage with dramatic, engaging real estate music. Time the cuts to the beat or crescendo of the music to enhance the visual impact. For example, a crescendo can coincide with the reveal of the property’s best feature.
- Video Length: Aim for a final cut of 1.5 to 2 minutes, maintaining viewer engagement.
- Technical Specs: Shoot at 60fps and a minimum of 1080p resolution for high-quality footage.
Adapting to Each Property’s Unique Characteristics
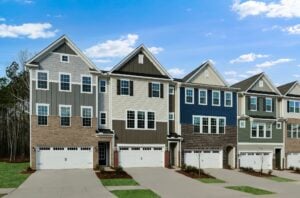
It’s essential to recognize that not all properties will accommodate every one of these drone shots. The feasibility of these shots depends significantly on factors such as the property’s location, type, and any local regulations.
For instance, densely populated urban areas may present challenges for certain types of shots due to space constraints or privacy concerns. Similarly, commercial properties might require a different approach compared to residential ones, and there could be height restrictions that limit how high a drone can fly.
Each property is unique, and therefore, it’s up to the expertise and judgment of the drone operator to assess the situation carefully. This flexibility and adaptability are what set skilled drone operators apart.
By understanding the unique characteristics of each property and creatively working within any constraints, drone operators can still produce stunning, effective real estate drone videos.

