Introduction – What is Real Estate Photography?
Photography is incredibly essential to real estate. A good photograph will showcase the best features of a home and make it appealing to the potential buyer. If you possess the skills to capture beautiful photos of a home then your services will be in high demand with local real estate agents. If you are getting into real estate photography for the first time, what do you need to know in order to be successful?
This is the essential guide to real estate photography.
What Equipment Will You Need?
The required equipment you will need for real estate photography is a camera, lens and a tripod.
Essential specifications for a camera and lens:
- Wireless triggers
- A full frame DSLR or Mirrorless camera (Sony, Canon, and Nikon are all good choices and offer a variety of lens choices)
- Wide angle lens
- External Flash
The wide range you want is between 14mm – 18mm, with a 17mm or lower being ideal. A good example is a 16mm-35mm zoom lens or a 16mm-28mm. Do not purchase a fisheye lens. A wide angle lens is necessary to ensure you include the entire room within the photo.
A tripod is a requirement. This enables you to keep your camera steady while shooting. This is especially important when performing an HDR photo session.
Please Note: Flash is used at the discretion of the photographer and their personal experience level.
When is the Best Time of Day to Take Real Estate Photos?
The time of day you choose is crucial. The timing comes down to the aspect of the property (its orientation in relation to the four cardinal directions). It is best to have the sun directly behind you. If the sun is directly behind the home, the sun will face directly into the lens and cause a glare. Though, be aware of your own shadow when taking photos.
If the property faces:
- East: in the morning light as the sun rises and hits the front of the house
- West: try shooting during the “Golden Hour” when the glowing low-angled sun will be hitting the front of the home
- North: late morning to early afternoon
- South: early in the morning or right before sunset
Preparing the Day Before the Shoot
Call to Confirm and Ask Questions
When you call a day before it can help avoid last minute cancellations or a rush the day of. This can remind the agent and/or homeowner that they have an appointment tomorrow and what the exact time of arrival is. Use this phone call to gather a list of “must-have shots”. This would be a list of any key features that are not standard to take and/or obvious to a third party. Examples of these shots could be a close-up of a backsplash, a small pond in the backyard, detailing on a fireplace mantle, etc. This will also help ensure you have the right equipment for all requests.
Send a Home Prep List to the Client
The homeowners need to be prepared for the day of the shoot, so it’s important to send them a list on how to do so. Advise them to reduce clutter as much as possible and make the home photo ready. The prep list includes reminders for tasks that may not be obvious to your client. For example, it reminds them to check that all light bulbs are working. The prep list also points out how important it is to ensure the exterior is ready as well as the interior. Let the client know to move garbage cans and vehicles out from the driveway and/or front of the home.
Day of the Shoot
Call Ahead
Even though you called the day before, life happens. Always call prior to leaving. Various situations can happen such as, children getting sick, leaks starting in the home, home staging is delayed, or many other things that could result in the home no longer being ready.
Be Patient and Respectful
This can be a stressful time for the homeowner. There might be children or pets running around. The owners might be doing last minute staging and cleaning. In some cases, the homeowners may be selling due to an emotional life event (death in the family, divorce, lost job, etc). You are unaware of what the homeowner may be going through, so be patient, pleasant and approachable. Upon arrival introduce yourself in a friendly manner. Let them know your name and that they are in good hands.
Request to Walk Through the Home
It is helpful to do a full walk-through of the home with the agent and/or homeowner prior to beginning. This enables you to discuss key features and have them point anything out. It also gives you a better idea of the home’s layout. As you walk through, you can let the agent and/or seller know about any last minute items they should move or adjust.
Turn On All of the Lights
When you turn on all of the lights it makes the rooms look warm and inviting. It can help fill all corners with light. If the room is poorly lit, either move a lamp from another room, with permission, or inform the agent and/or homeowner so they are aware.
How to Get the Best Photos
Always overshoot the home so you have extras and can choose the best shots. Additionally, customers often ask for extras. It is handy to already have them and avoid any issues that would require you to return to the property.
Tips for Shooting the Exterior:
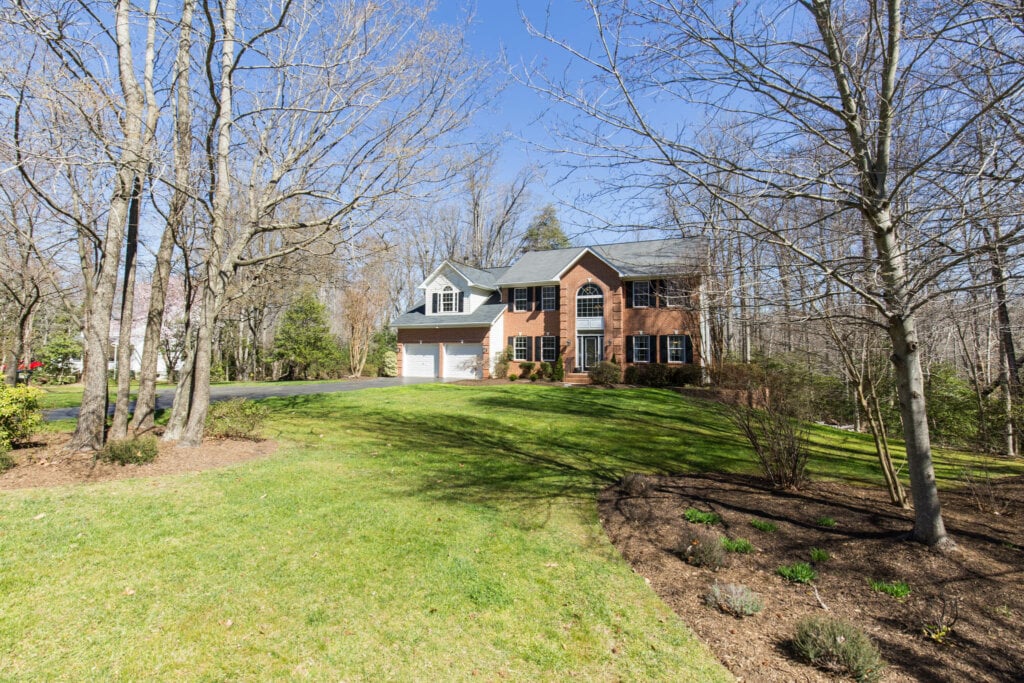
- Take multiple shots of the exterior of the building from varying distances and angles.
- Avoid your reflection in windows.
- Avoid including the For Sale sign in the photo. Remove it temporarily if possible.
- Evaluate the weather and how it will effect the exterior photos. Slightly overcast days can be a good time to shoot exteriors. The cloudy sky acts as a diffuser, which will remove shadows and provide even lighting.
- On cloudy/overcast days, shoot all exteriors in HDR to allow for easy blue sky replacement during post-production. Please note: Blue sky replacement can be done if you are editing yourself and have these capabilities or by sending RAW files to a post production company.
- Use your viewfinder alignment grid to make sure that all lines are level, vertically and horizontally.
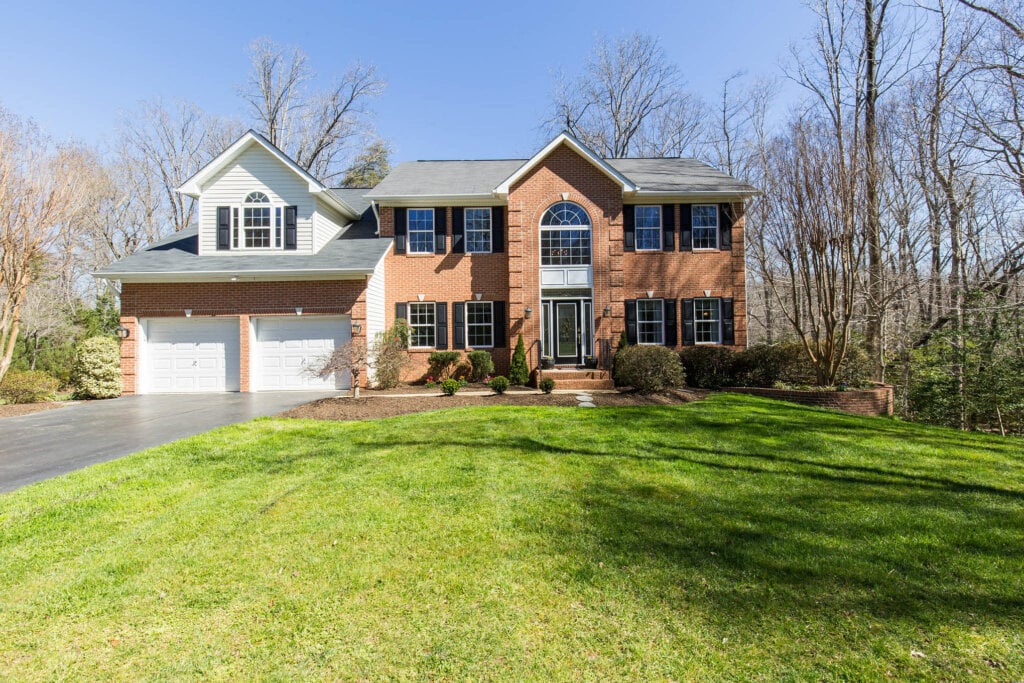
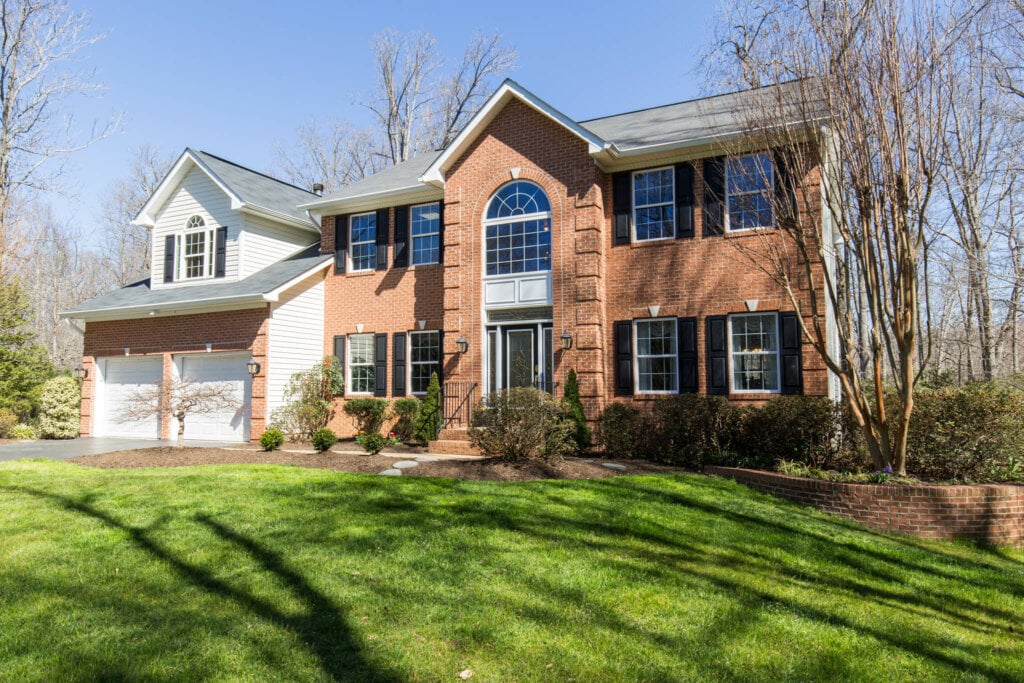
- Be sure to capture at least 2-3 “money shots” of the front of the home. These can be a straight on shot either from a medium distance and zoomed in on your lens, from a closer distance but zoomed out or the non garage side at about a 45 degree rotation from the front.
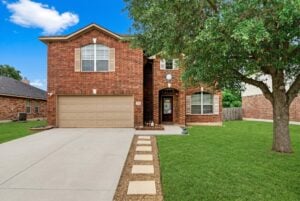
Framing the Entire Exterior
Don’t only take a photo of the home straight on – chances are this won’t be the most flattering angle. The driveway will appear foreshortened and it can be hard for the viewer to tell how large the home is. Instead, it’s better to frame the exterior shots from the corners of the property.
Try shooting the house from the front corners of the property and from various points in between. For example, you might want to shoot from an angle opposite the driveway. This will give you a better overall perspective on the home and will show more of the landscaping.
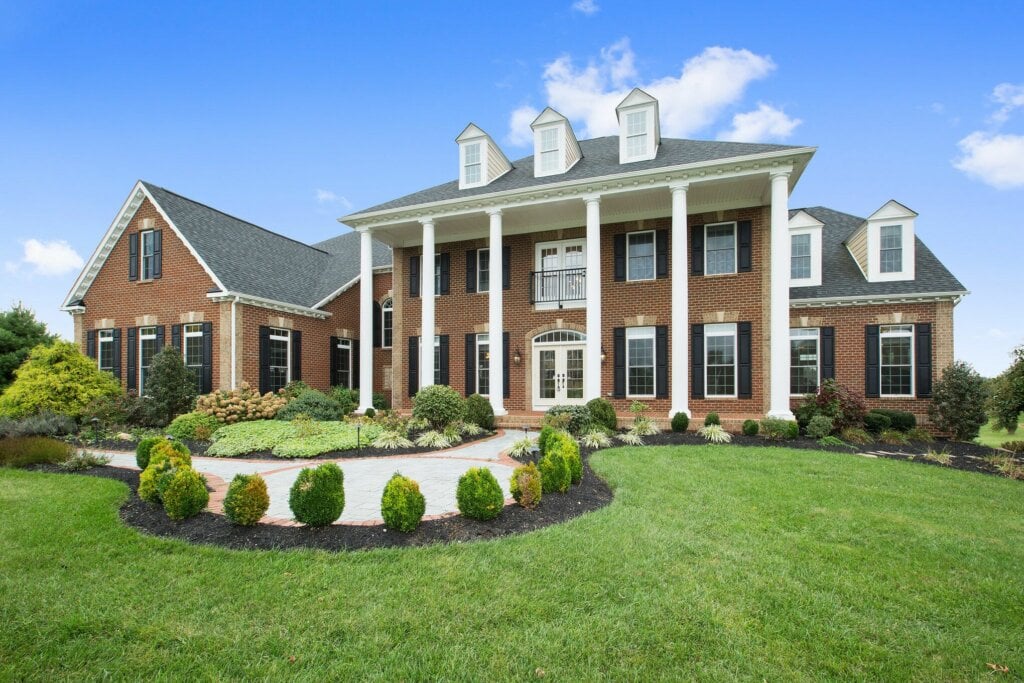
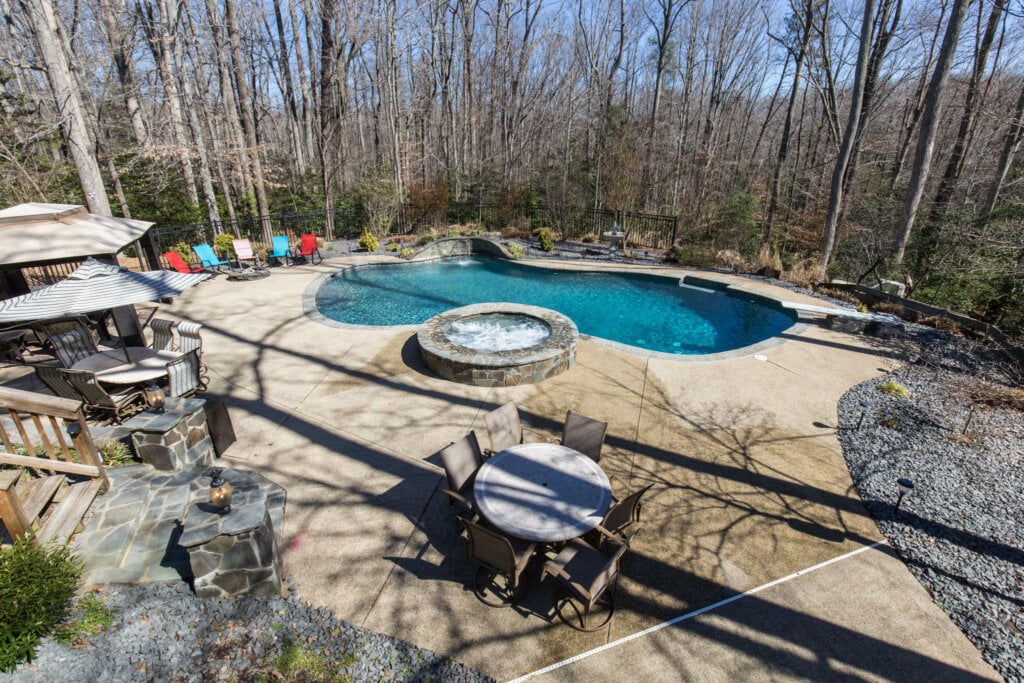
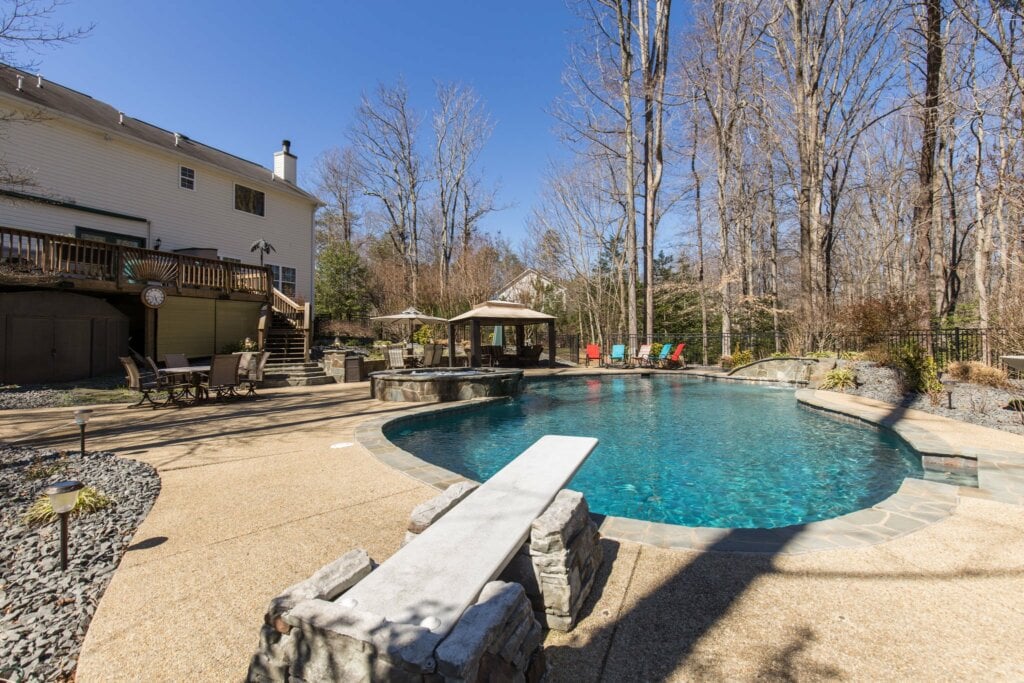
Also, if the home has desirable features on the exterior such as a beautiful stone walkway, a deck or a pool – make sure that you frame these within the shots. These are the type of special features that your client will need to show.
Additional Exterior Tips:
- Walk back into the backyard and shoot a photo looking at the back of the house.
- Get a shot looking off of any deck, as this is a great vantage point to showcase the view.
- Offer to use a front exterior shot to create a virtual dusk. This can help improve click-through rates for the agent.
Basic Tips for Shooting the Interior:
- Make sure all cabinet doors are closed and toilet lids are down.
- Turn all lights on and dimmable lights all the way up.
- Move any trash out of the shot.
- Hide personal toiletries and/or towels found in bathrooms.
- Make sure your camera bag and gear are not in the shot.
- Pets should not be in any shots.
- Avoid reflections in mirrors.
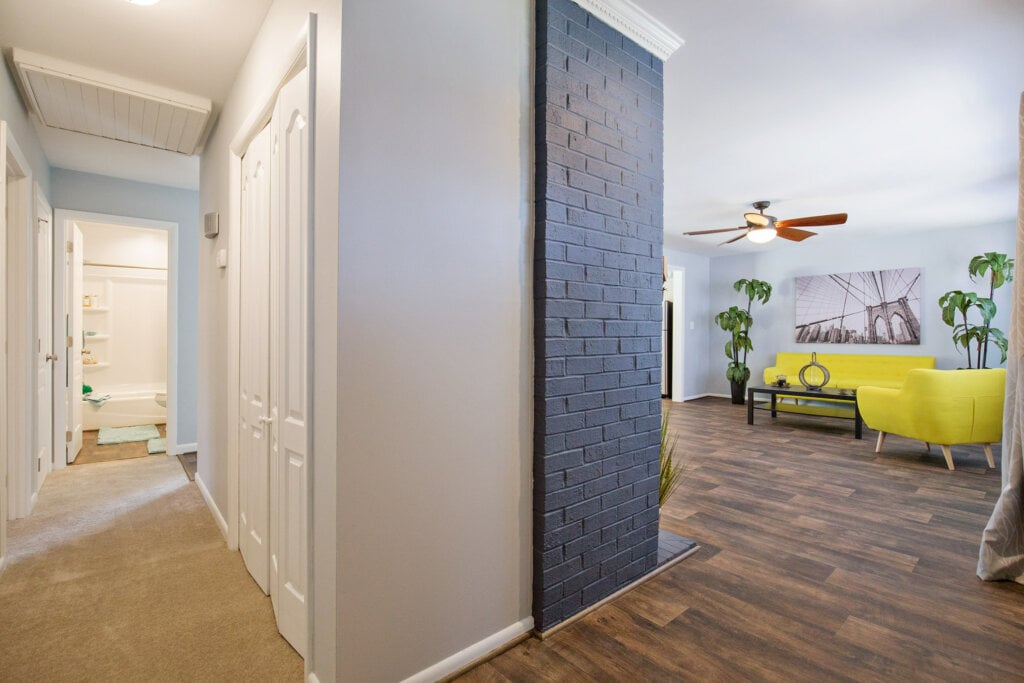
- Shooting on an angle from a corner gives the impression of a larger room.
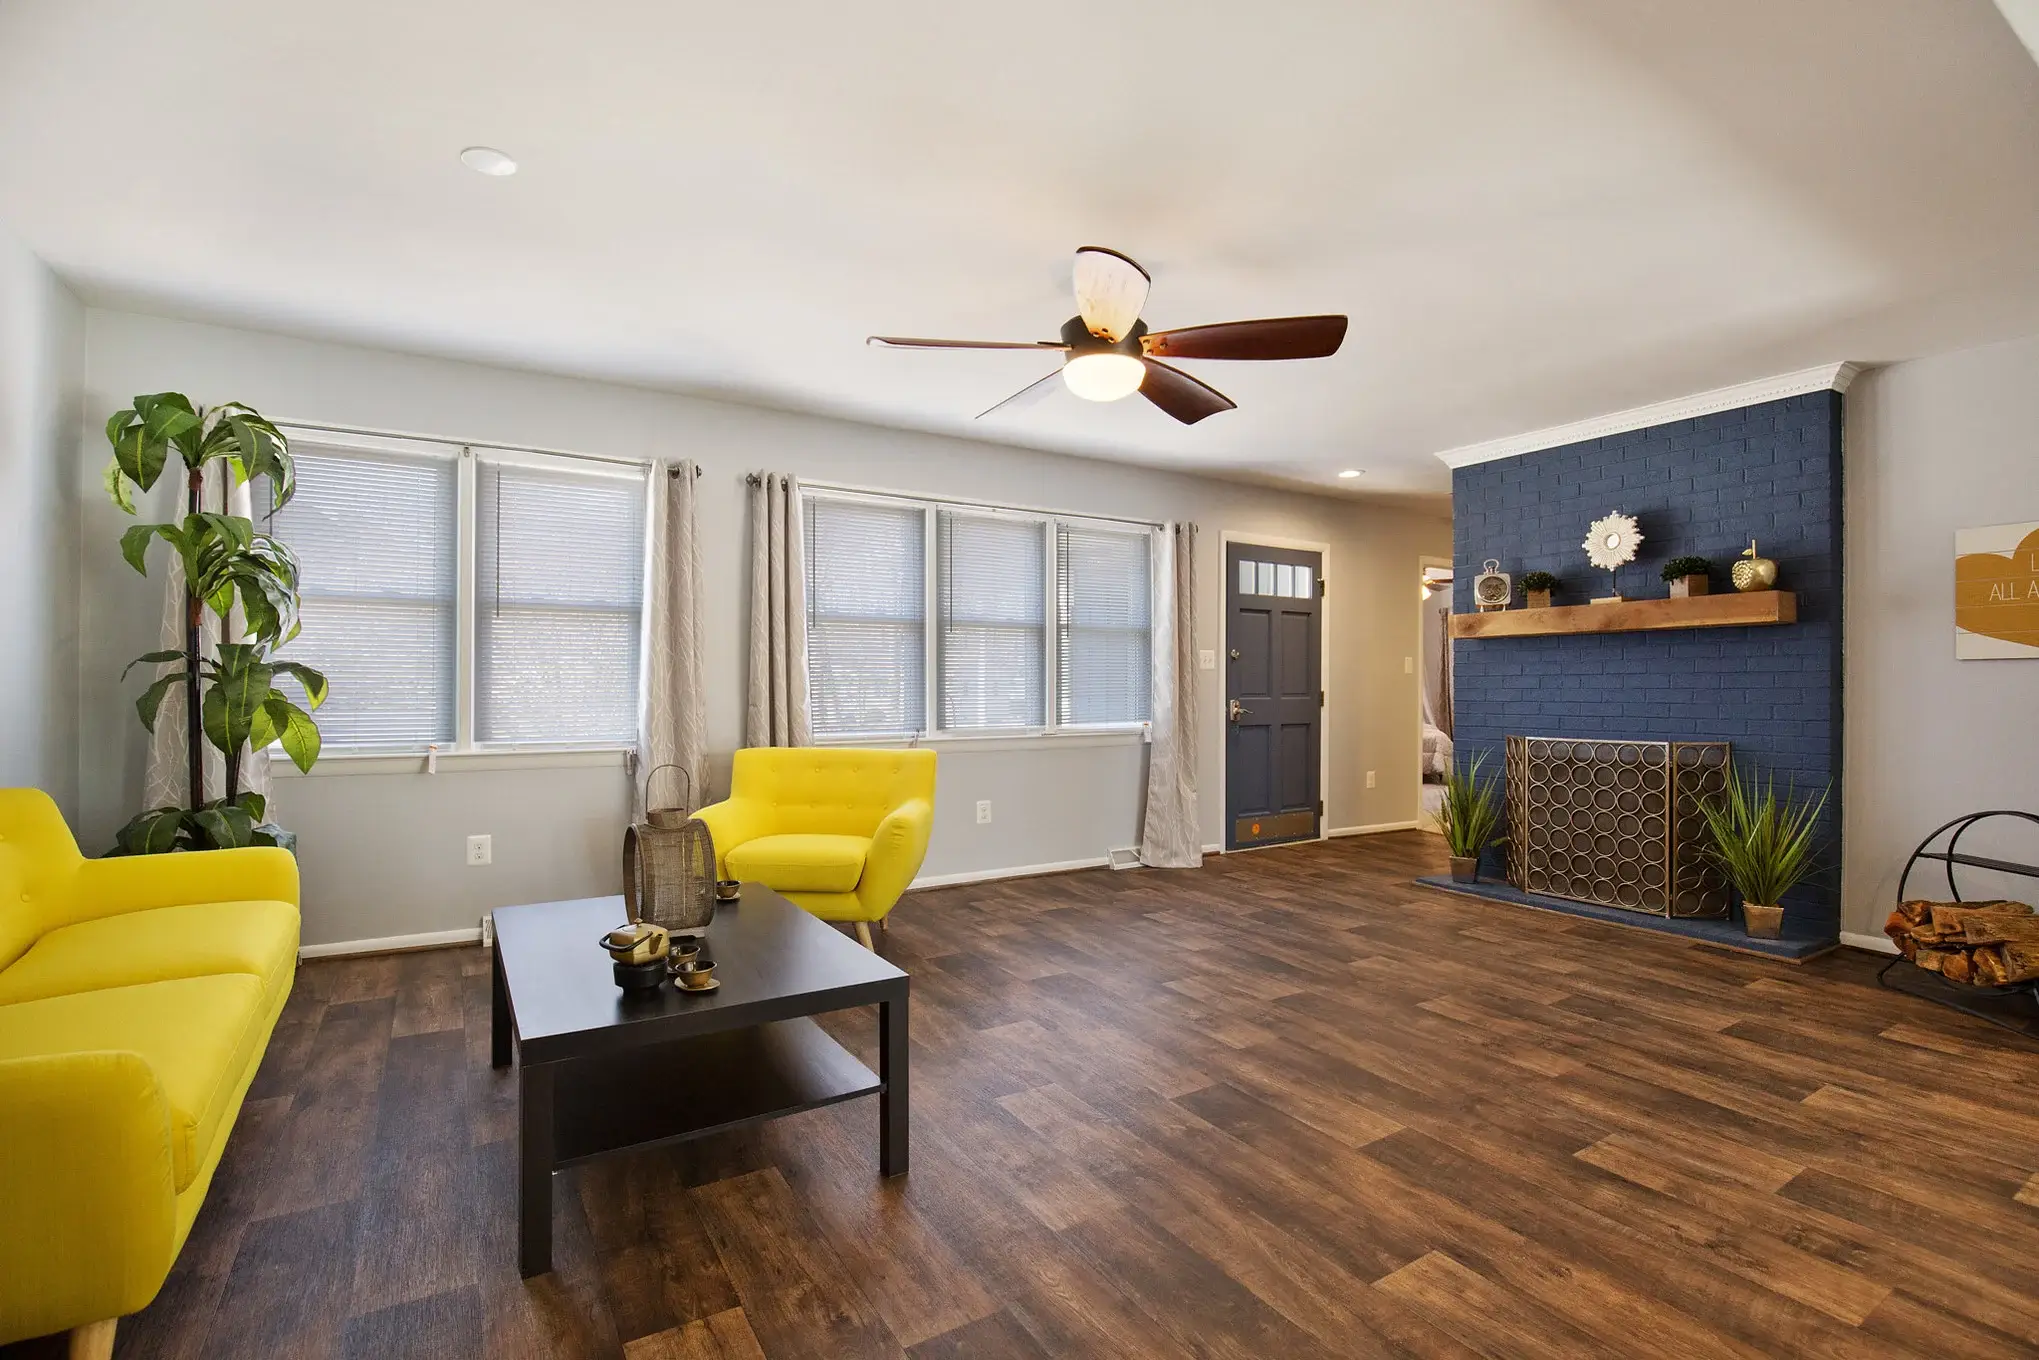
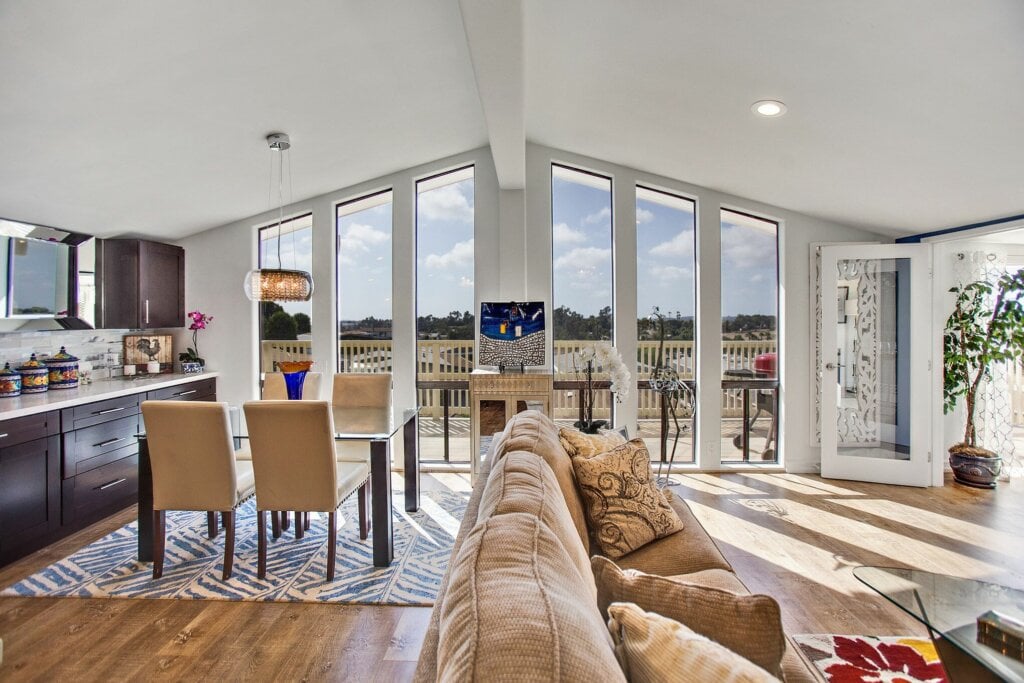
- The most important shot of each room is almost always facing the windows. Capture at least one angle that shows all the windows for every room, if possible.
- Take a photo of the front entrance of the home while standing in the doorway.
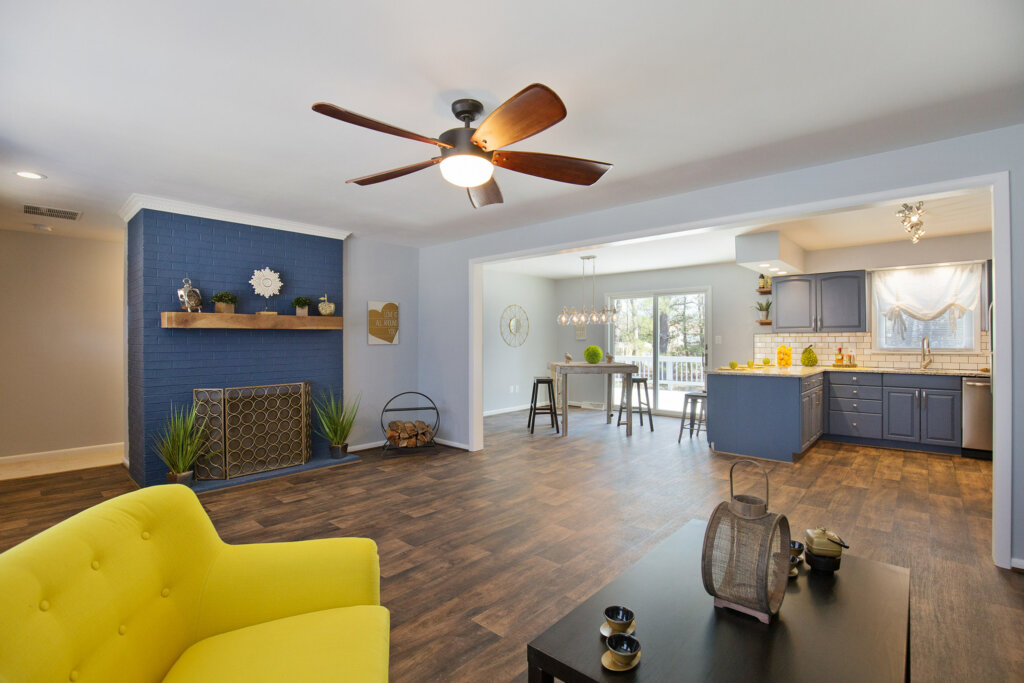
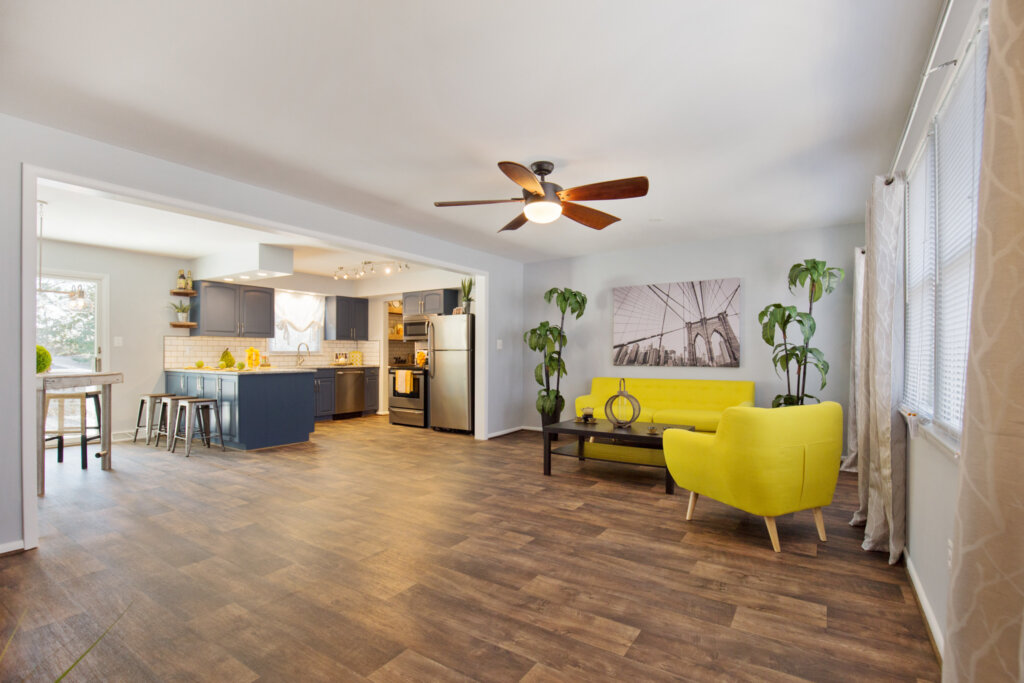
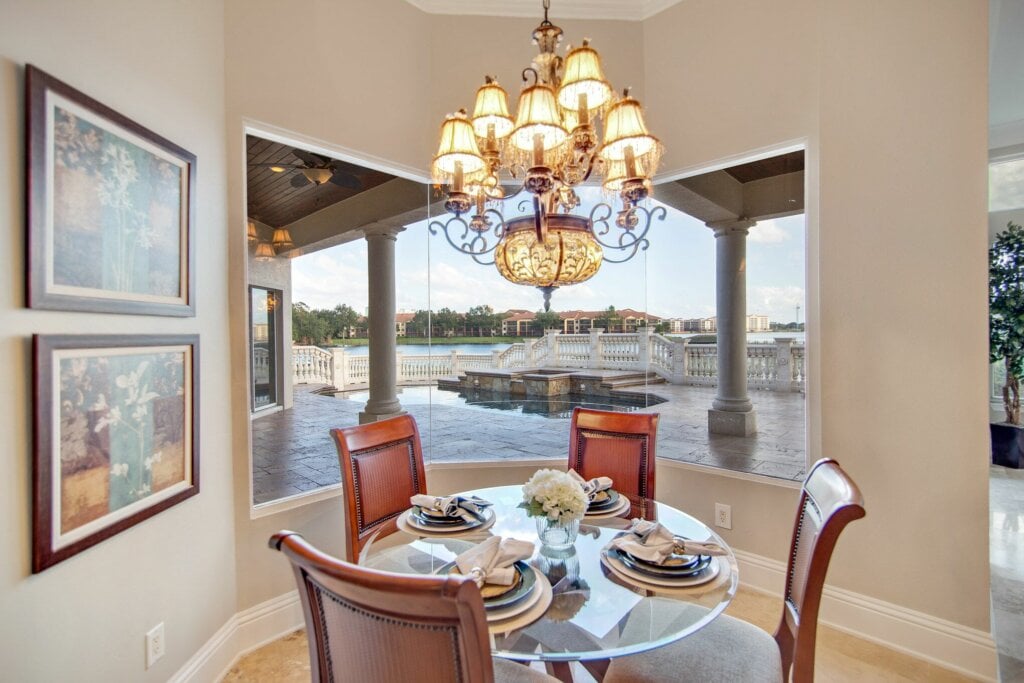
- When shooting open floor plans, focus on distinct areas for some of the photos, defining what could be considered a dining room, or a breakfast nook by taking a photo that showcases that portion of the open area. You should also take photos that show how the portions of the layout relate to one another. For Example: Take a photo in the corner of the kitchen that faces the dining area and then out to a family room.
Technical Tips for Shooting the Interior:
- Shoot in RAW so you have maximum editing potential during post production.
- Use exposure bracketing/blending/HDR to avoid blown out windows and get the best true to life colors.
- When performing HDR brackets on the tripod keep your ISO under 800. Be sure to get an exposure that is correct for just the window view, one that is bright on the inside and one in the middle. Generally, you will want to shoot a balanced exposure and then range + / – of varied exposures that work best. It is beneficial to shoot extremes on both ends, light and dark.
- Try to pair this function with your HDR brackets so that one push of the shutter will fire off 3 photos with varying exposures. Please note: Certain cameras will only produce a JPG when using this function. Be aware of what settings your camera allows.
- Try to stop down your lens inside so that you are not shooting wide open. This will expand your depth of field and render more of the rooms in focus. For example: if you have a lens that goes down to F 2.8, you should be shooting at F4 or higher. Inside your shutter speed should be no slower than your focal length handheld. Since you will be generally shooting at a wide focal length, then you can push it a bit if stabilizing against a wall or stable on three points of contact.
- Change your ISO as you go through the home as necessary. Please note: The ISO will vary depending on the camera you own. Ensure you research the capabilities and recommendations for your specific camera. Some cameras may be best when within the 400 – 1600 range, while others can be closer to 6400. Get to know your equipment.
- Keep in mind that since you are shooting in RAW file type, more detail can be brightened out of shadows then reduced down from highlights. If your photos look a bit dark when reviewing them on your camera, you’re probably okay.
- Shoot with your white balance set to auto, only set it for a manual light type if the photos are looking significantly wrong.
Controlling Ambient Light and Flash to Avoid Overexposed Windows
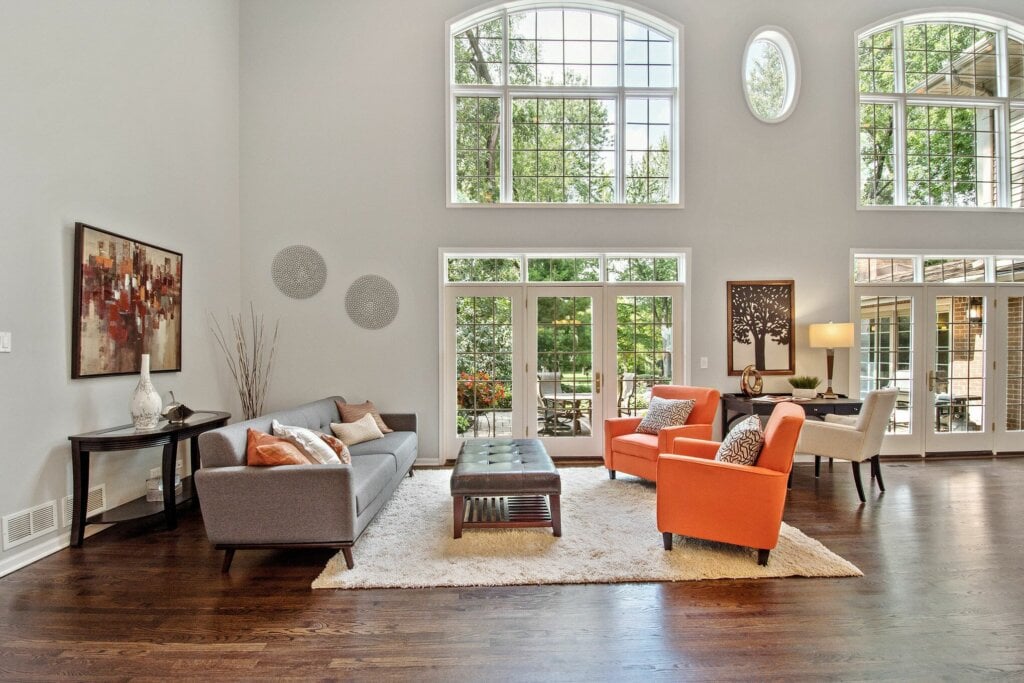
One of the issues with photographing a room during the daylight hours is that the light inside the room can be up to three stops darker than the light outside. In this situation, if you take a photo with your camera settings adjusted to expose for the room that you are in, you will be leaving the windows looking too exposed. They will look like squares of white light and will distract from the overall photo.
To avoid this, your goal should be to balance the light coming through the windows with the light inside the room. This will allow you to see everything within the room, as well as the view outside the windows.
One strategy for this is to take three or more photos at different exposures and then blend them together with software such as Photoshop or Adobe Lightroom.
Another strategy is to use an off-camera flash. With this technique, you set your camera to expose correctly for the windows, then increase the amount of light in the room with a flash.
Camera Height for Correct Vertical Edges
The rooms inside homes come in all shapes and sizes. Every time you enter a room you will need to think about the best perspective for that particular room. One of the most important aspects of this is the camera height.
An important rule to follow is to always make sure that your vertical edges are correct. If there are vertical lines in the photo (door frames, edges of windows, walls, etc) these need to be truly vertical. This can go awry when you use a non tilt-shift lens and you tilt the camera up and down. The vertical lines in the image can diverge or converge and not appear completely straight.
The simple solution is to level the camera. When you shoot from eye level you have a natural tendency to point the camera downwards, which will create converging verticals. Instead, try placing the camera somewhere between doorknob height or chest height.
Common Mistakes to Avoid
No matter how you are shooting, make sure that the camera does not move in between shots. This will guarantee the image alignment for multiple exposures. Remember to bring a cable release or a wireless trigger to ensure no camera movement. If you forget one, use the camera’s built in timer function.
Check your memory card before you leave a home and be sure you have a least one good photo of every room. Powder rooms, laundry rooms, and basements can be easy to forget.
A major mistake is starting a shoot without a contract. If you haven’t agreed on the terms, a short shoot can turn into a large project that includes staging and/or cleaning. Make sure that all parties agree on what the shoot will consist of to ensure you are compensated fairly. This will also ensure the agent knows what they will be receiving, in terms of the media.
Additionally, don’t start work as a real estate photographer without having standard liability insurance. If you accidently break something, it is best to be covered by your insurance.
You should also make sure that you are providing your clients with high resolution photos and low resolution versions. If you can give a client a finished product that they can upload straight to their website or print immediately, then they are more likely to walk away a happy client. This may help you gain a regular client.
These are the most important basics to know when you are starting out with real estate photography. With practice and creativity you can become a master of real estate photography and make an income helping agents and homeowners showcase their properties.