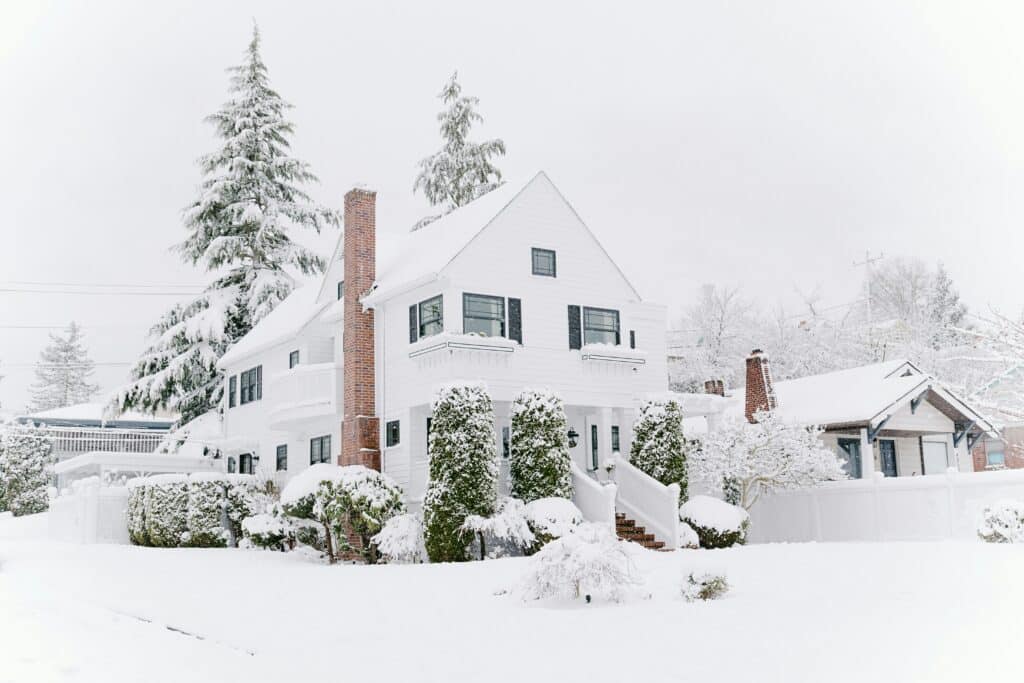
Real estate photographers face numerous challenges year-round, with weather being among the most unpredictable. In winter, these challenges often intensify as photographers contend with harsher conditions, shorter daylight hours, and the unique demands of capturing properties amidst snow and ice.
Despite these obstacles, winter presents an opportunity for photographers to showcase their skills and capture the charm of properties set along the serene and picturesque backdrop of the season. In this blog, we’ll share the best sights for winter real estate photos, along with expert tips and techniques to help you get started.
Winter Home Photography: 7 Tips for Capturing the Season’s Beauty
Use color to contrast
Winter landscapes often feature a monochromatic color scheme dominated by whites, grays, and blues. By incorporating splashes of color to your frame, you can add visual interest and depth to your photographs, making them truly stand out.
One of the best tricks for achieving this is adding props or staging elements, such as garden accessories or decorative accents. Something as simple as a bright blue planter can inject a vibrant contrast against the backdrop of snow, instantly drawing the viewer’s eye and adding a dynamic element to the composition.
Additionally, look for architectural elements or accents on the property, such as brightly painted doors, shutters, or trim. These pops of color can serve as focal points in your photographs and help highlight certain features of the property.
Pro Tip from HomeJab: When adding color to your winter real estate photography, you must be mindful not to overdo it – the goal is to enhance the property’s appeal, not distract from its features.
Seize the moment with fresh snow
When fresh snow blankets your listing, seize the opportunity to capture your shots as soon as possible. The pristine white landscape offers a picturesque backdrop that can quickly transform into a dull, slushy mess by the next day. The freshly fallen snow also acts as a natural reflector, bouncing light onto the property and brightening up the scene.
Pro Tip from HomeJab: The sun’s position can change suddenly, altering your exposure settings and overall lighting conditions. If the sun momentarily hides behind a cloud, wait patiently for it to reemerge, and take advantage of the dynamic interplay between sunlight and snow to create stunning shots.
Embrace the bluehour
While the golden hour is renowned for its warm, golden tones, winter brings a unique opportunity to explore the captivating beauty of the bluehour. Just before sunrise or after sunset, the sky bathes the landscape in a soft, ethereal blue light, lending a magical quality to winter scenes.
Pro Tip from HomeJab: In winter, these moments only last 20-30 minutes, so it’s crucial to be prepared with the right camera settings.
Balance your exposure
In snowy conditions, your camera’s metering system may underexpose the scene, resulting in dull and dark images. To compensate for this, adjust your exposure compensation settings to slightly overexpose the image. Start with a +1 or +2 exposure compensation and adjust as needed based on the brightness of the scene.
During bluehour, in particular, consider using a graduated neutral density filter. A graduated neutral density filter can help balance the exposure by reducing the brightness of the sky without affecting the exposure of the foreground.
Pro Tip from HomeJab: Bracket your shots to ensure you get multiple shots of the property at different exposure levels, typically one underexposed, one properly exposed, and one overexposed. This technique gives you a range of options to choose from when you’re editing for a client.
Shift your perspective
Unlike the warmer months, where the sun is high in the sky, winter brings a different lighting dynamic that photographers can leverage to their advantage. During this season, the sun sits lower on the horizon for most of the day, casting longer shadows and creating a softer, more diffused light.
To make the most of this lighting situation, you’ll want to shift your perspective and experiment shooting from different angles that minimize the appearance of snow piles or unsightly winter debris. You can also mask these imperfections by opting for drones for real estate photography instead.
From above, the contrast between snow-covered home and surrounding landscape can create stunning and dramatic compositions, highlighting the serene beauty of winter from a bird’s-eye view.
Pro Tip from HomeJab: When photographing in the snow, be mindful of where you step to avoid leaving footprints in freshly fallen snow. Just like in landscape photography, clean, untouched snow enhances the overall aesthetic of your winter real estate visuals.
Acclimate your gear
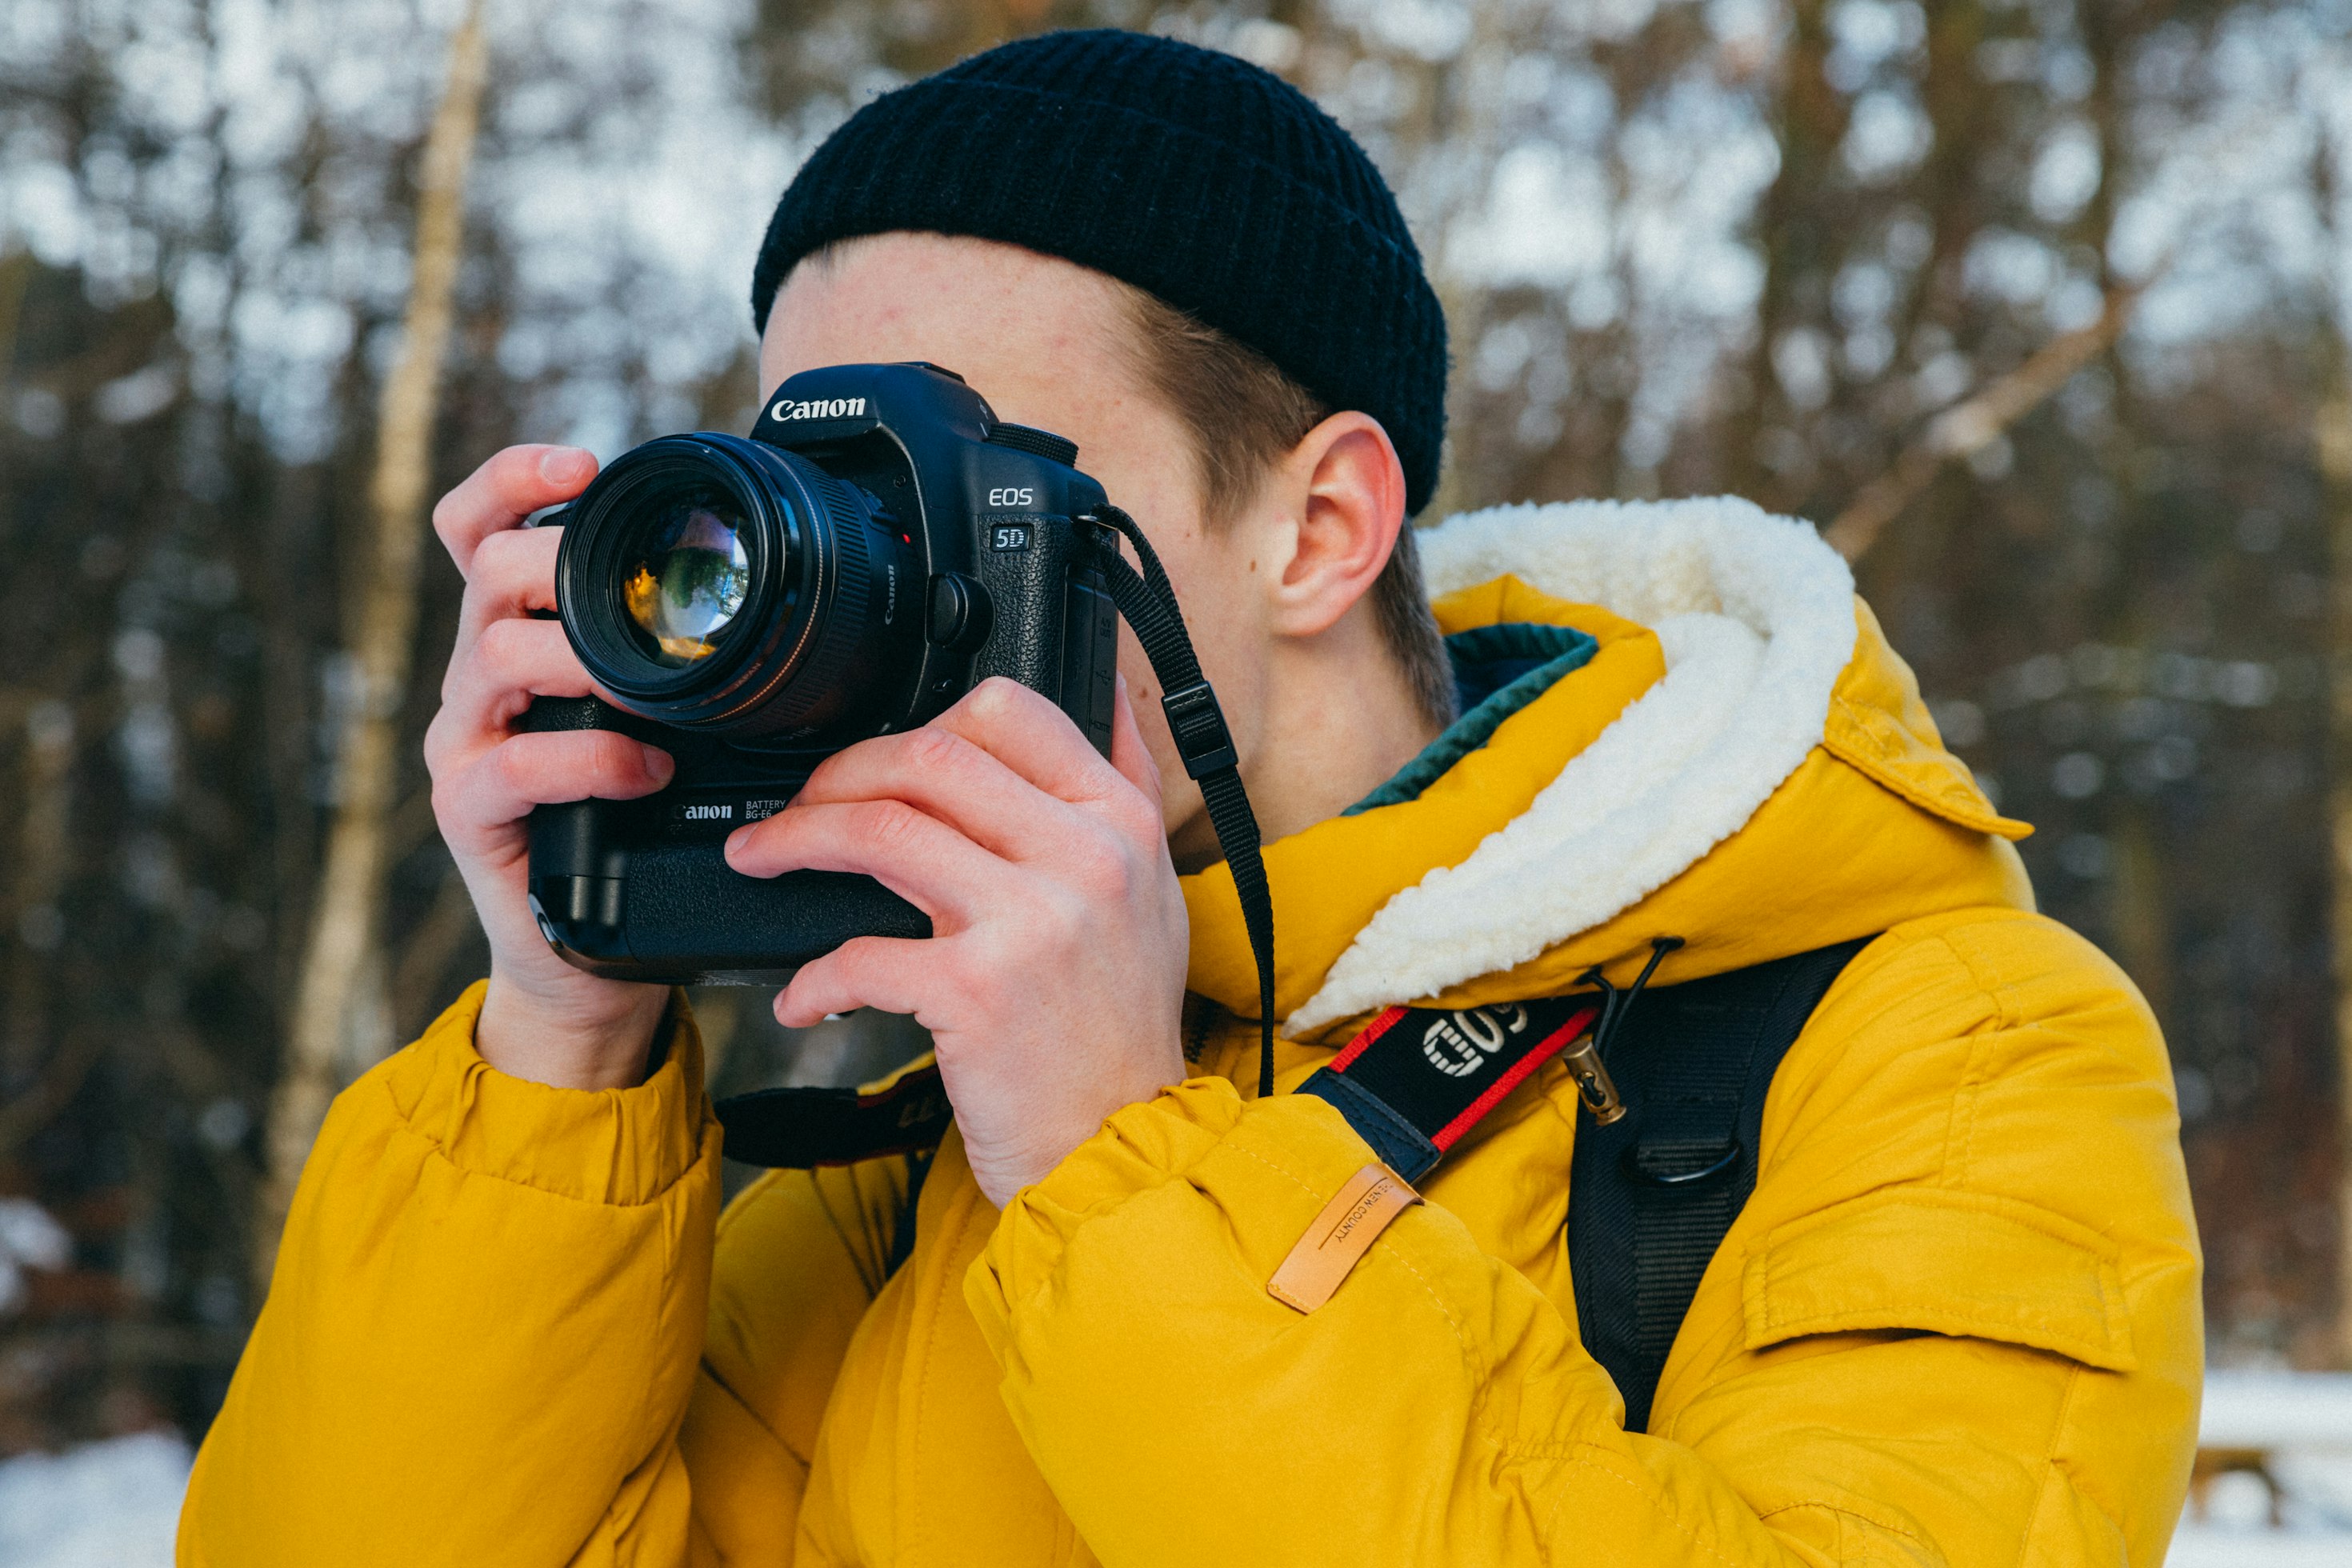
Acclimating your gear to the winter conditions is crucial for ensuring optimal performance and longevity. Before heading out to shoot in cold temperatures, allow your camera equipment to adjust gradually to the cold environment by storing it in a cool area, such as a garage or car trunk, for about an hour.
This helps prevent condensation from forming on the lenses and camera body when you transition from warm indoor settings to the chilly outdoor air. It’s also recommended to bring along spare batteries and keep them warm.
Pro Tip from HomeJab: If you live in a wintery climate, invest in camera covers or protective gear designed specifically for winter use to shield your gear from snow, ice, and moisture. ensuring smooth operation and reliable performance even in harsh winter conditions.
Stay warm
Photographing a property during the winter months demands a touch more patience than the balmy seasons. Not only will you be in an environment of cold temperatures, slippery surfaces, and sometimes limited mobility due to heavy snow, but you’ll also need to account for shorter daylight hours.
Dress in layers to stay warm and dry, opting for moisture-wicking base layers, insulating mid-layers, and a waterproof outer shell to protect against snow and moisture. Don’t forget to also wear a hat, gloves, and appropriate footwear to keep extremities warm.
Pro Tip from HomeJab: Be cautious when navigating icy paths and driveways, and consider using traction aids or carrying a shovel to clear snow if needed.
Conclusion on winter home photography
Are you ready to elevate your winter home photography game? These expert tips for beginners are designed to help you navigate the challenges of winter home photography and produce stunning listing photos during the colder months. With the right techniques and a focus on maximizing natural light, you’ll not only attract potential buyers but also bring out the true essence of each property you photograph.
Remember to dress warmly, plan your shots meticulously, show up prepared, and exercise patience as you embrace the changing season.

